There will be 5 parts to guide you how to operate Xiaomi action camera.
1. Flash guide after turning on:

After turning on the camera, touch the screen to the next step.
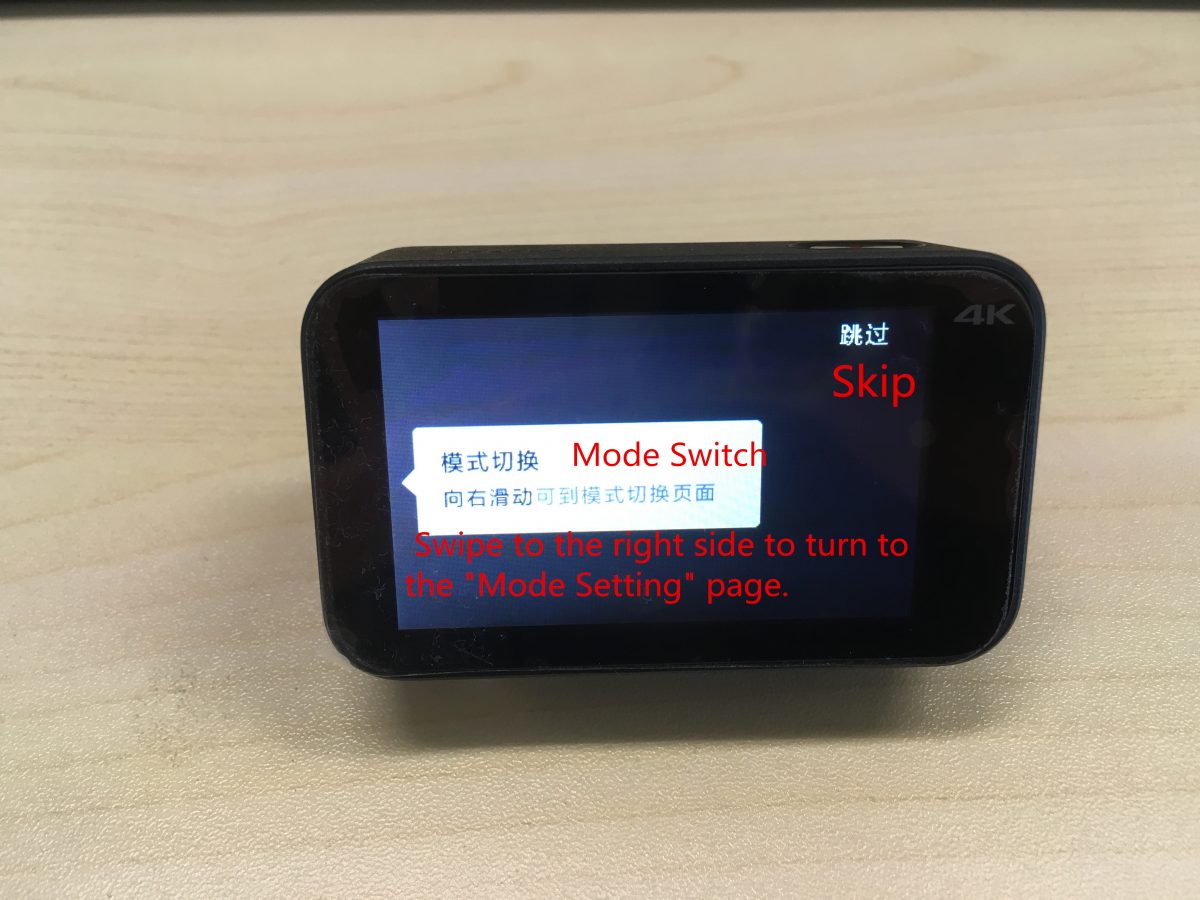
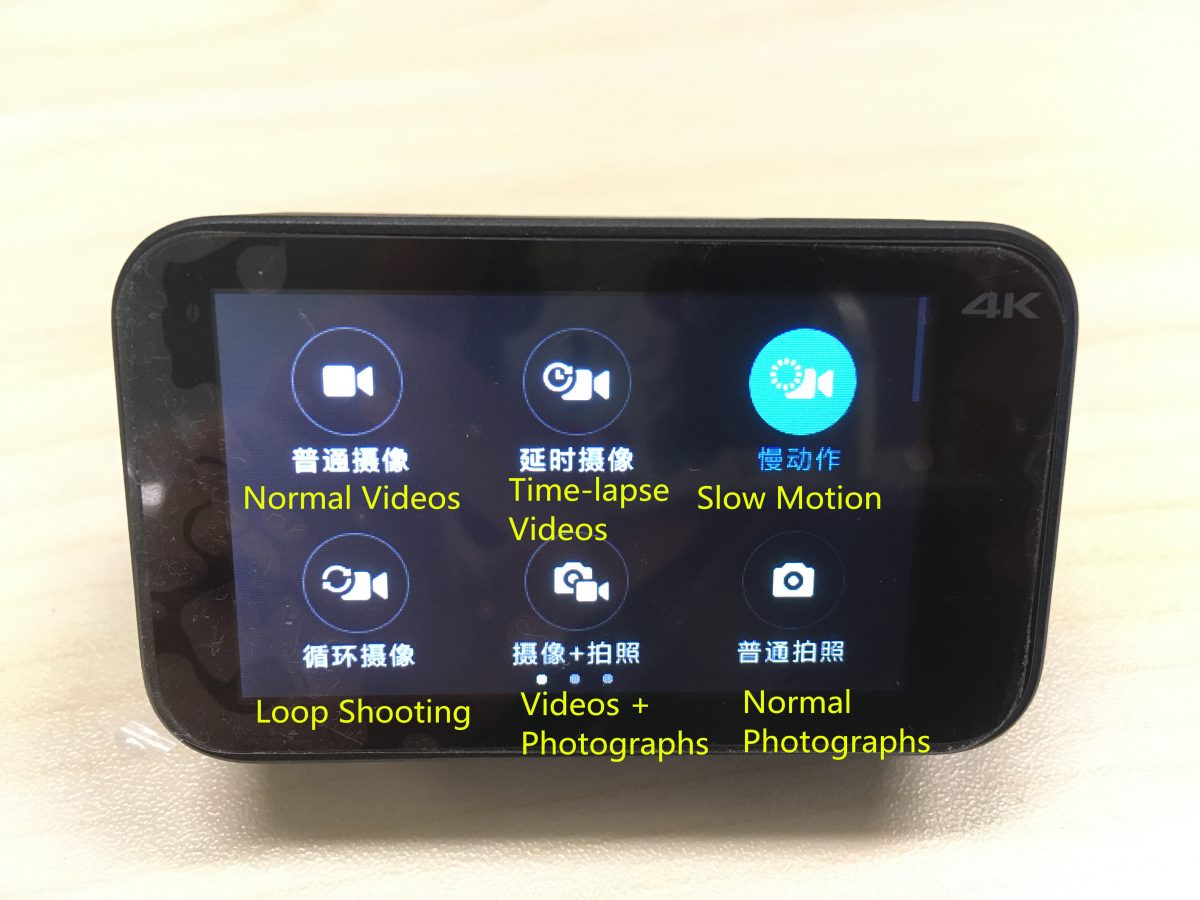

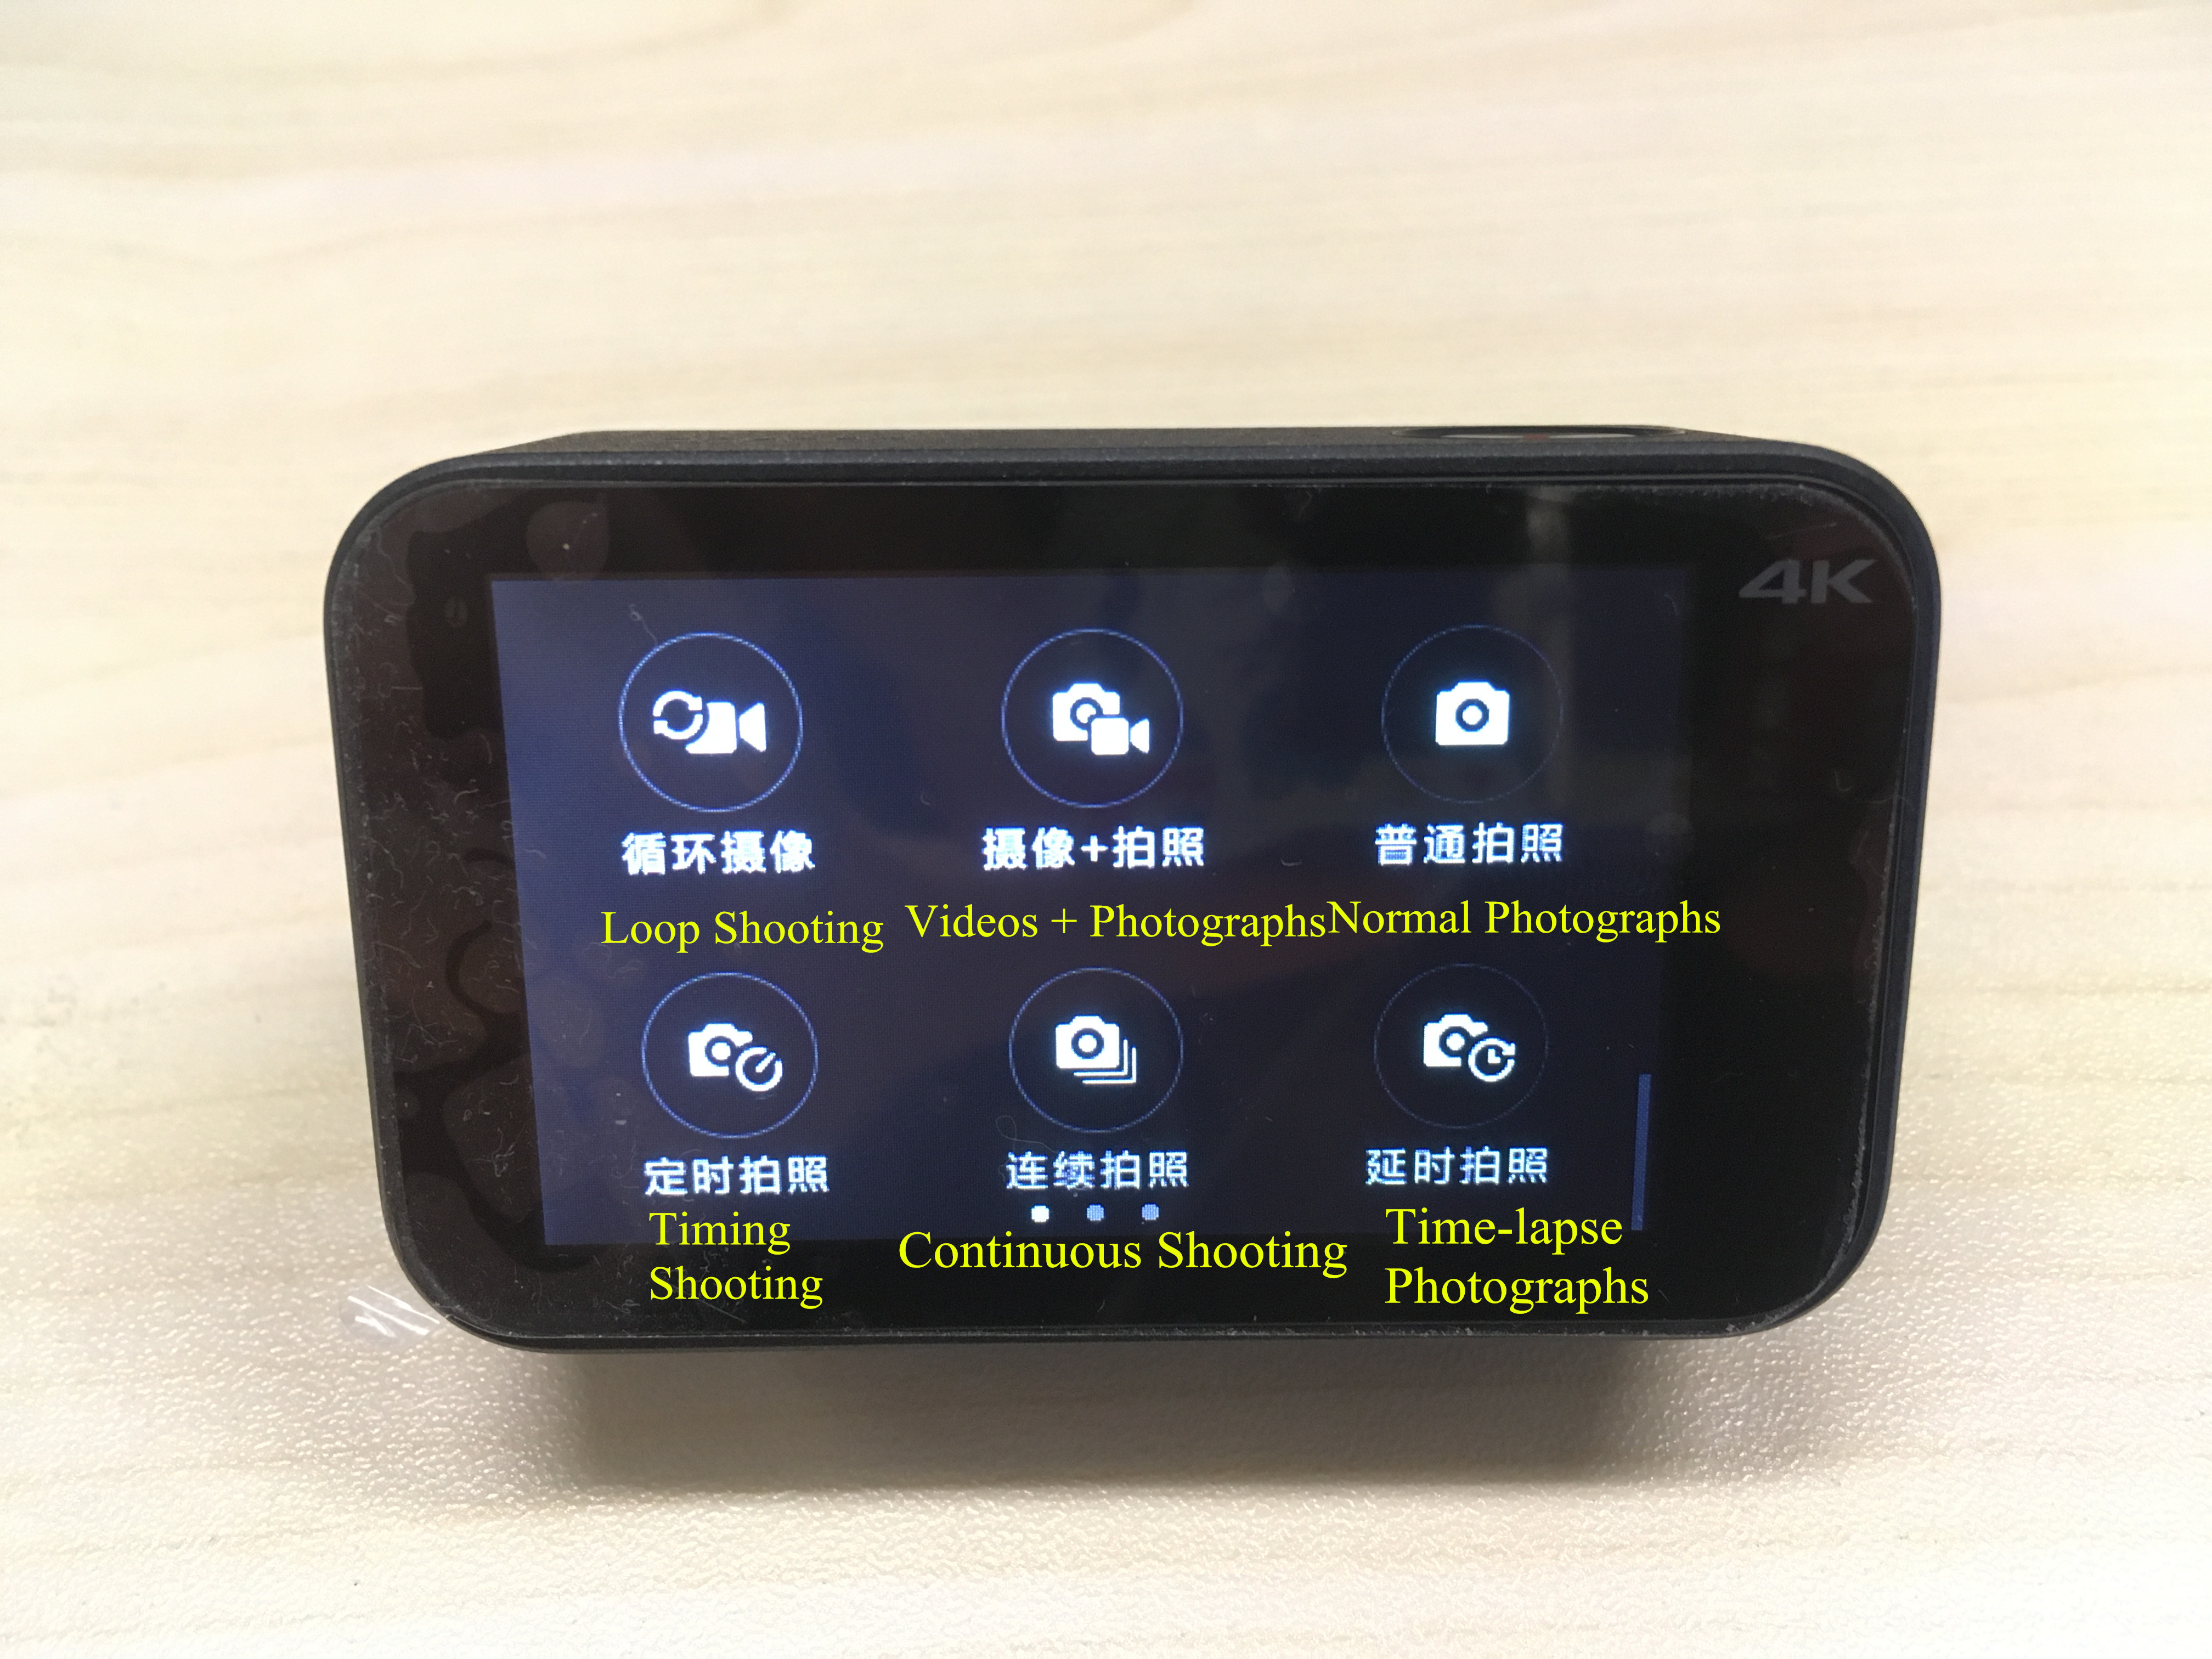
(1) Swipe to the right side to turn to the “Mode Setting” page. The corresponding modes are as followings:
Normal Videos; Time-lapse Videos; Slow Motion
Loop Shooting; Videos + Photographs; Normal Photographs
Timing Shooting; Continuous Shooting; Time-lapse Photographs
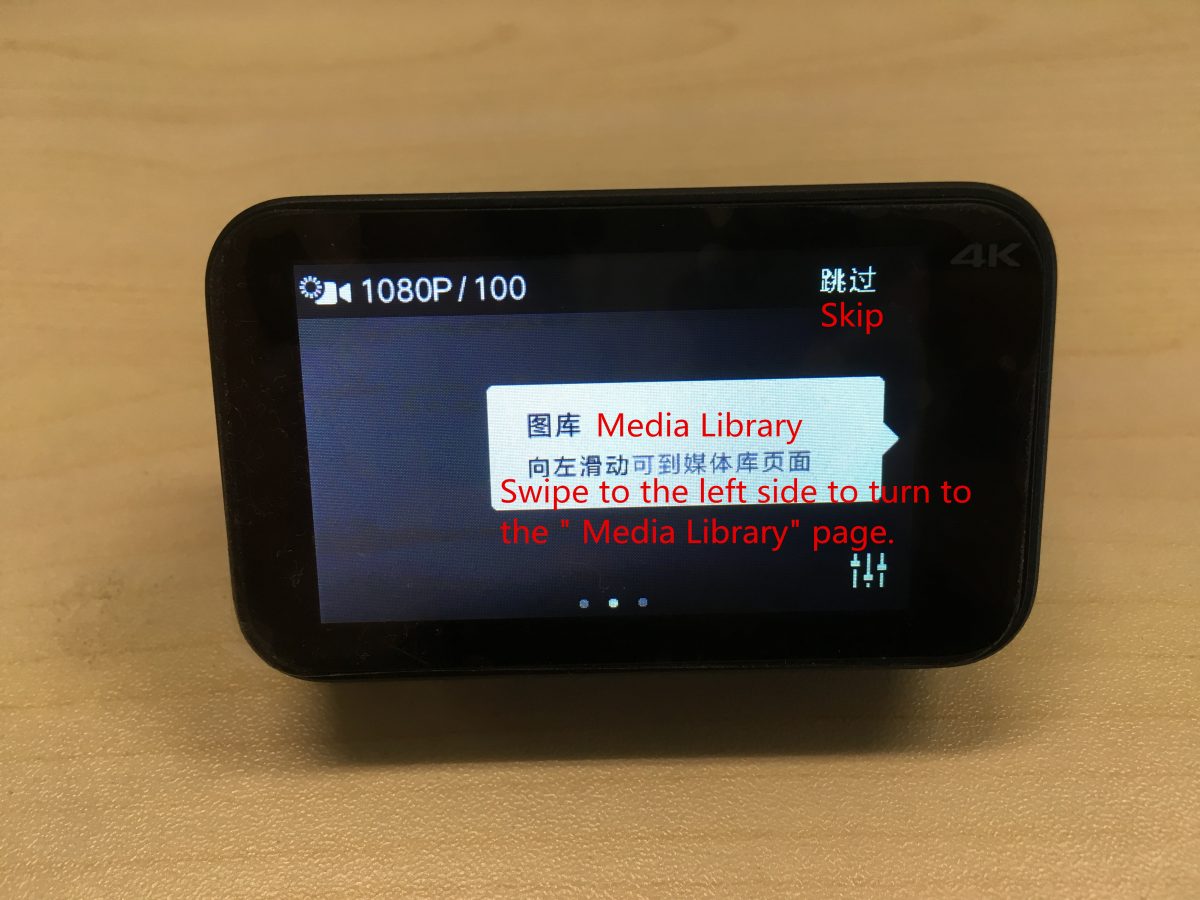
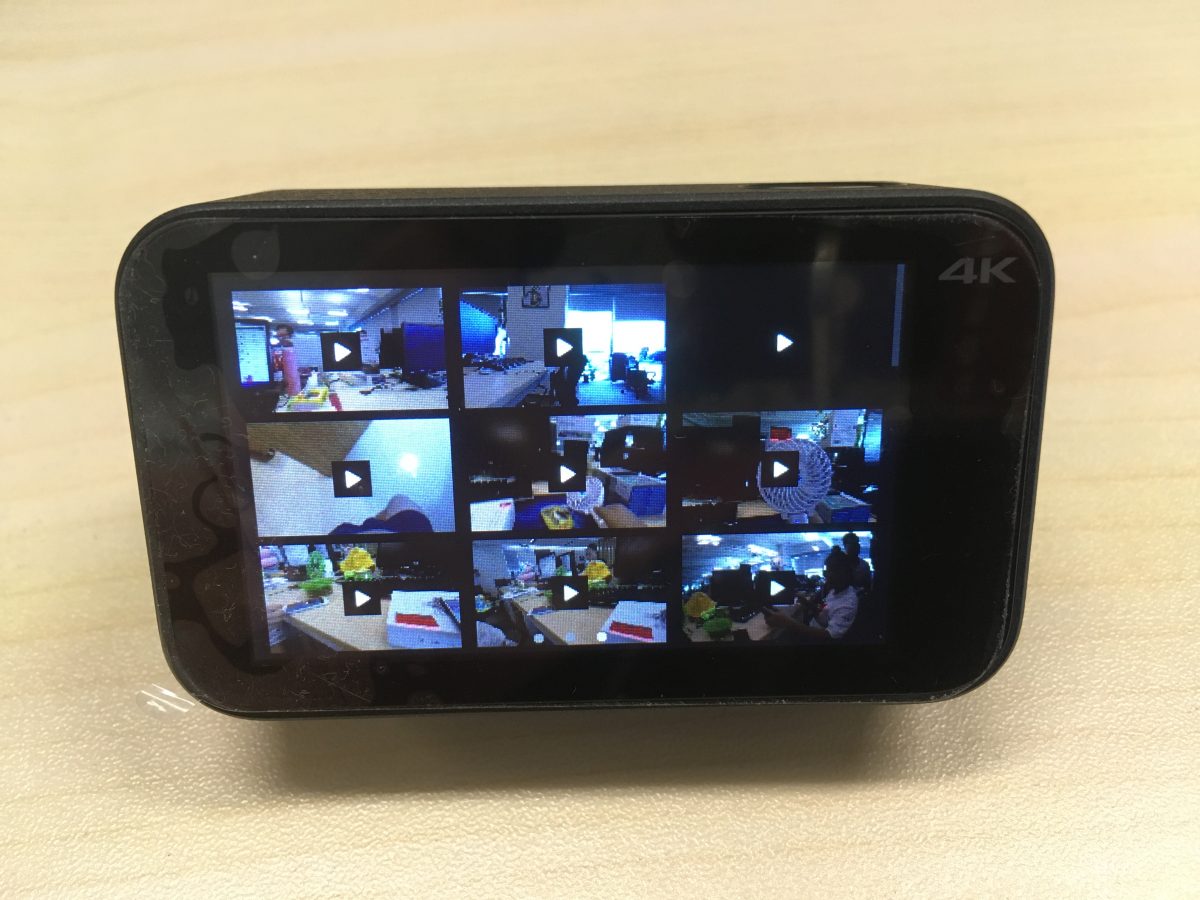
(2) Swipe to the left side to turn to the “Media Library” page.
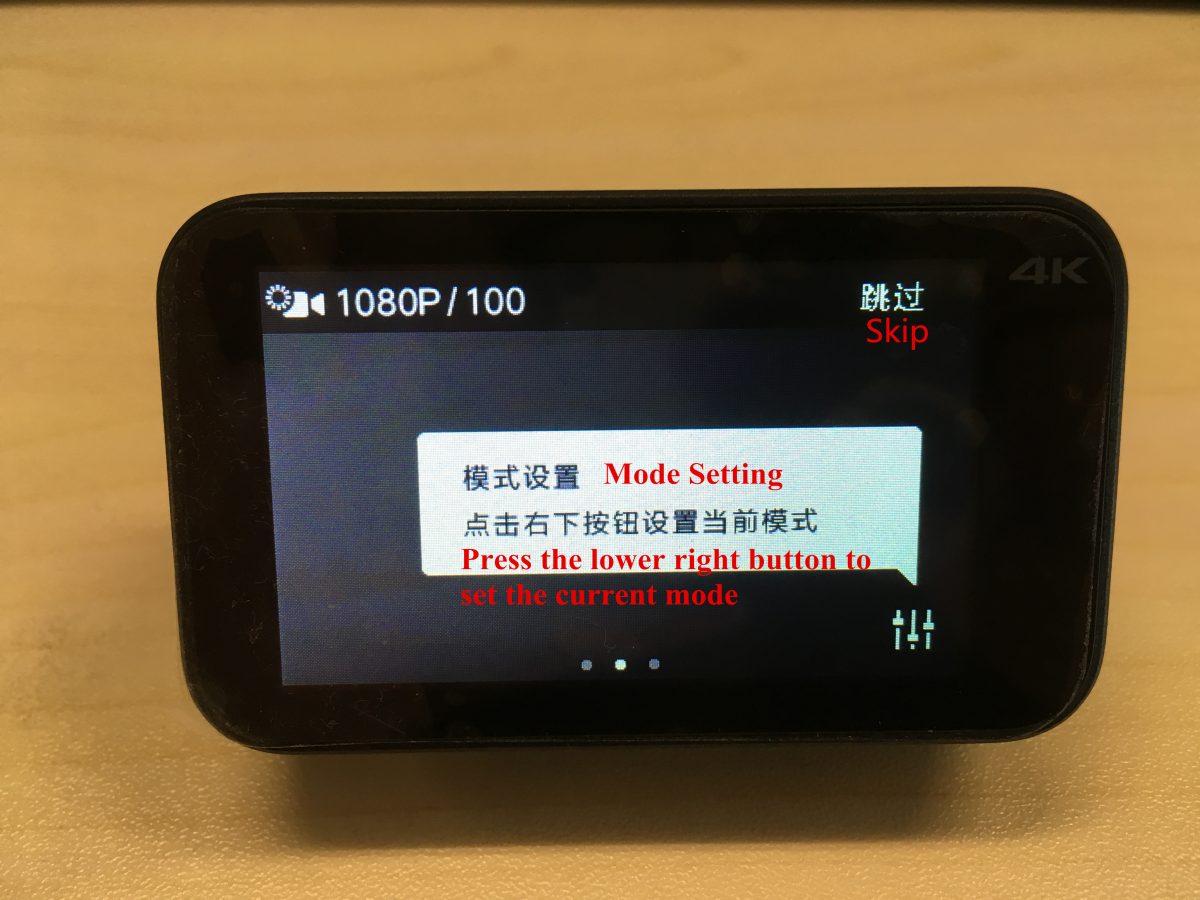
(3) Press the lower right button to set the current mode.
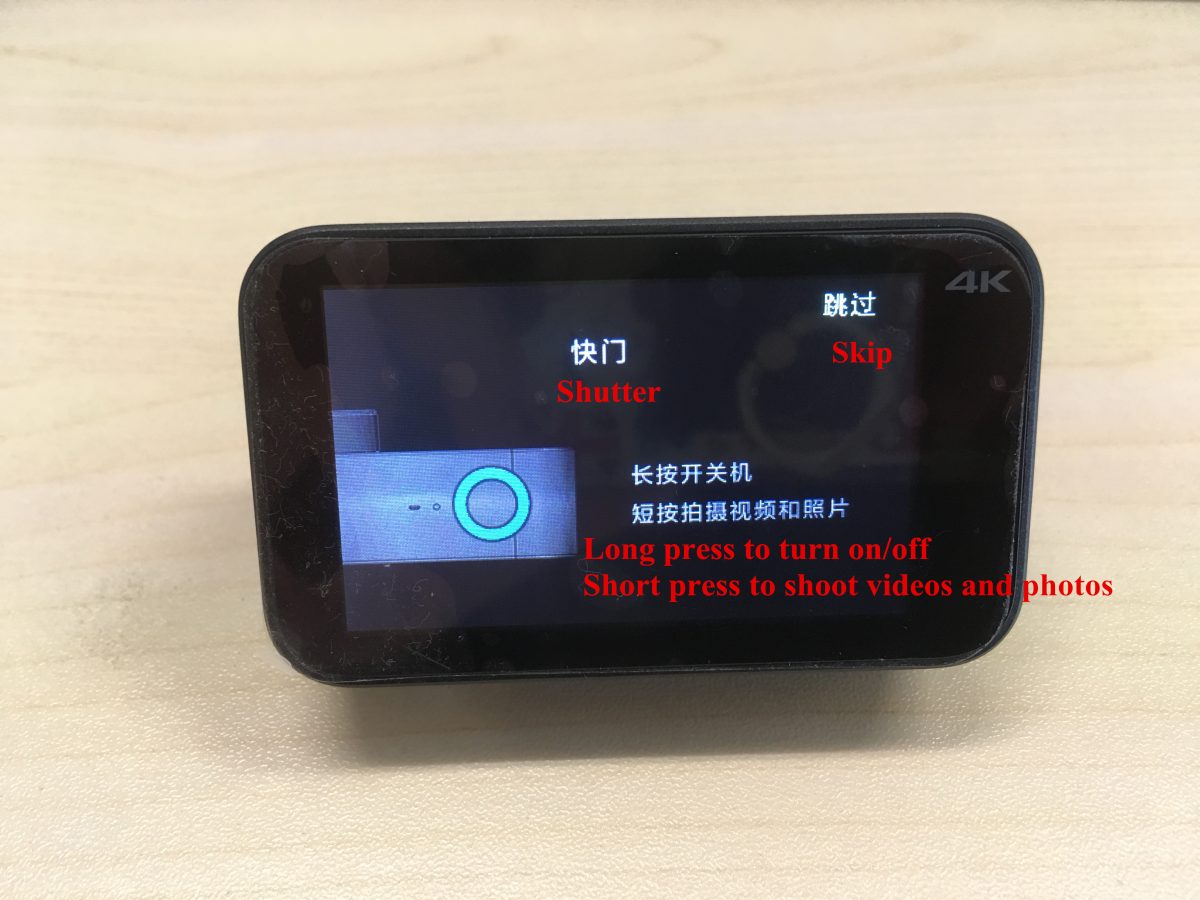
(4) Long press the shutter to turn on/off while short press the shutter to shoot videos and photos.
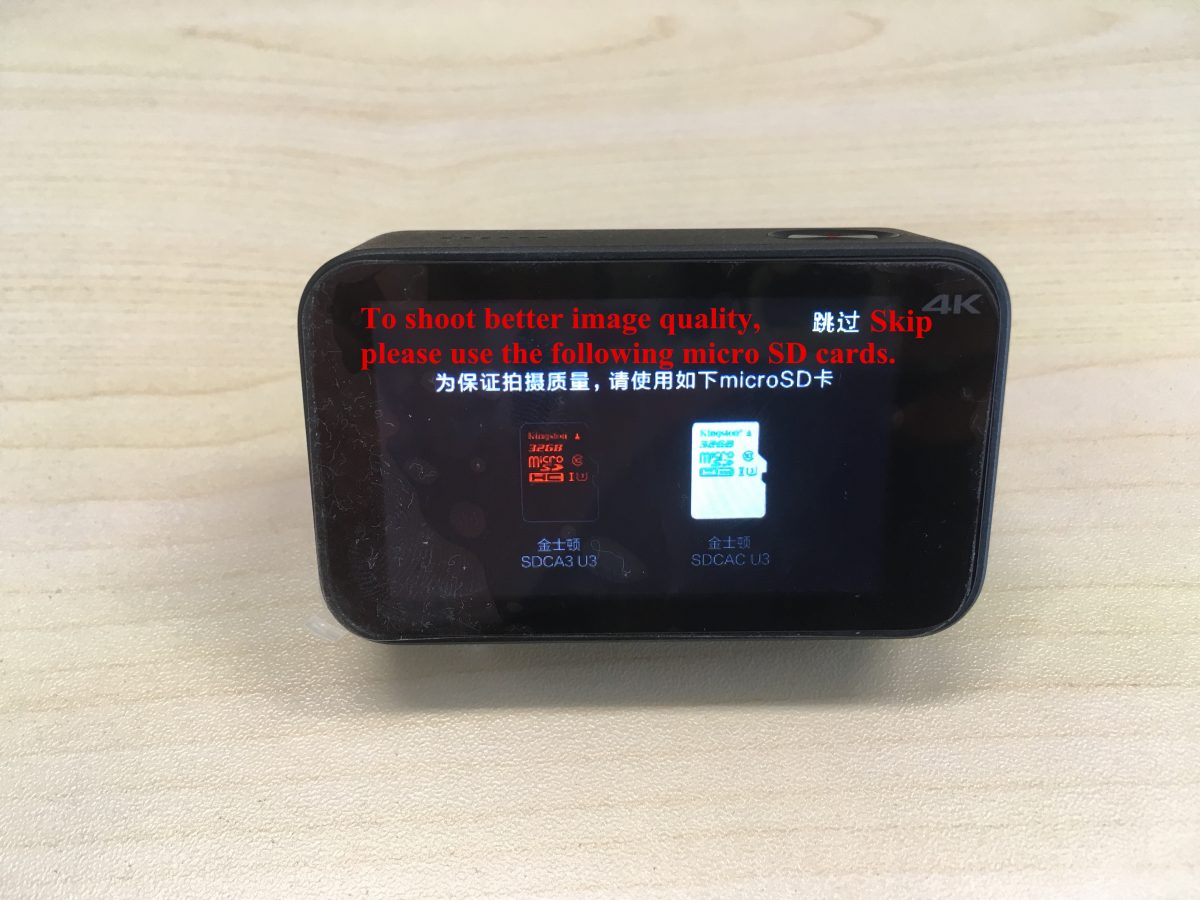
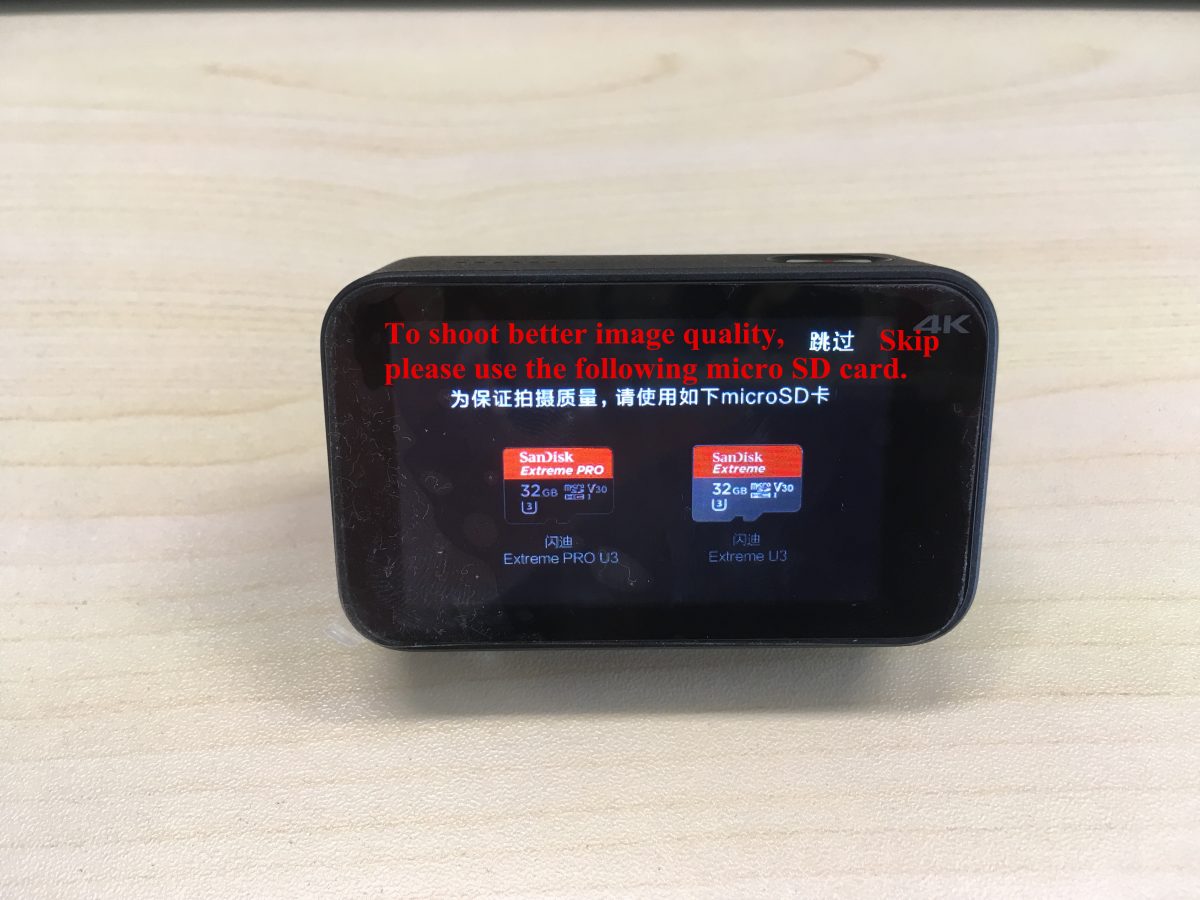
(5) To shoot better image quality, please use the following SD cards: SDCA3 U3, SDACA U3, Extreme Pro u3, Extreme U3.

(6) Download “Mihome” APP by searching at the APP store or scan the QR code.
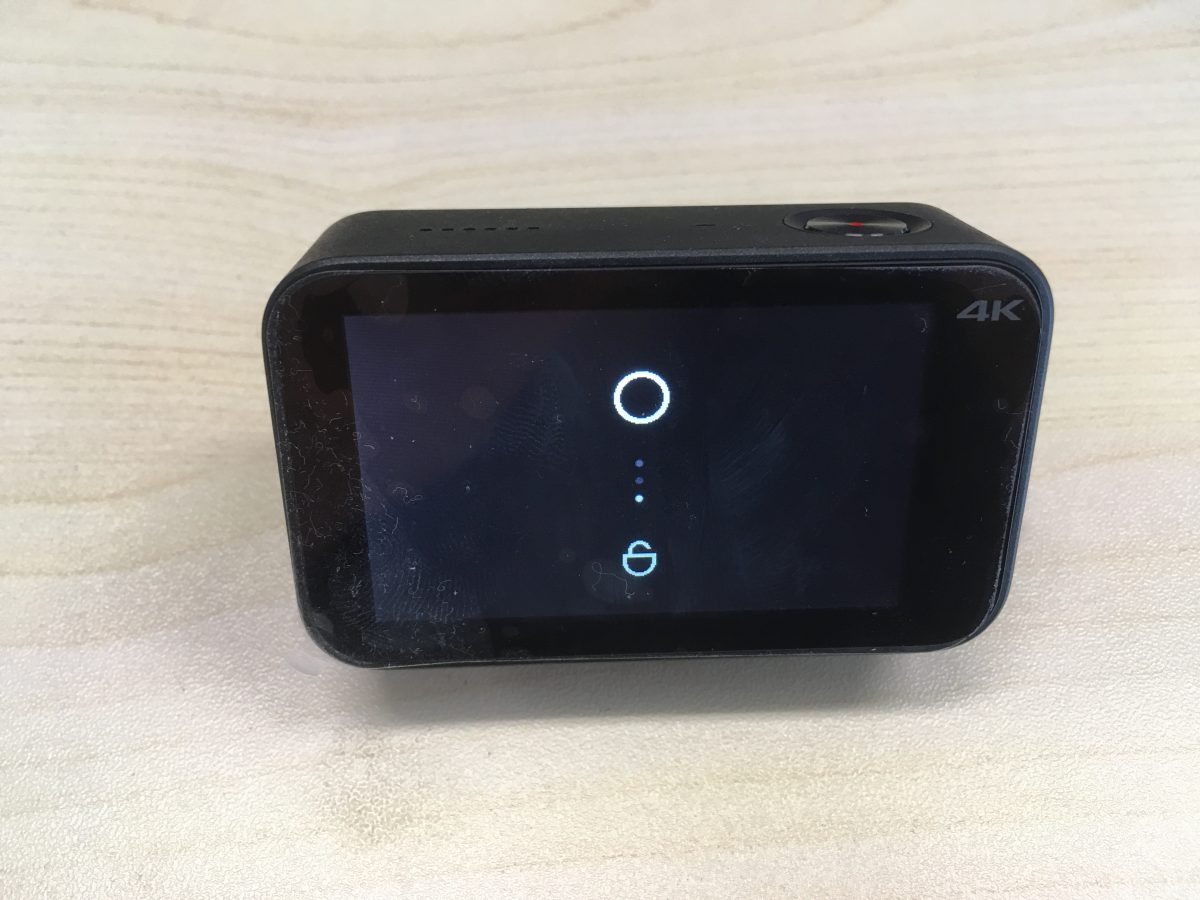
(7) When the camera is locked, swipe down to unlock.
2. Guide for the mode settings:
Press the lower right button to set the current mode.
(1) Normal video settings:
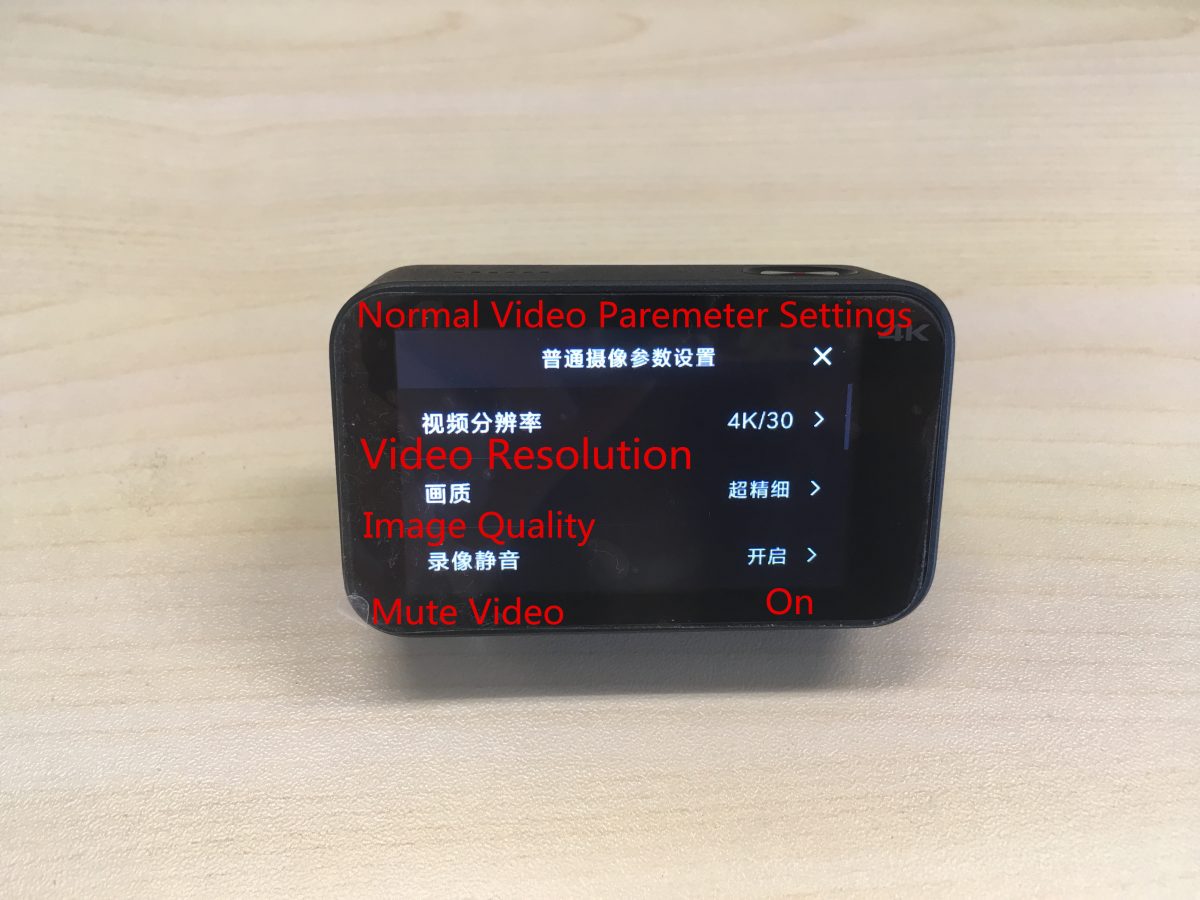
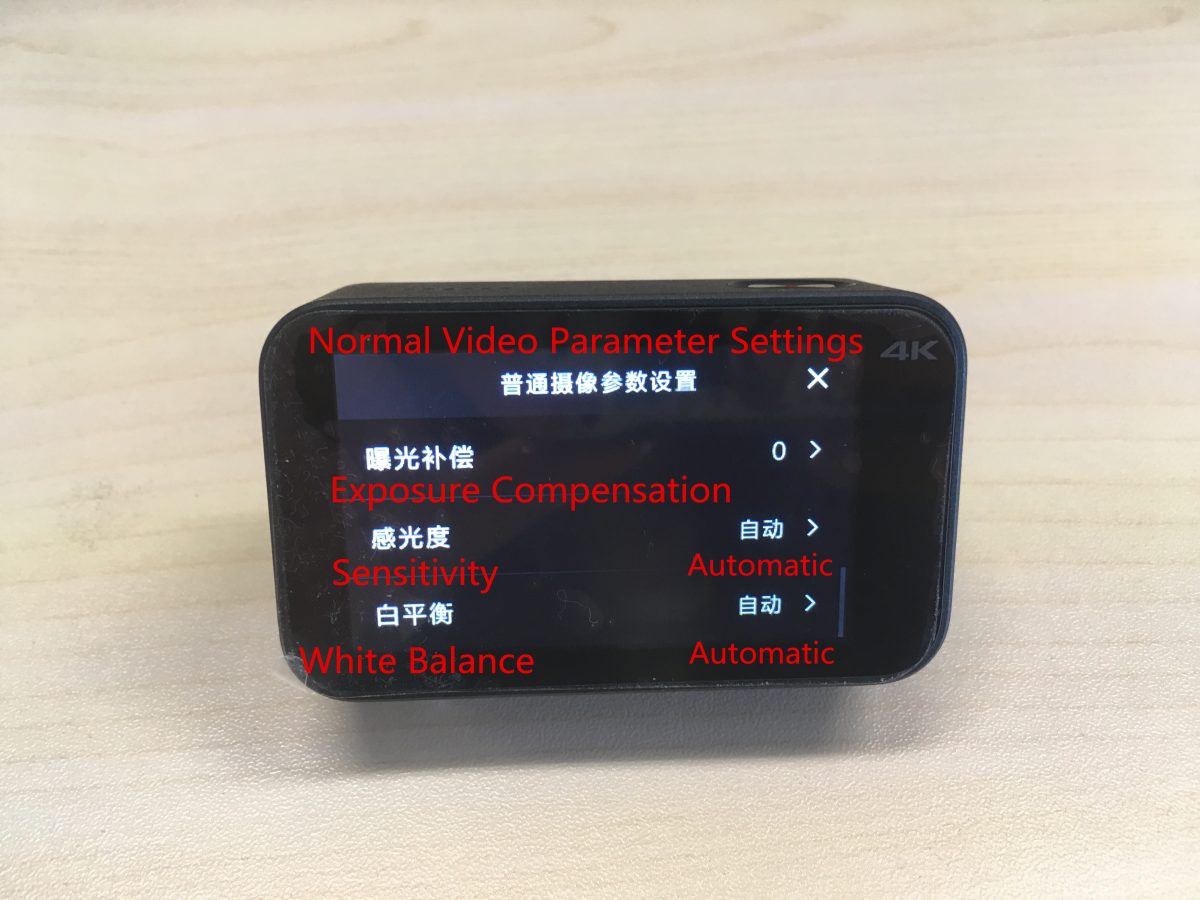
The corresponding settings from above to the bottom are as followings:
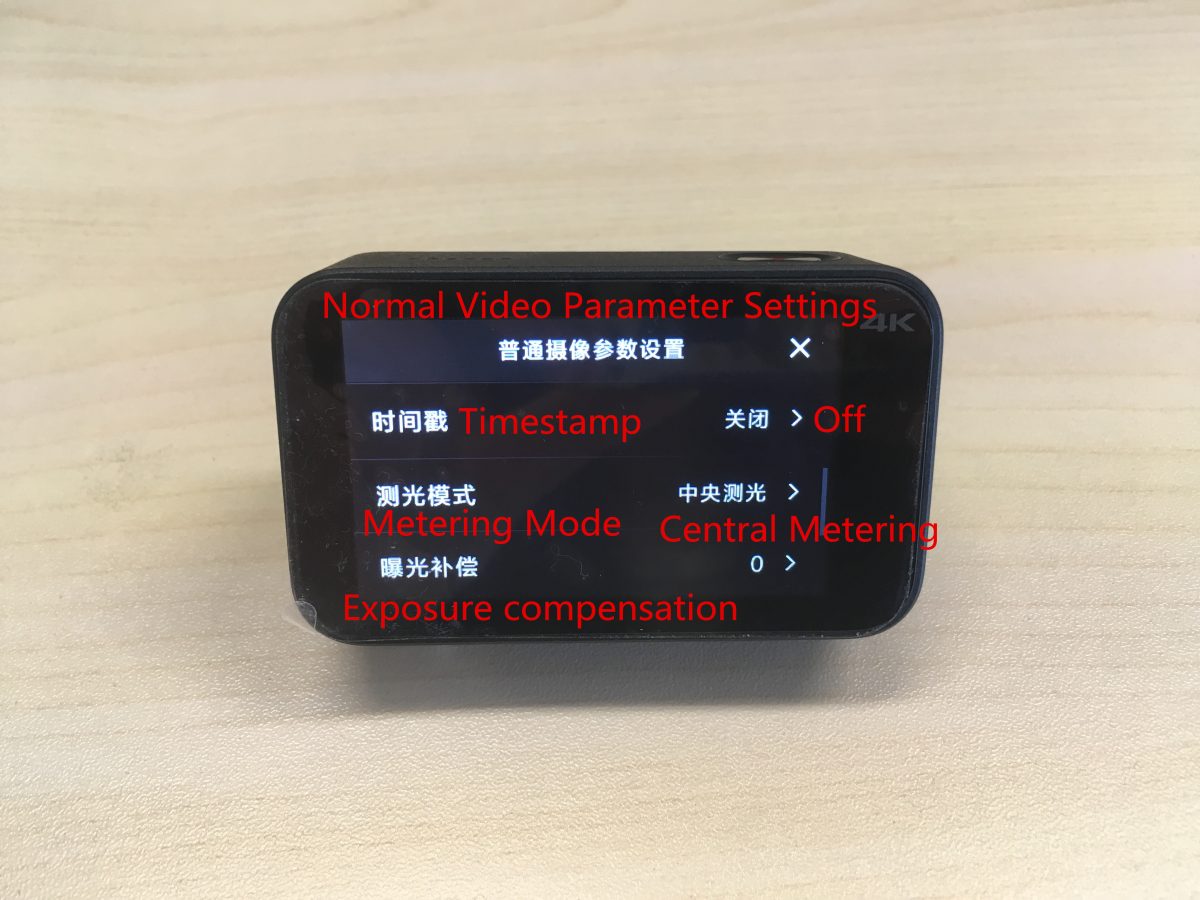
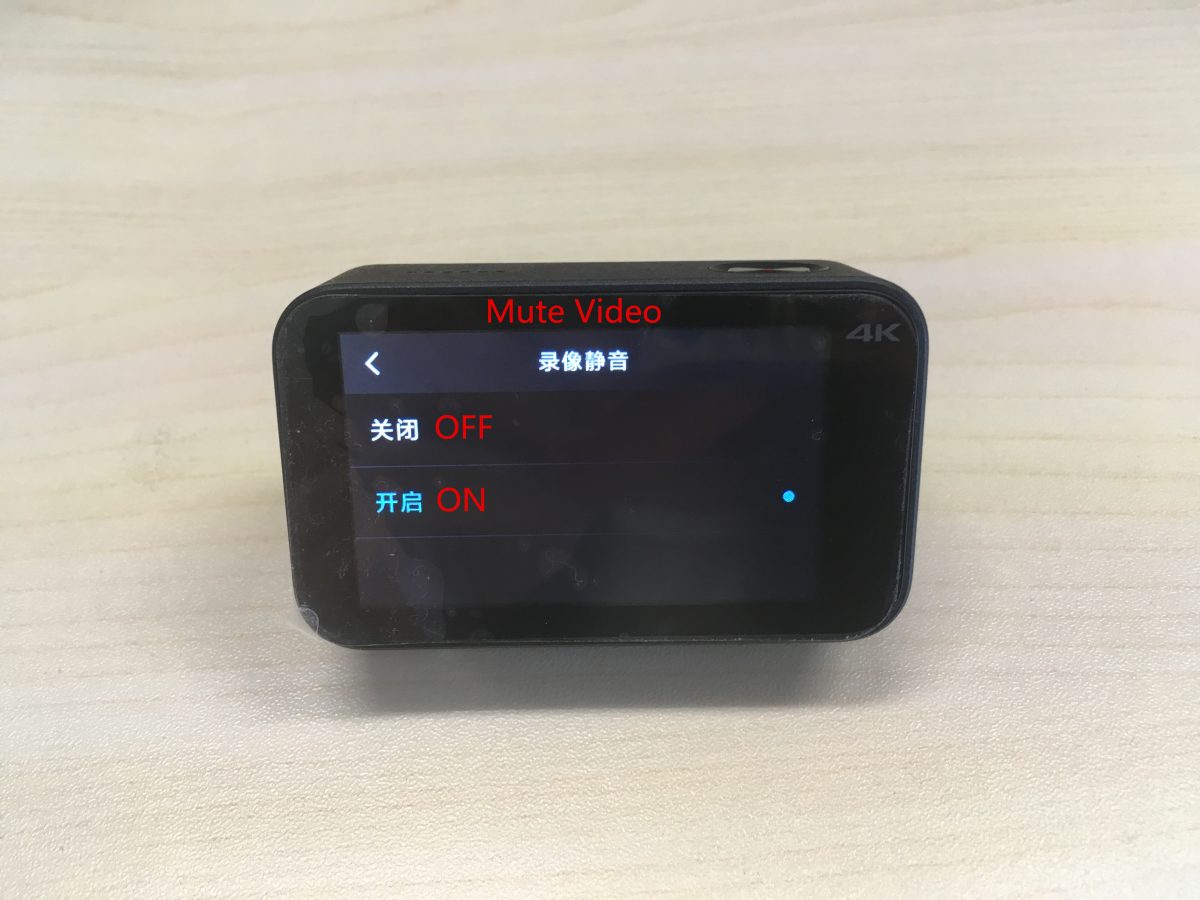
Video resolution, image quality, mute video, timestamp, metering mode, exposure compensation, sensitivity, white balance.

Turn on / off “mute video”.
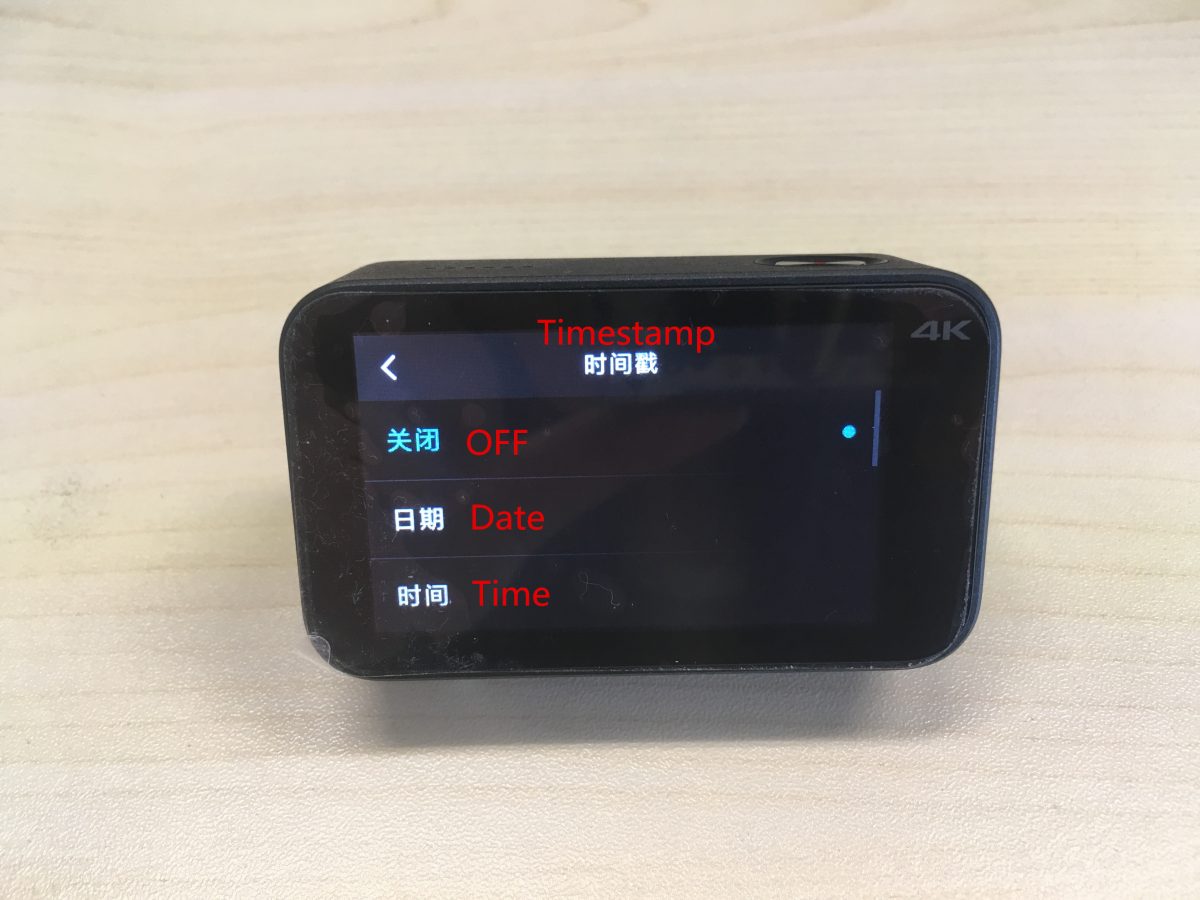
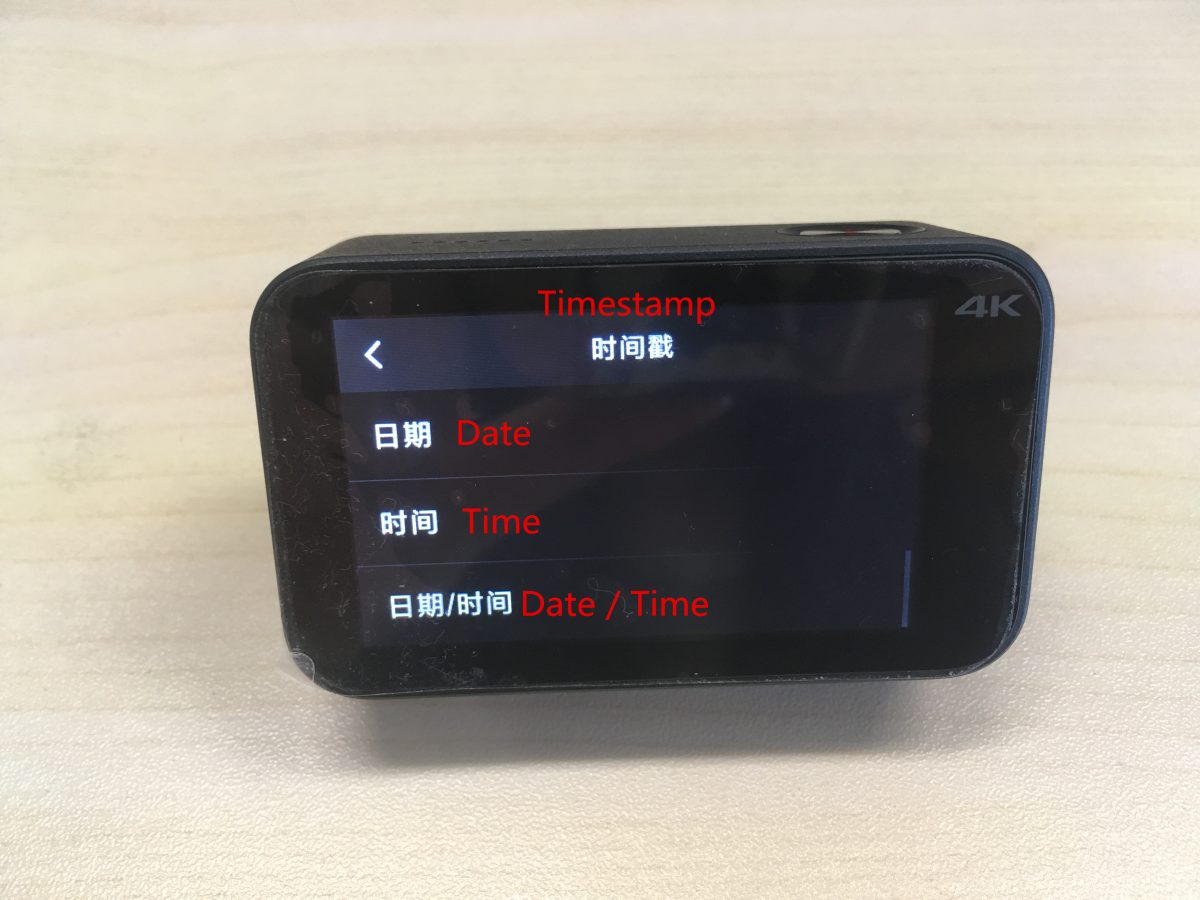
Set the timestamp: ON / OFF, date, time, date / time.
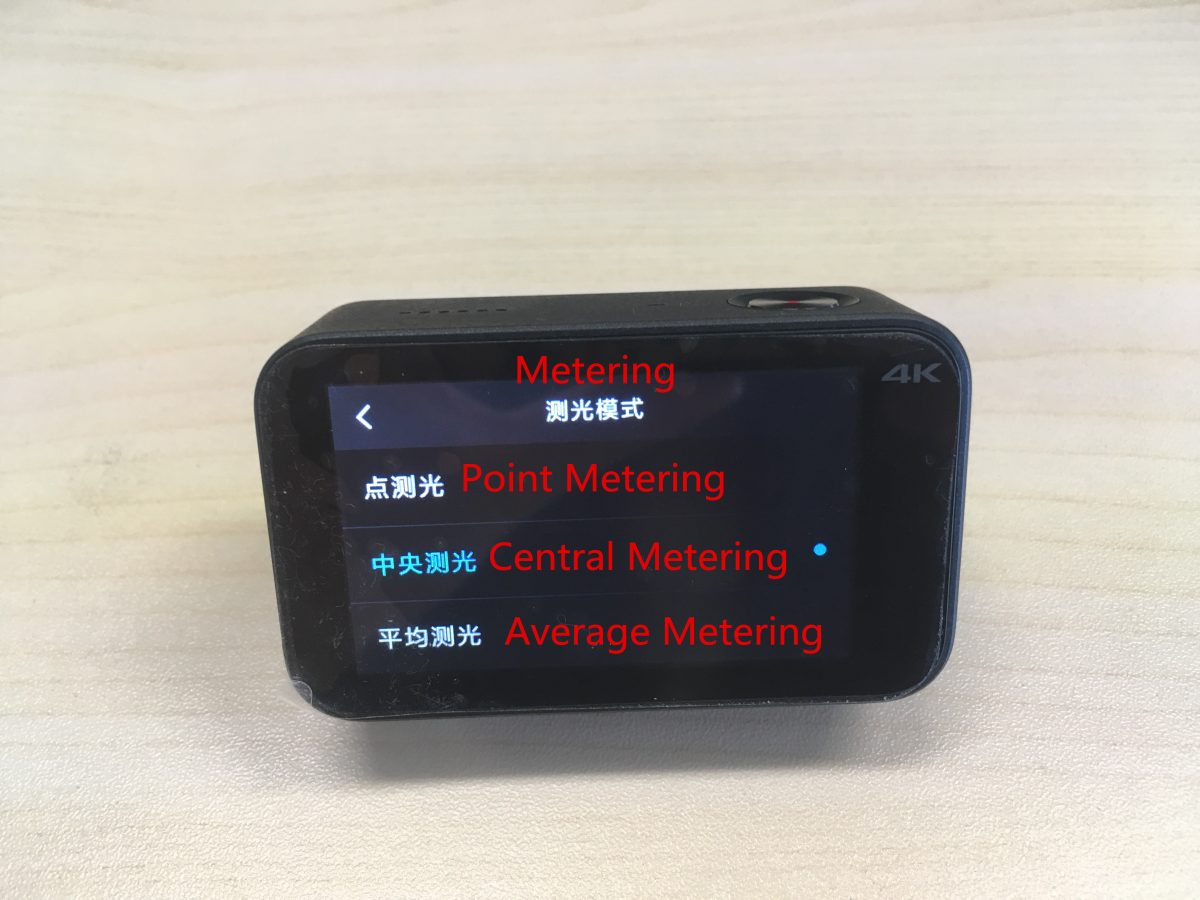
Set metering modes: point metering, central metering, average metering.
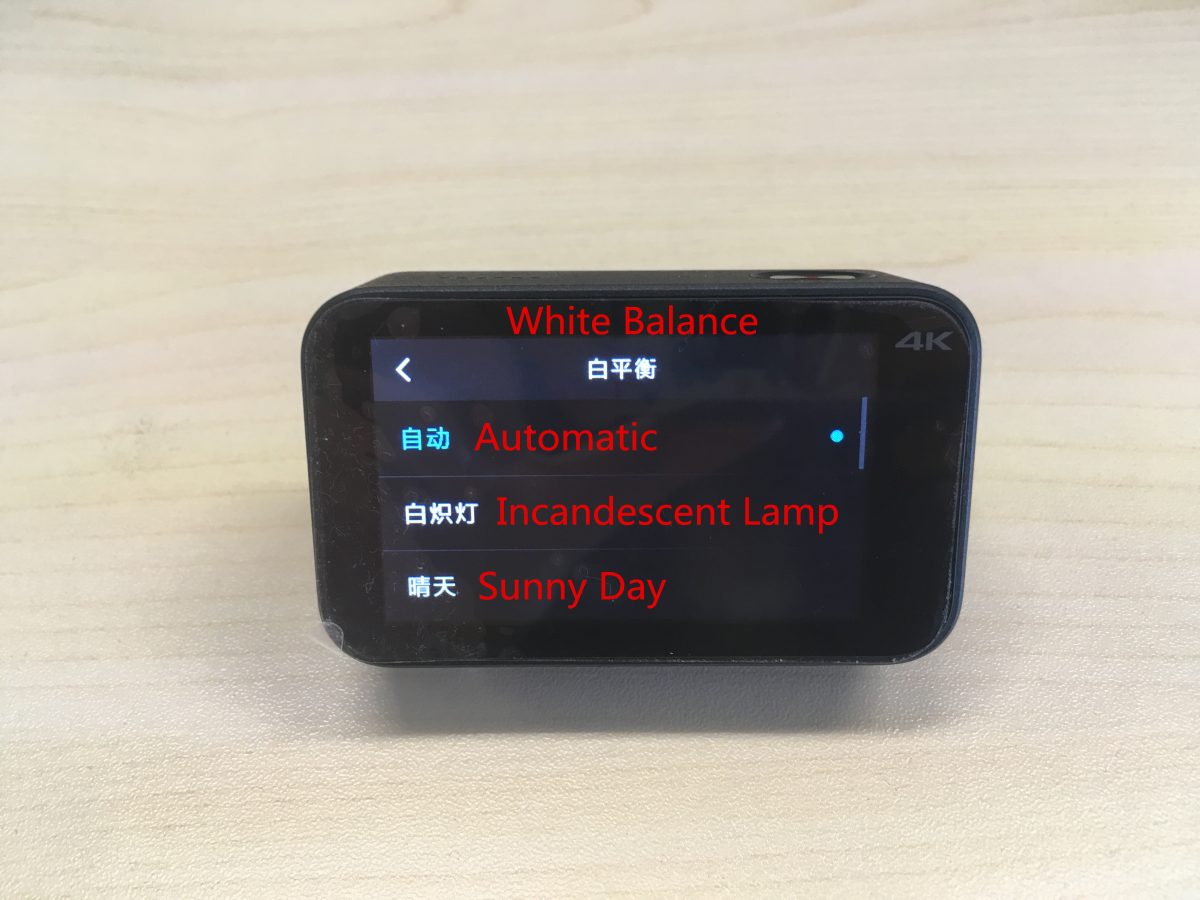
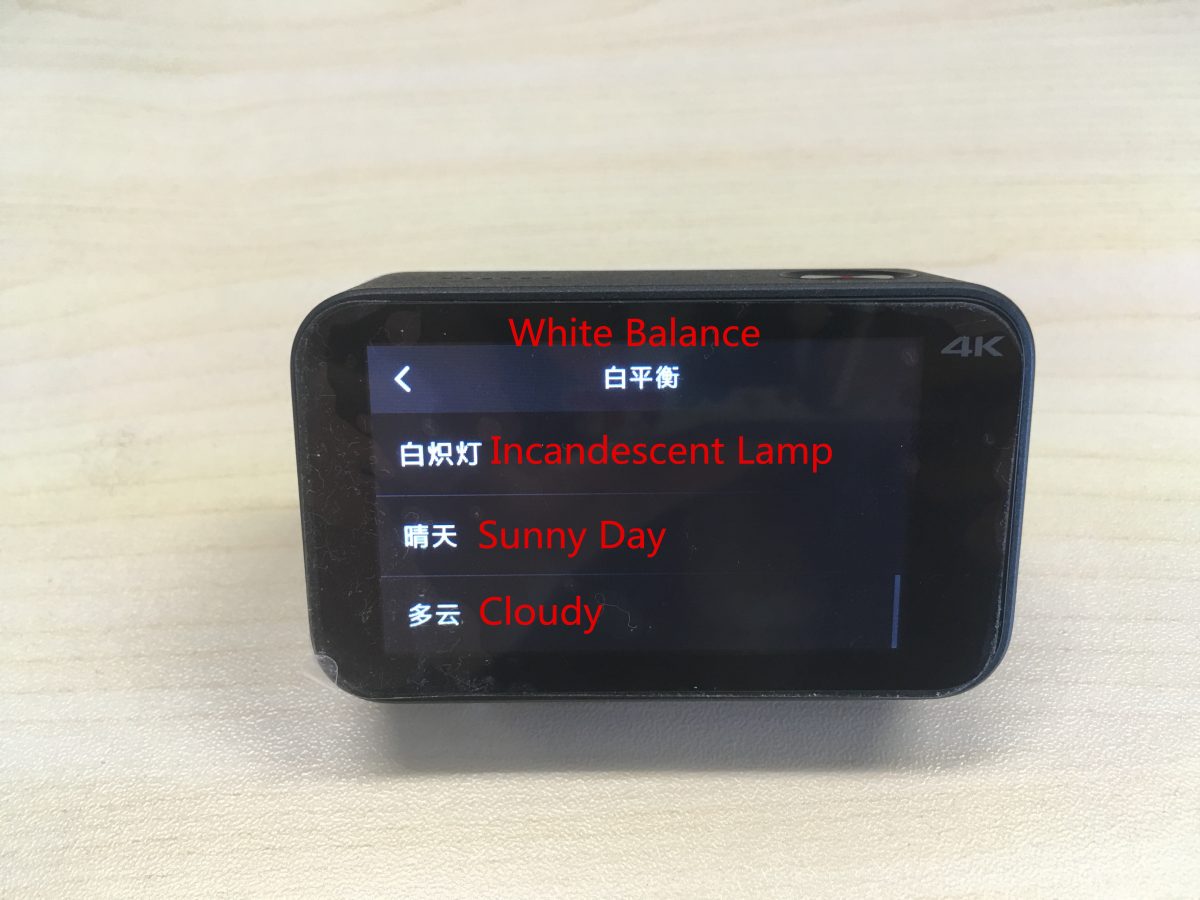
White balance setting: automatic, incandescent lamp, sunny day, cloudy.
(2) Time-lapse video settings:
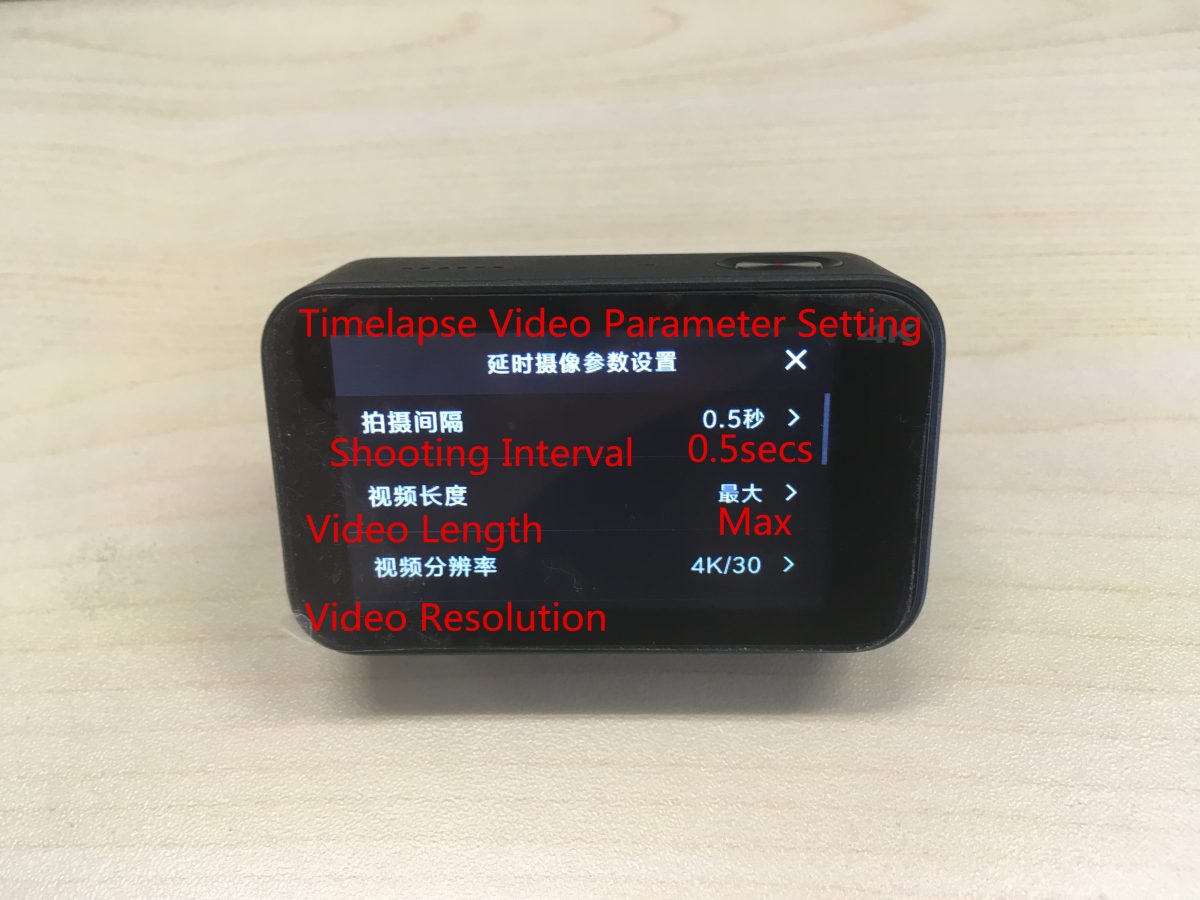
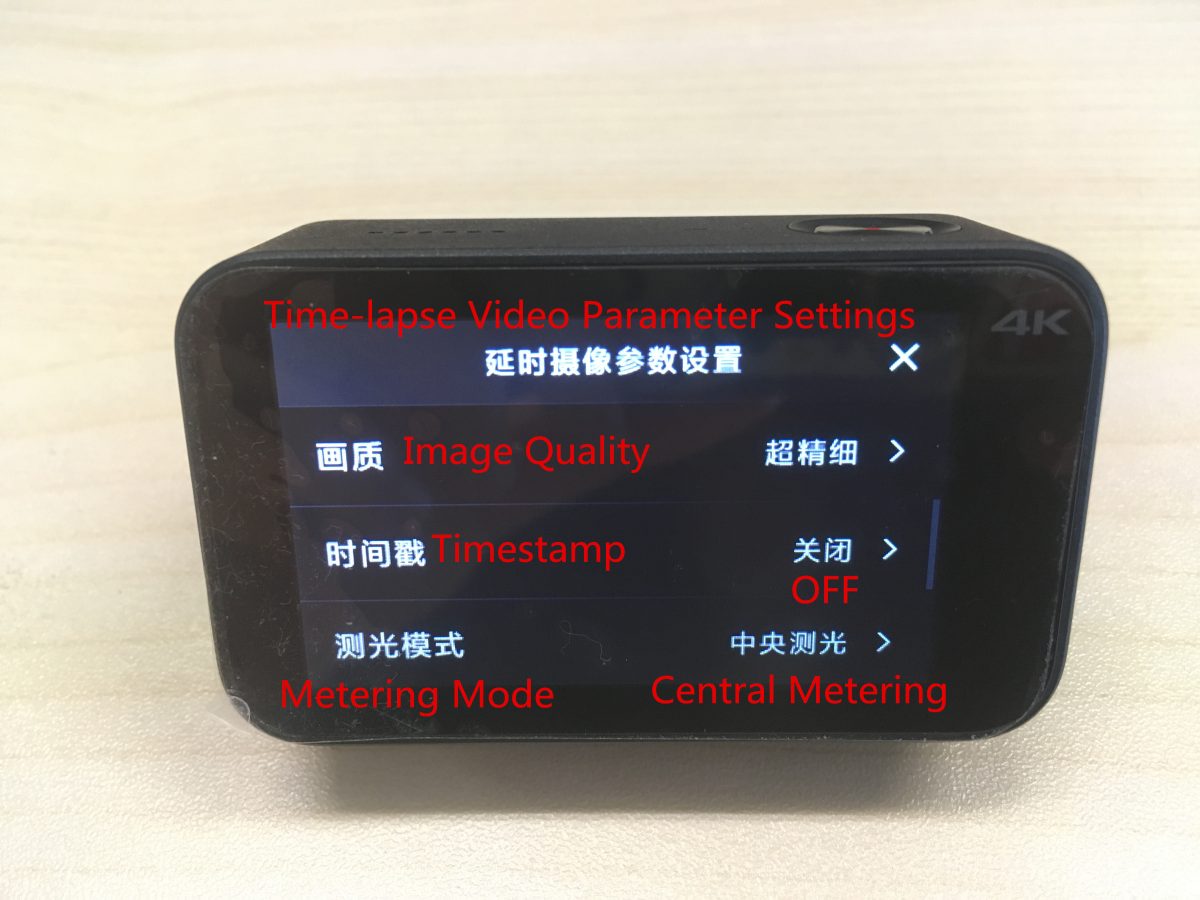
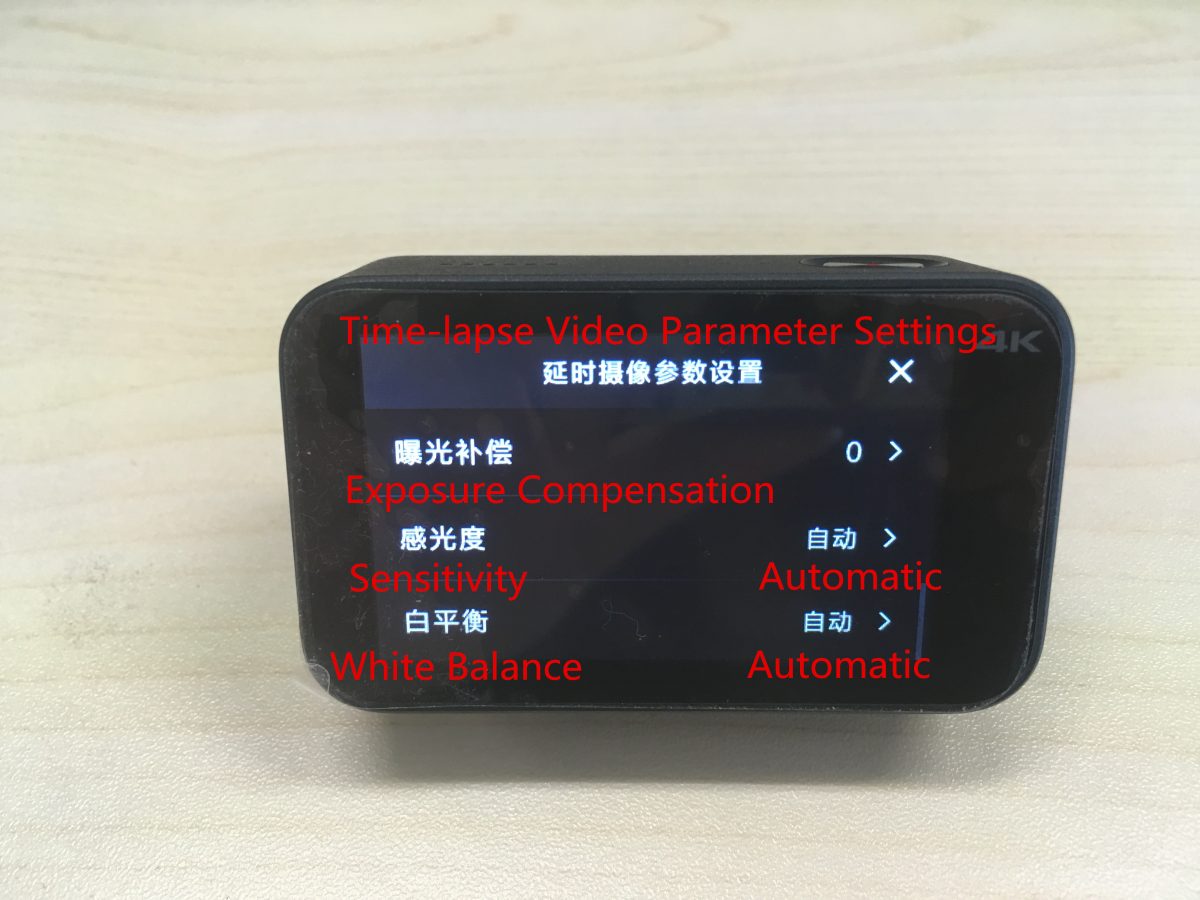
The corresponding settings from above to the bottom are as followings:
Shooting intervals, video length, video resolution, image quality, timestamp, metering mode, exposure compensation, sensitivity, white balance.
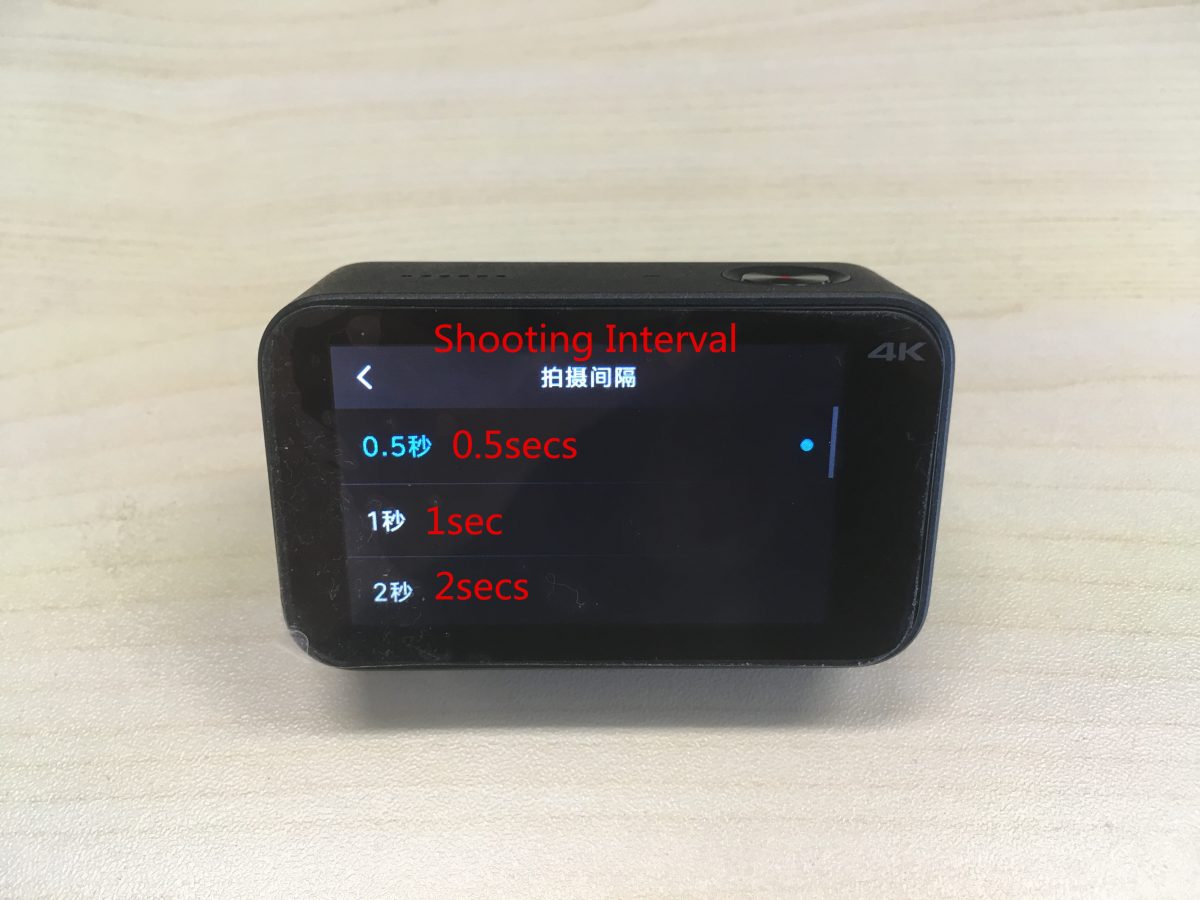
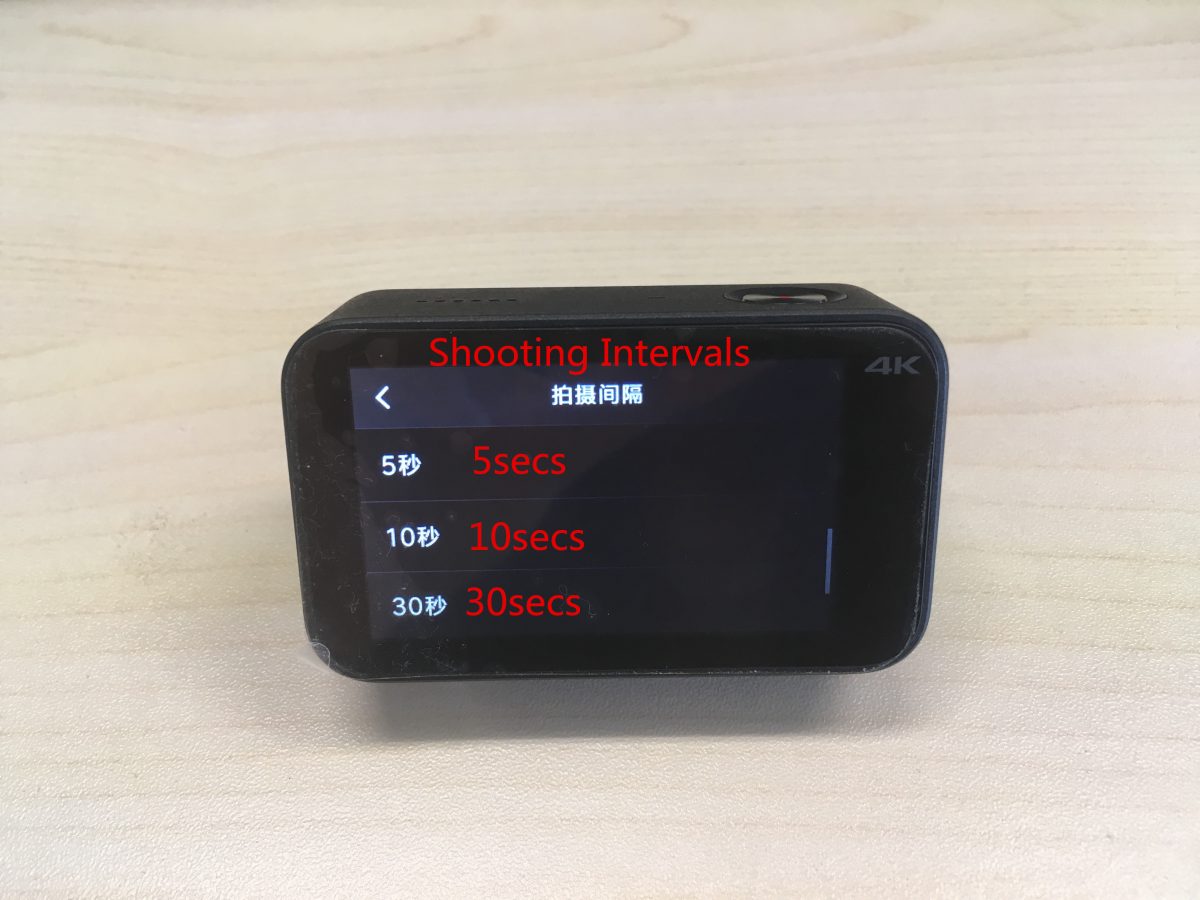
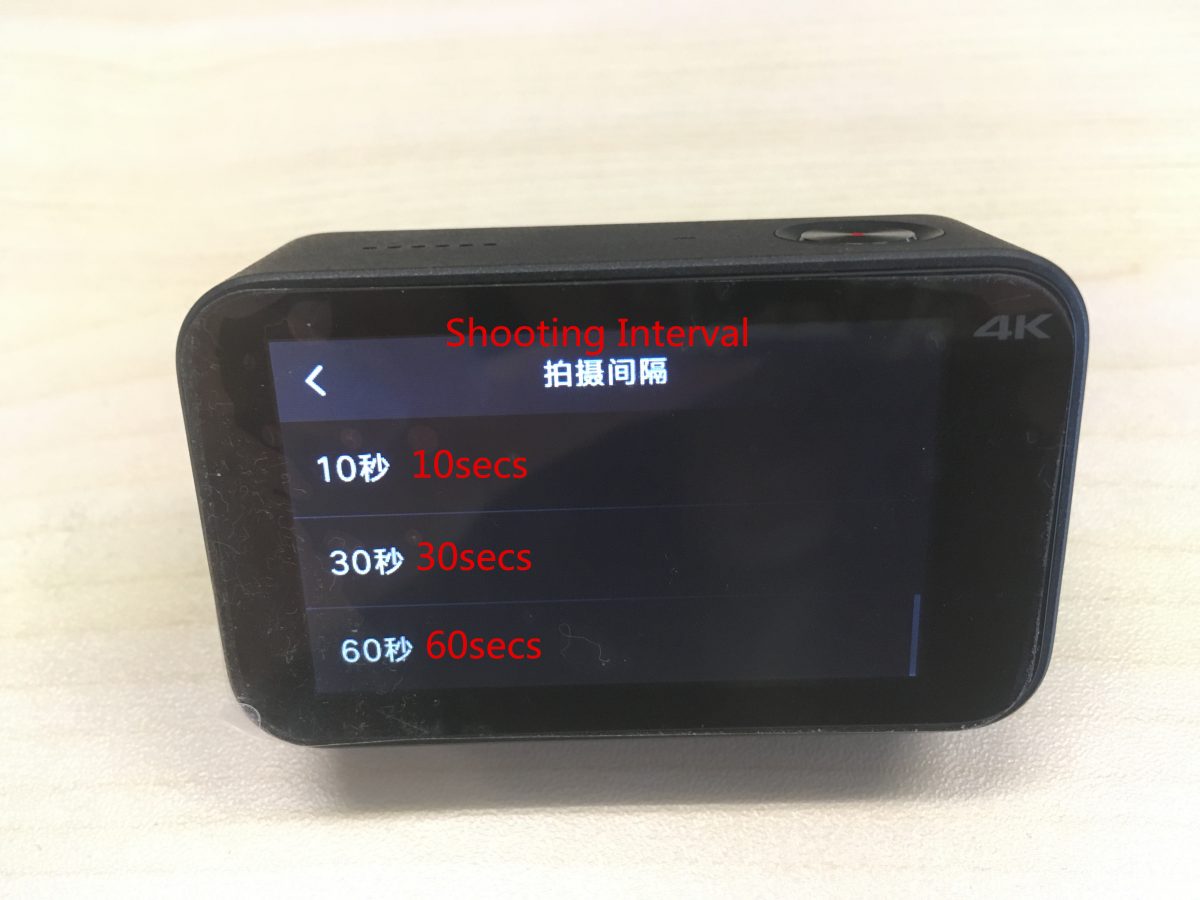
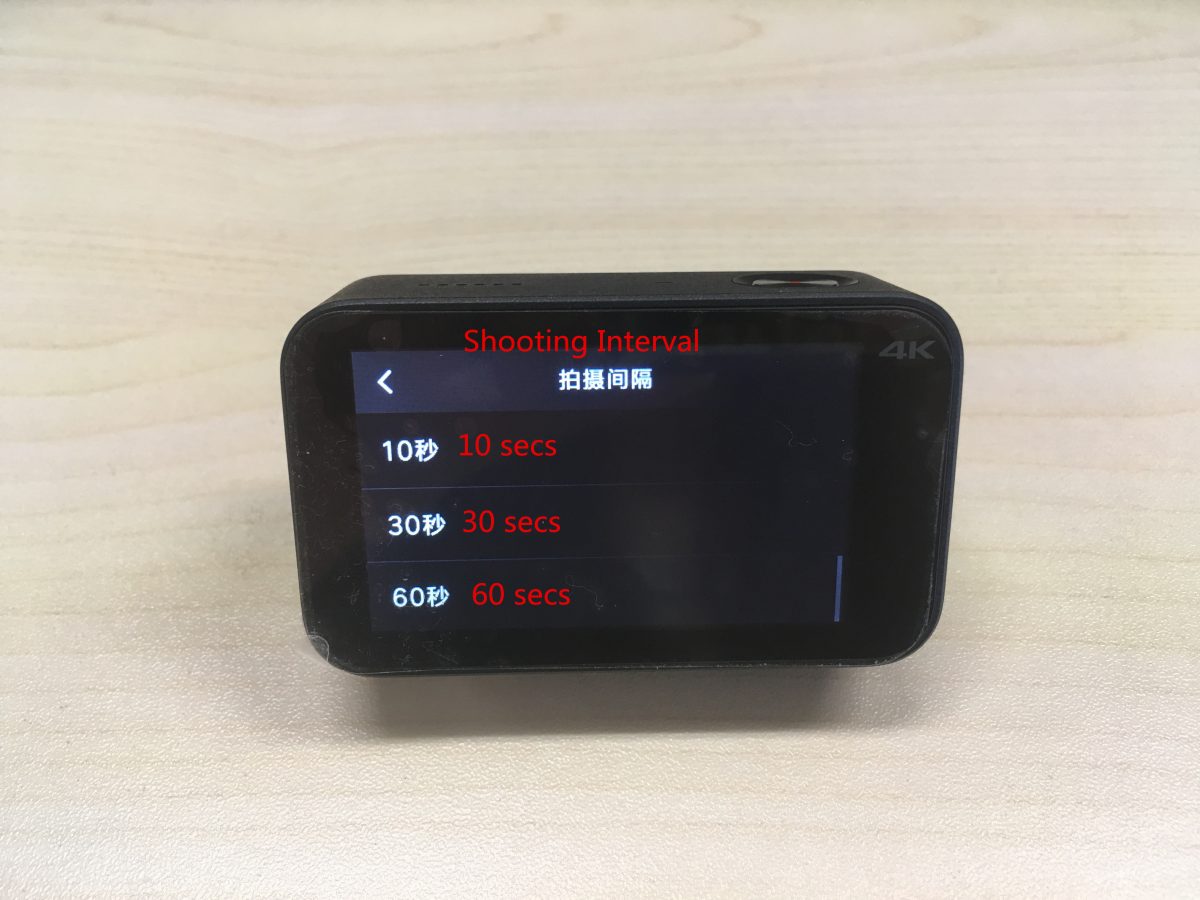
The corresponding shooting interval settings are as followings: 0.5 secs, 1 sec, 2 secs, 5 secs, 10 secs, 30 secs, 60 secs.
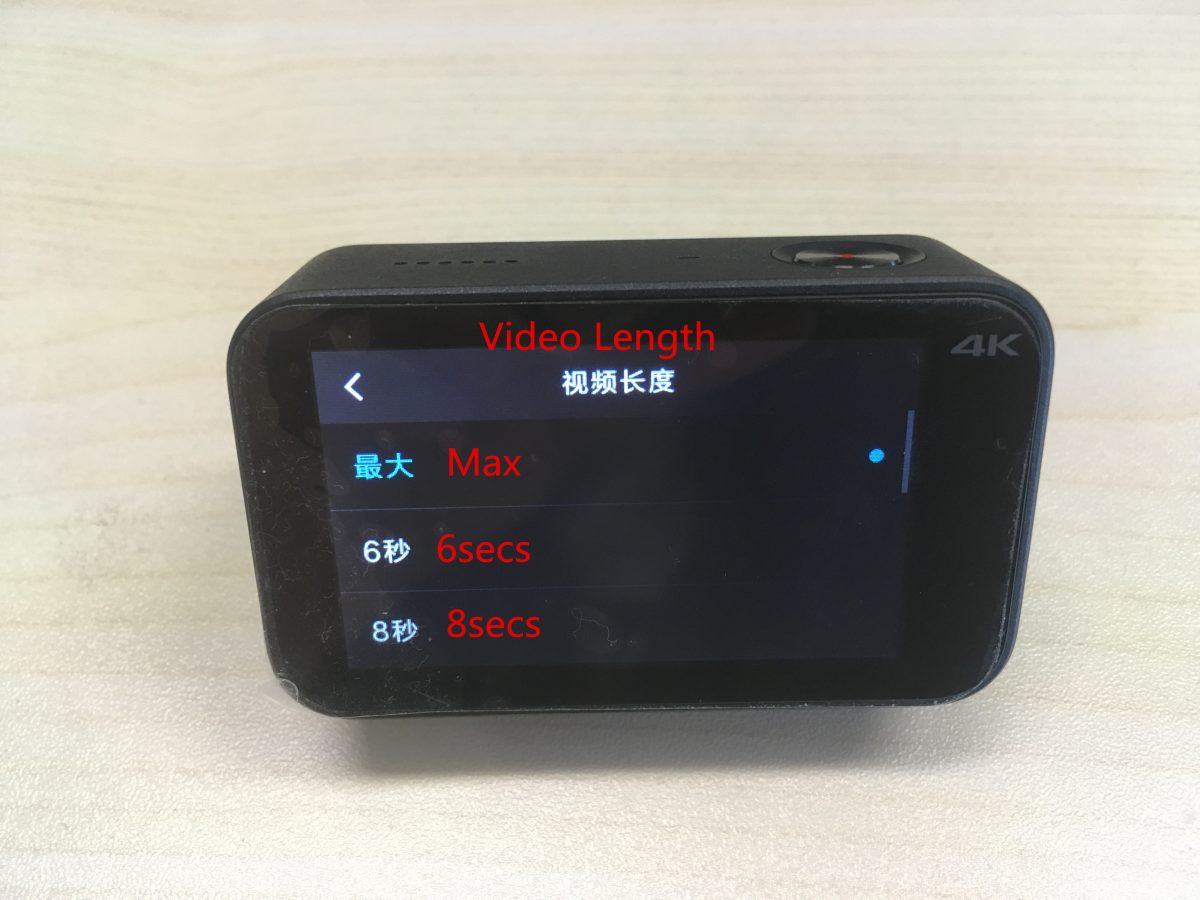
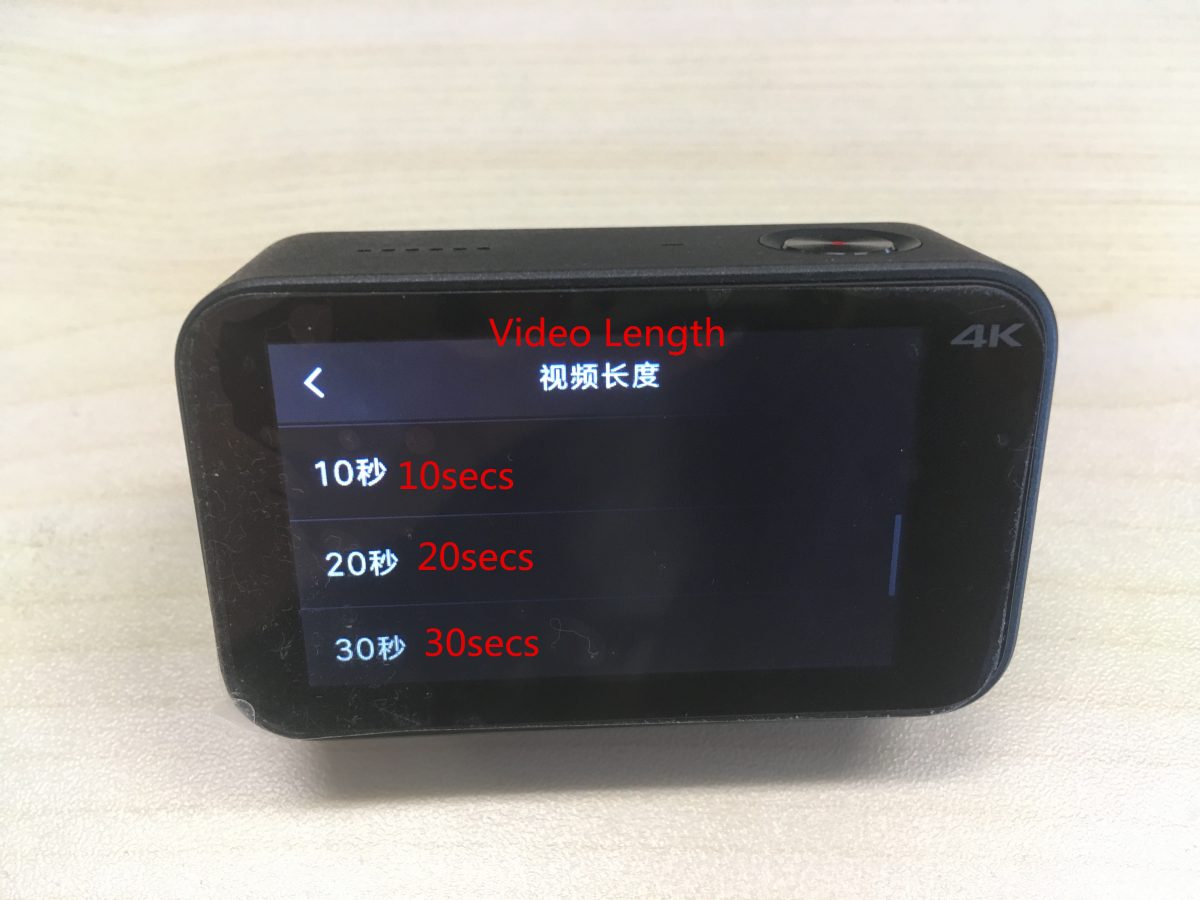
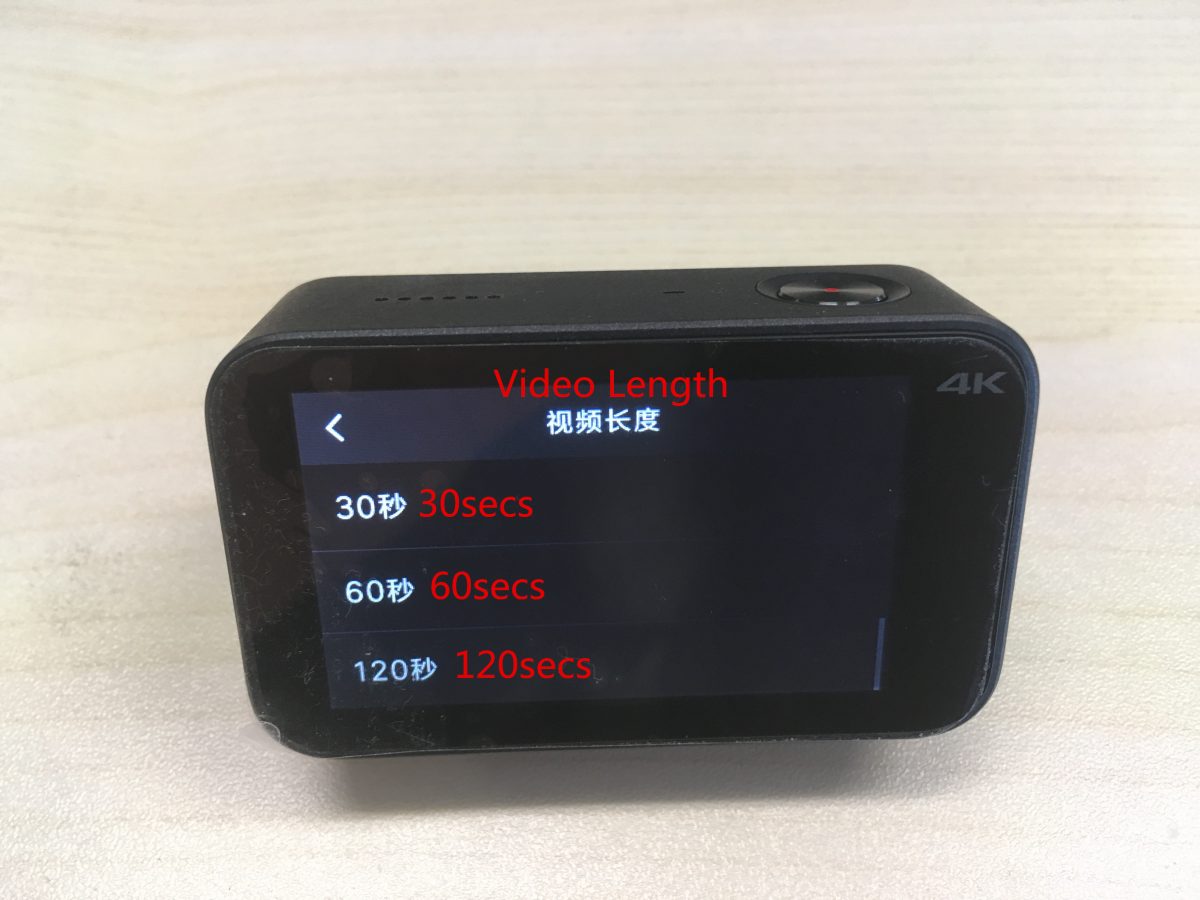
The corresponding video length settings are as followings: max, 6 secs, 8secs, 10 secs, 20 secs, 30 secs, 60 secs, 120 secs.
Set the timestamp: ON / OFF, date, time, date / time.
Set metering modes: point metering, central metering, average metering.
White balance setting: automatic, incandescent lamp, sunny day, cloudy.
(3) Slow motion settings:
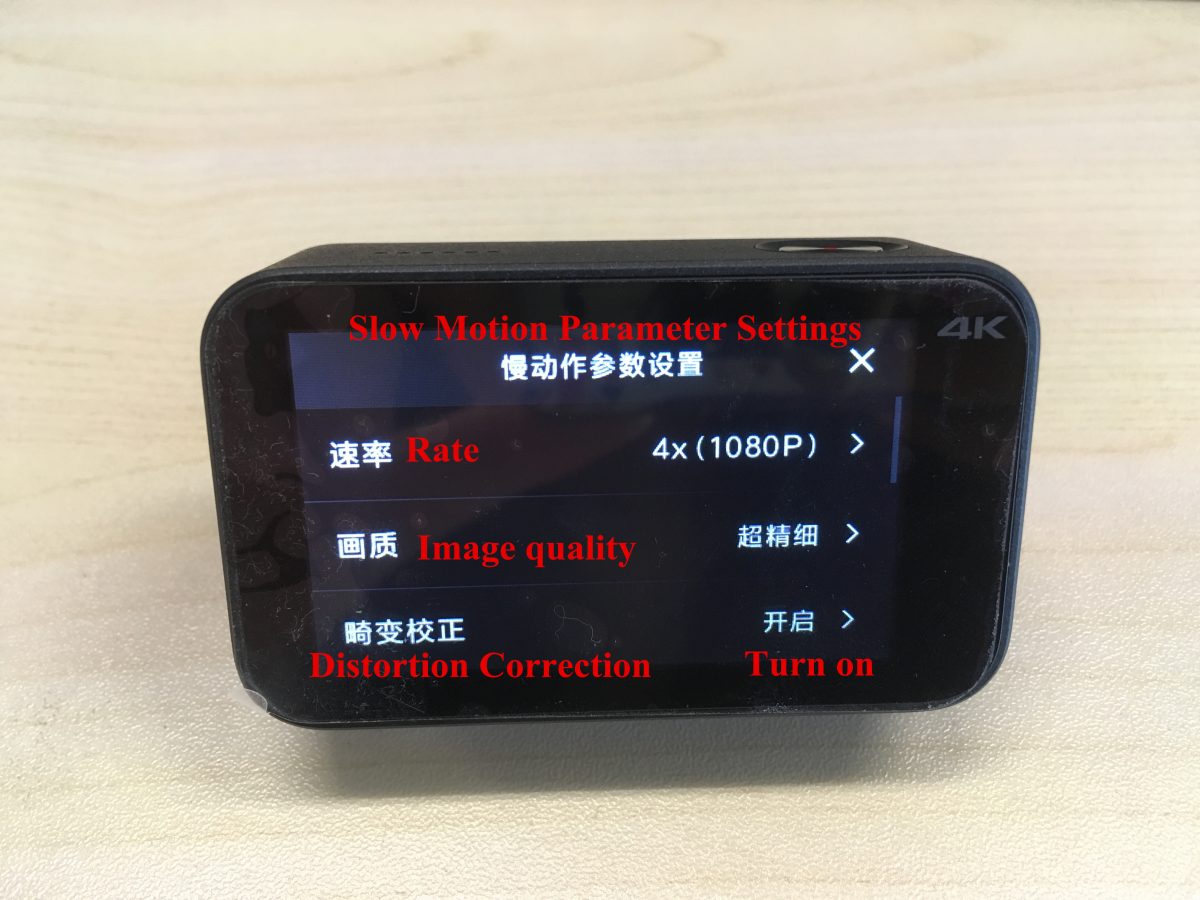
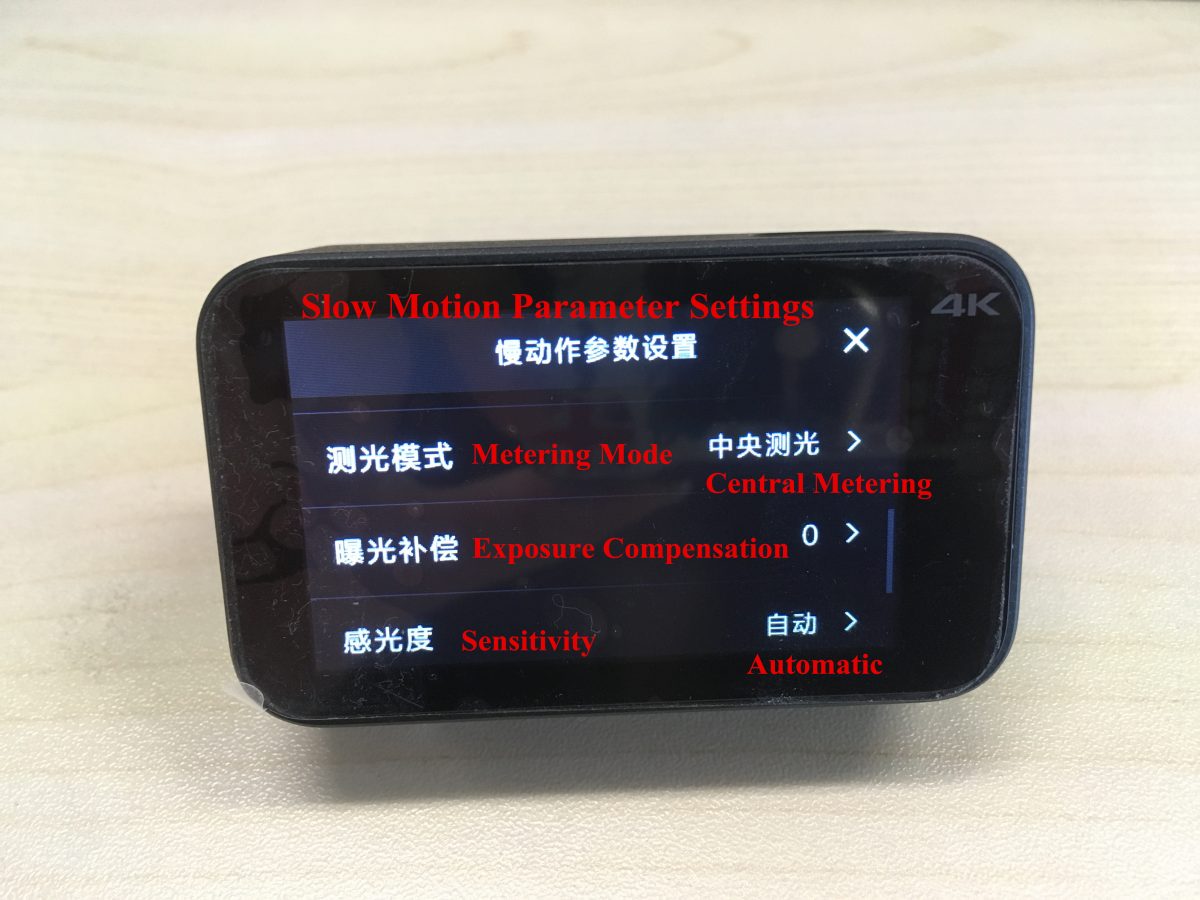
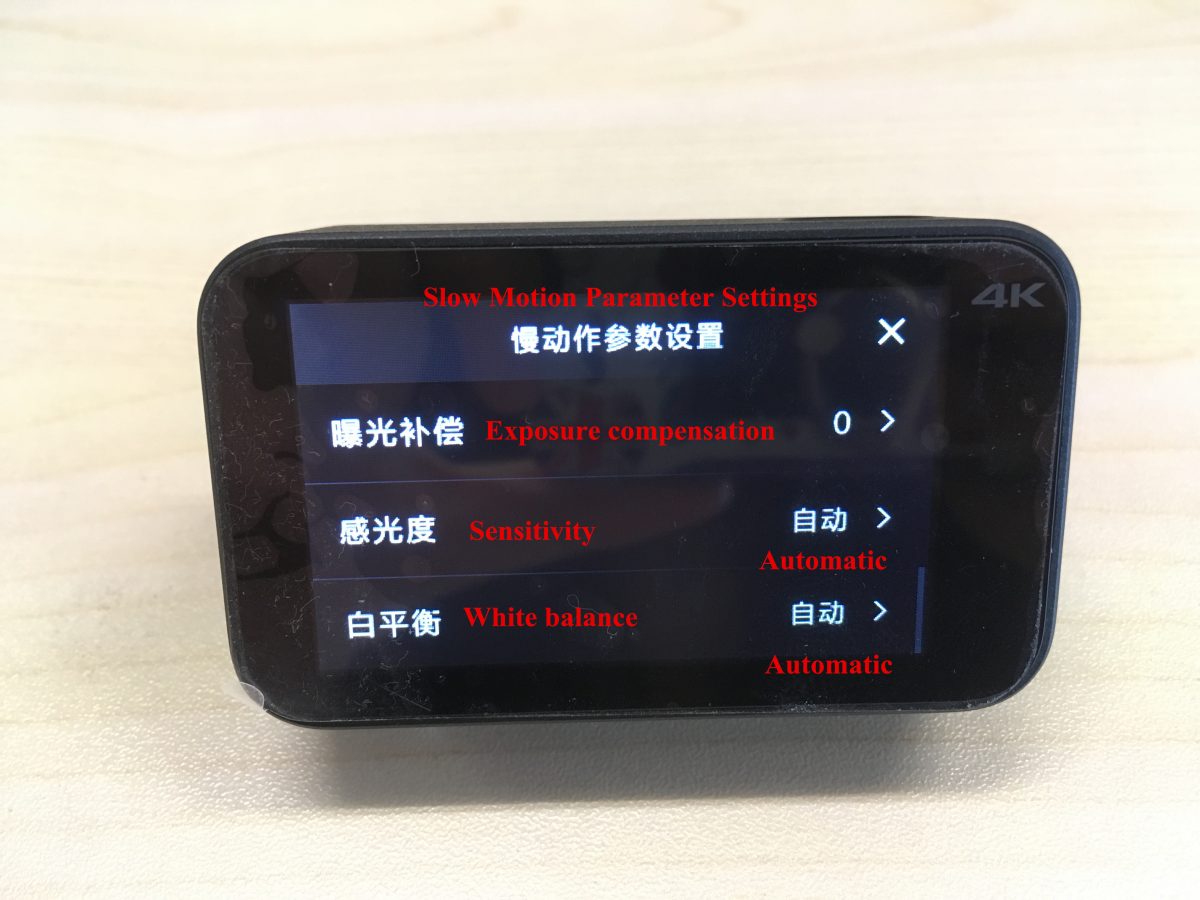
The corresponding settings from above to the bottom are as followings:
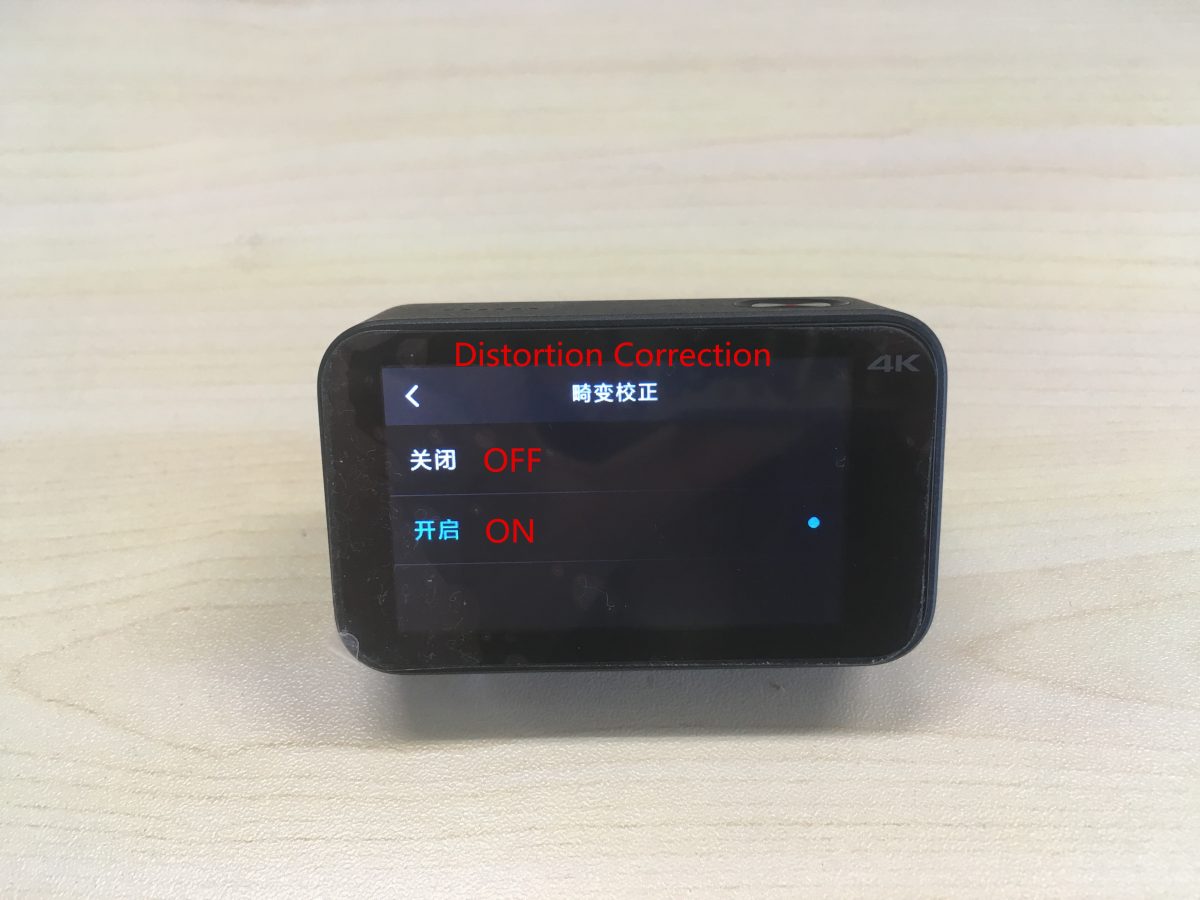
Rate, image quality, distortion correction, metering mode, exposure compensation, sensitivity, white balance.

Turn on / off distortion correction from here.
Set metering modes: point metering, central metering, average metering.
White balance setting: automatic, incandescent lamp, sunny day, cloudy.
(4) Loop video settings:
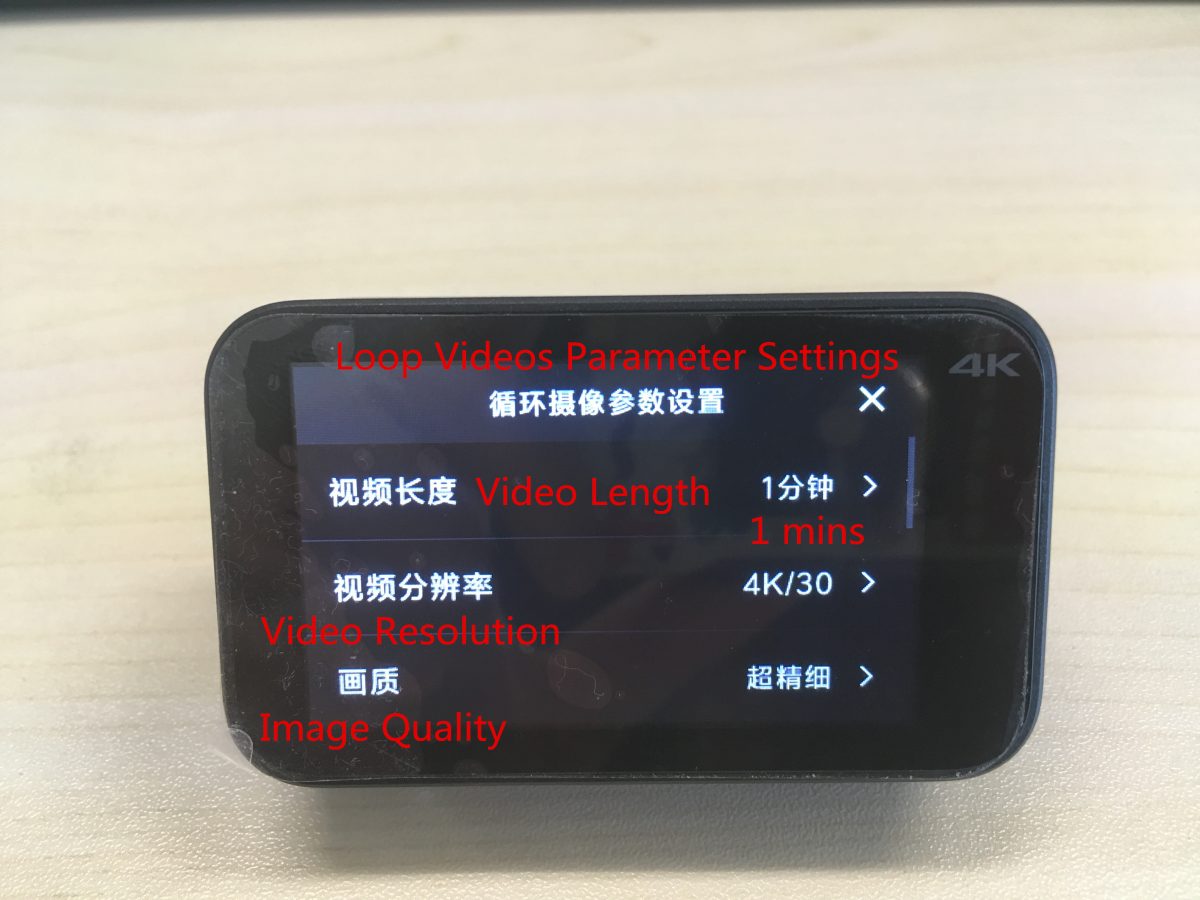
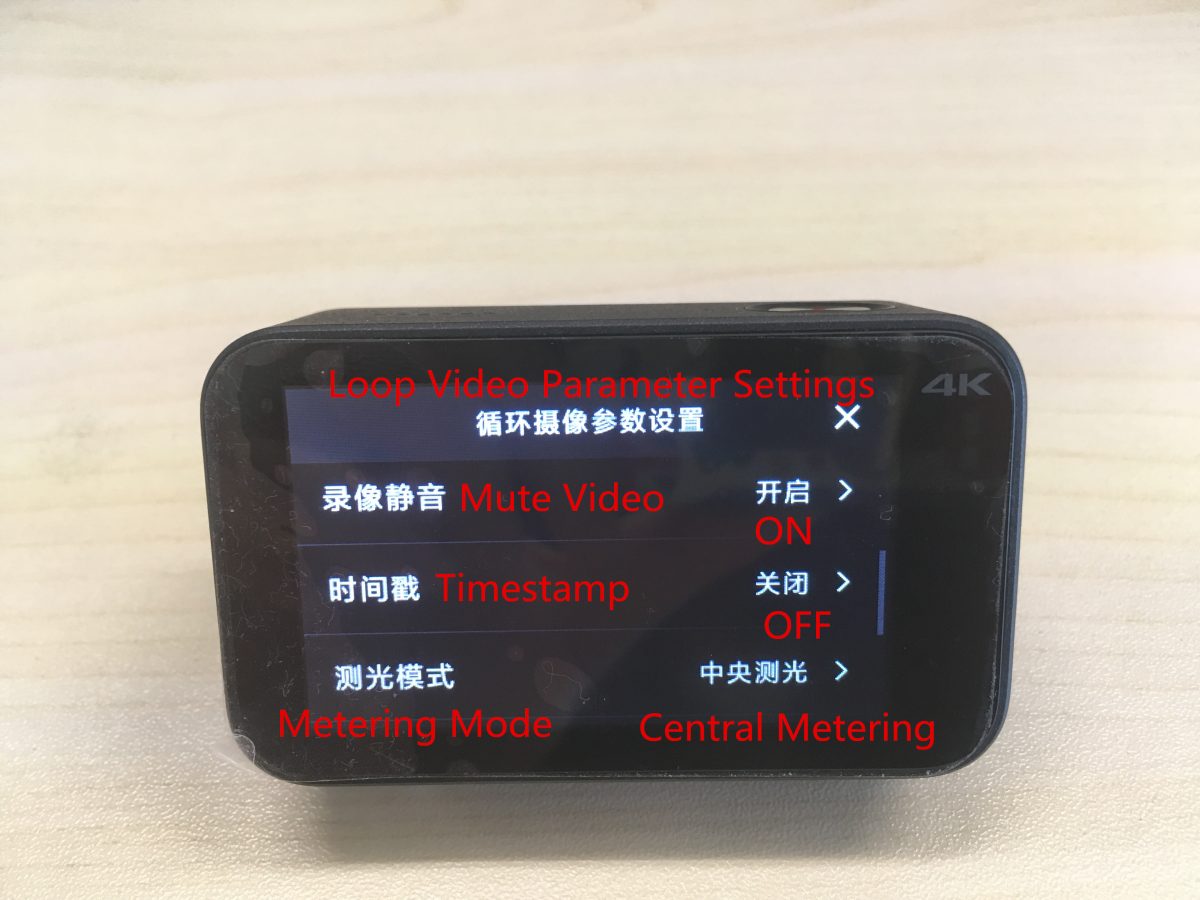
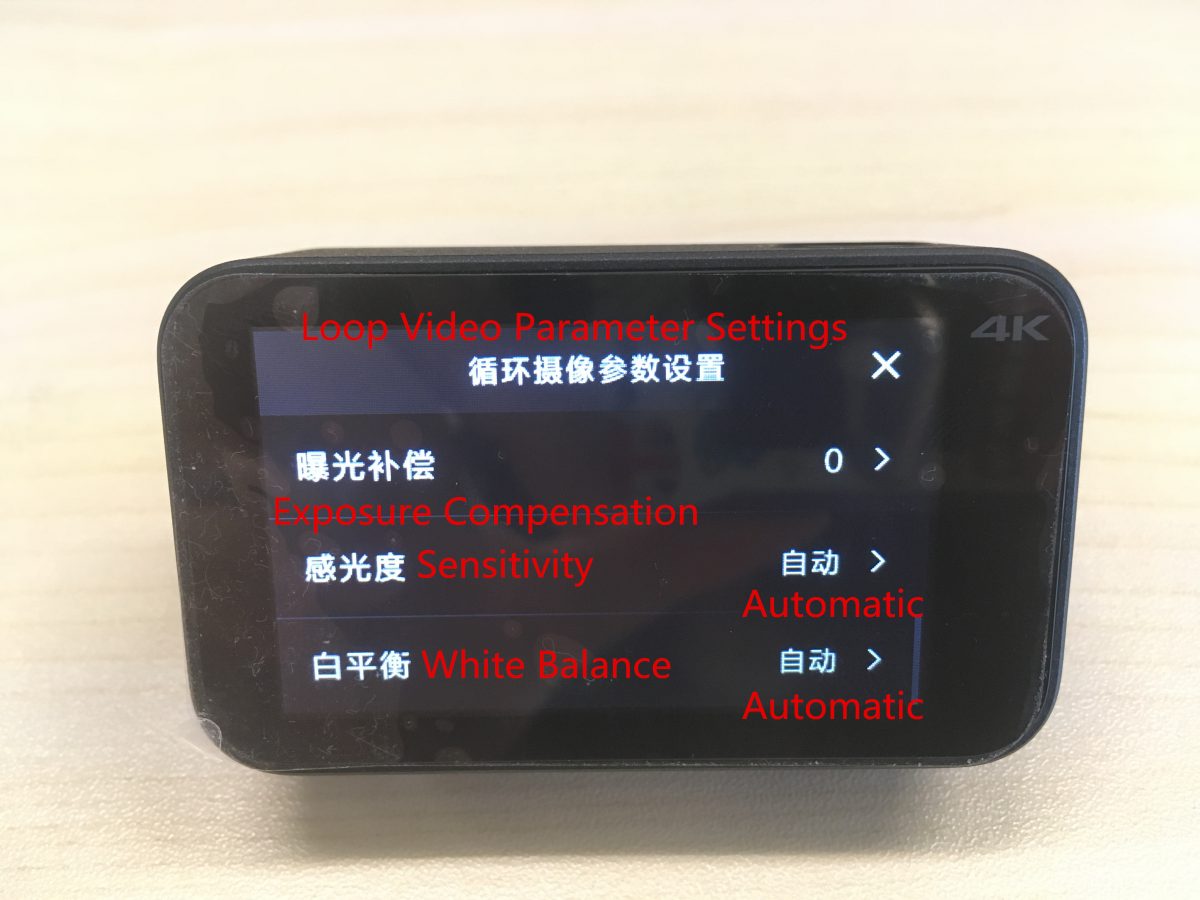
The corresponding settings from above to the bottom are as followings:
Video length, video resolution, image quality, mute video, timestamp, metering mode, exposure compensation, sensitivity, white balance.
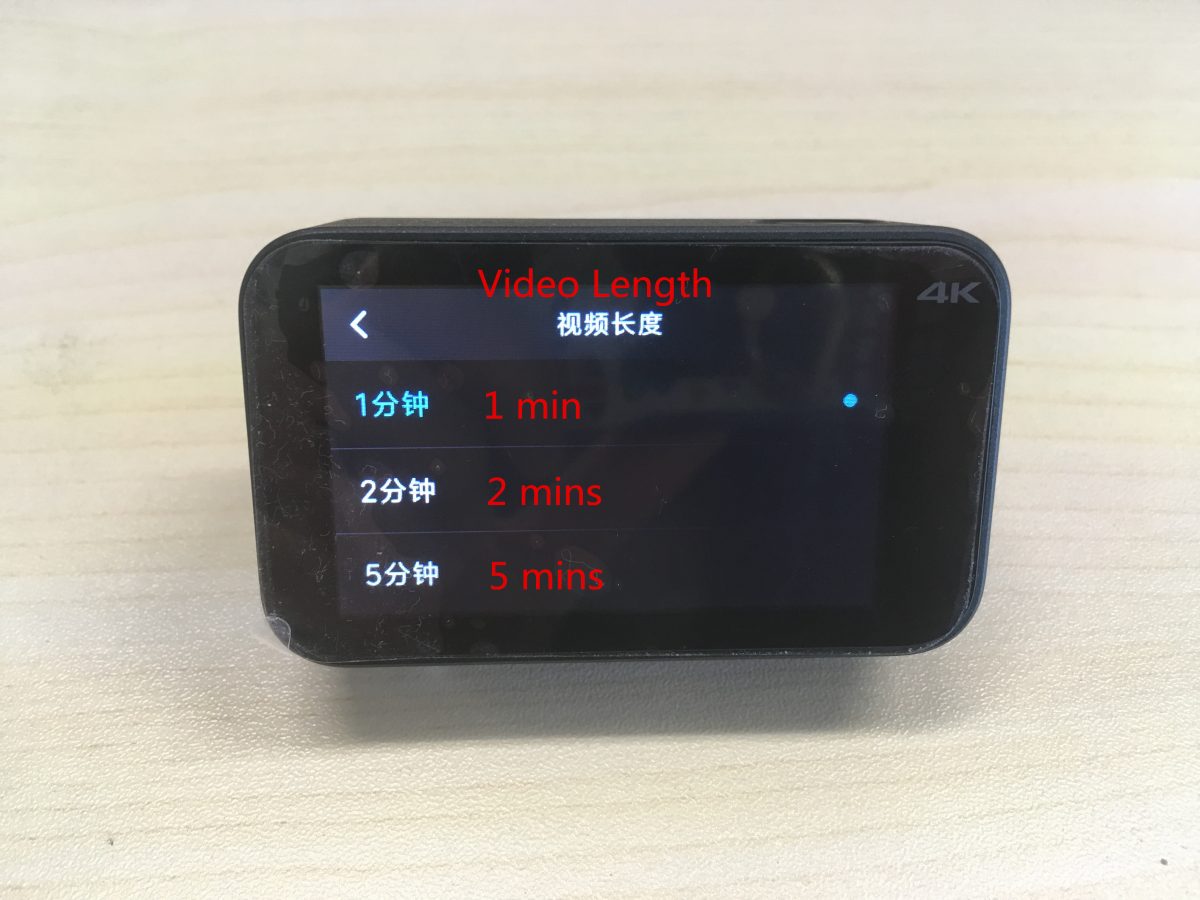
Video length can be divided as followings: 1 mins, 2 mins, 3 mins.
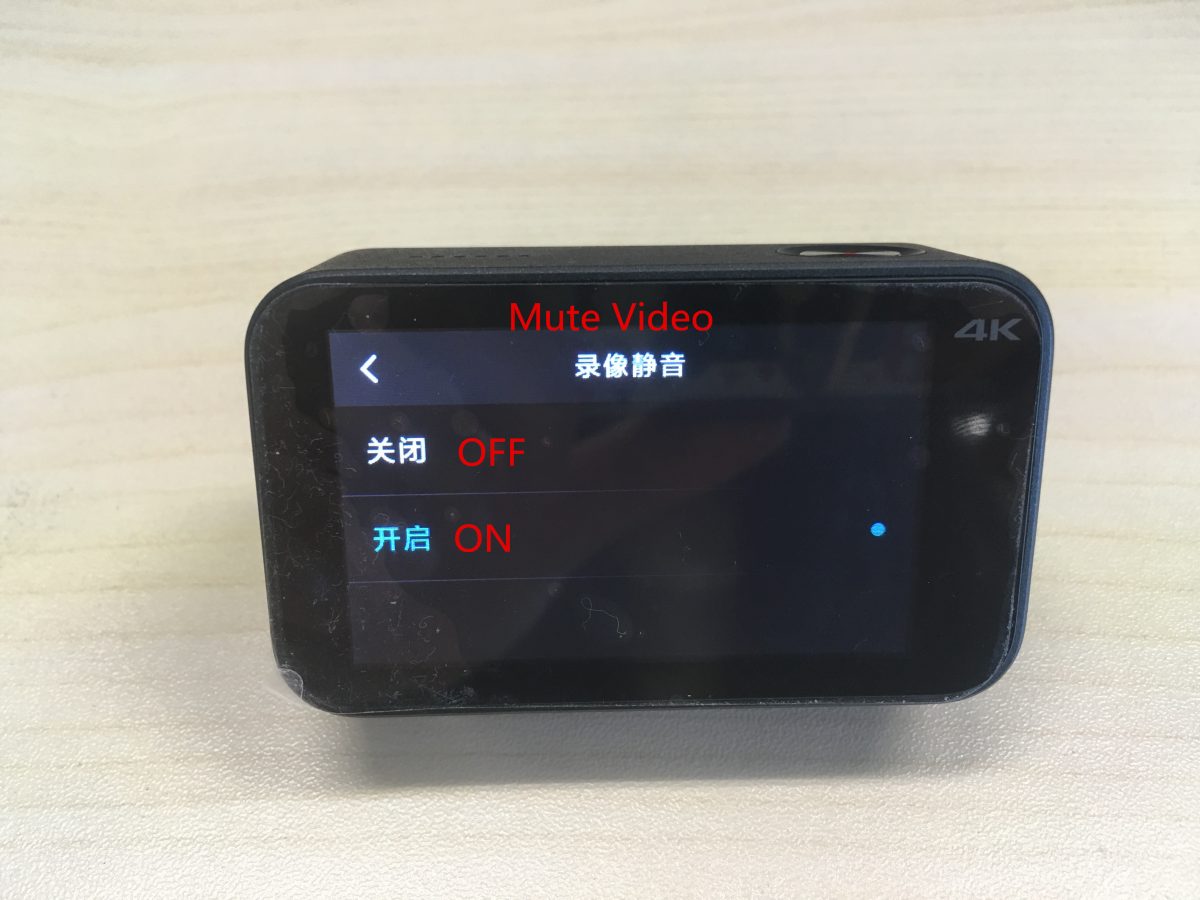
Turn on / off “Mute Video”.
Set the timestamp: ON / OFF, date, time, date / time.
Set metering modes: point metering, central metering, average metering.
White balance setting: automatic, incandescent lamp, sunny day, cloudy.
(5) Videos + Photograph settings:
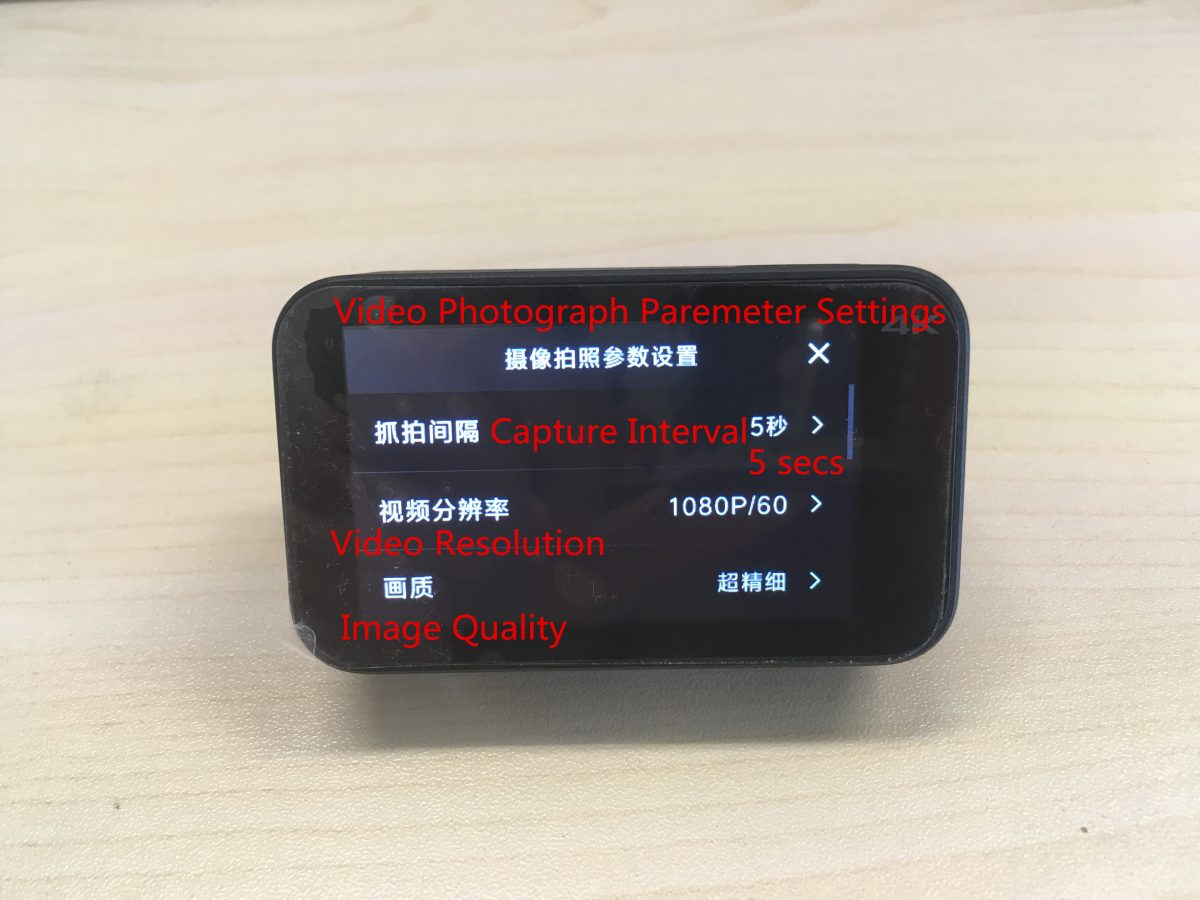
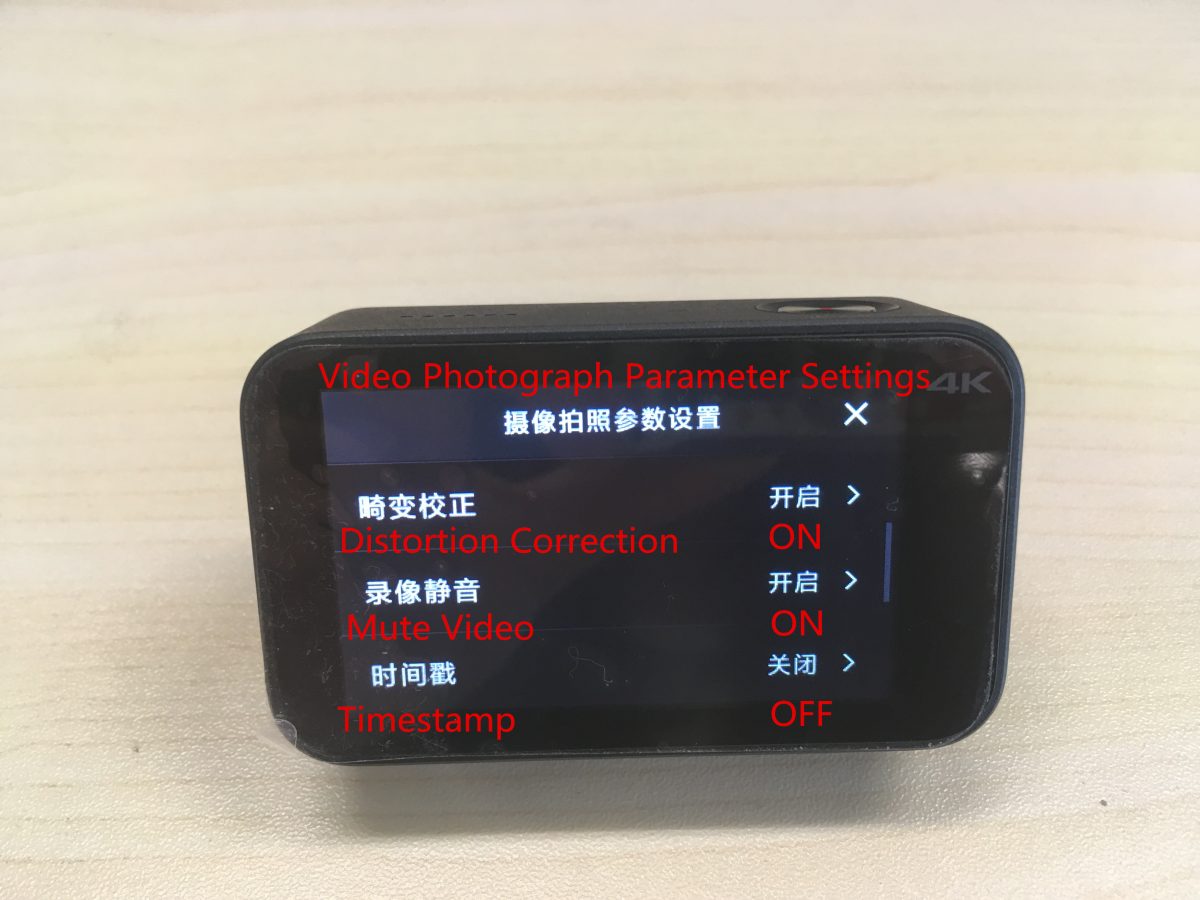
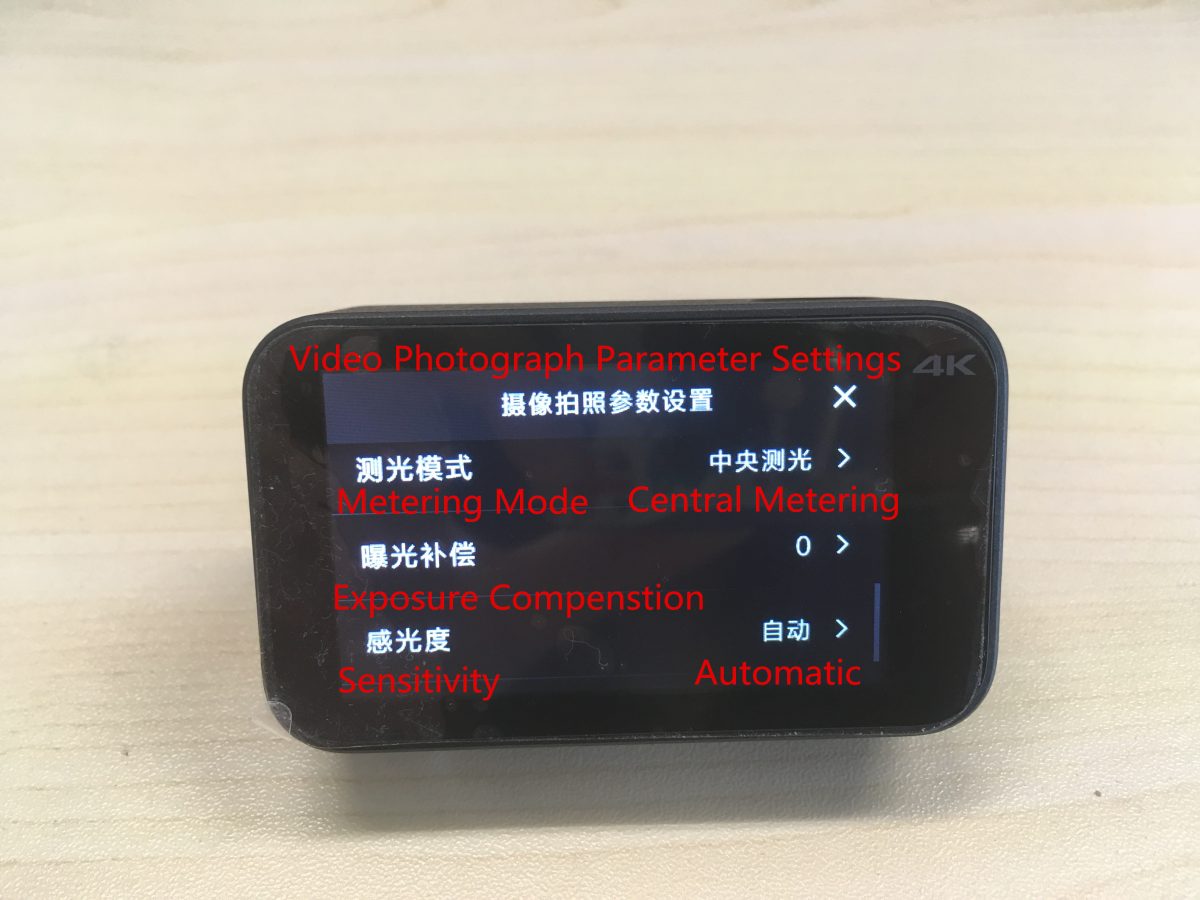
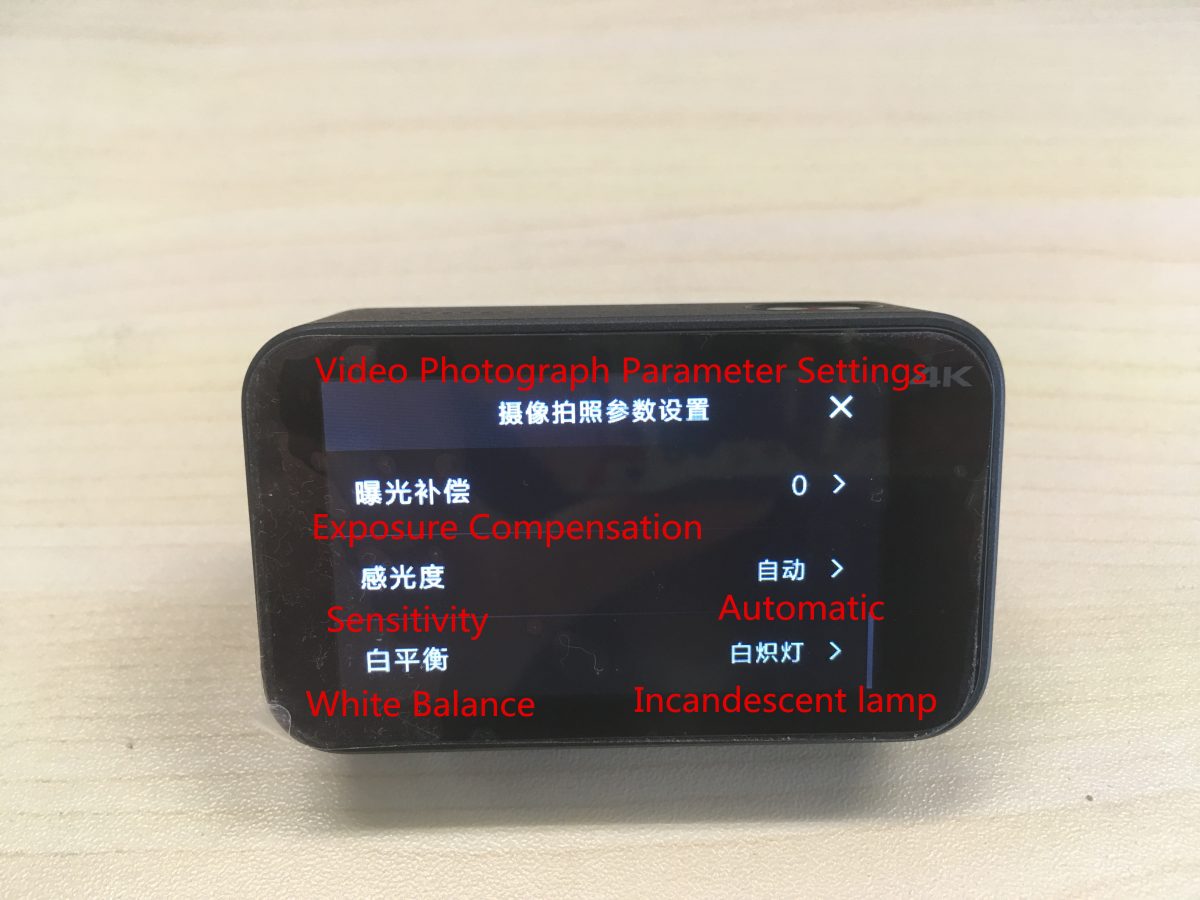
The corresponding settings from above to the bottom are as followings:
Capture interval, video resolution, image quality, distortion correction, mute video, timestamp, metering mode, exposure compensation, sensitivity, white balance.
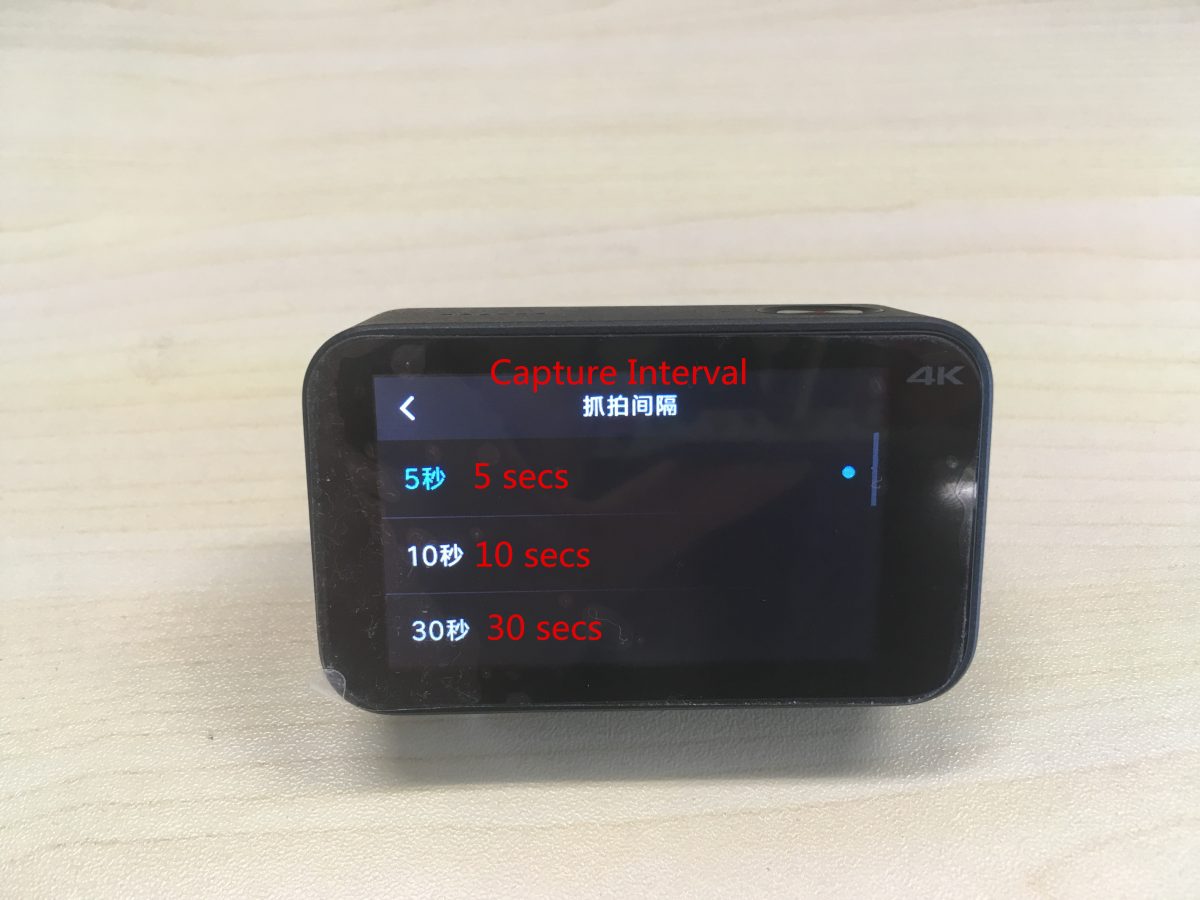

The corresponding capture interval settings are as followings: 5 secs, 10 secs, 30 secs, 60 secs.
Turn on / off Distortion Correction.
Turn on / off Mute Video.
Set the timestamp: ON / OFF, date, time, date / time.
Set metering modes: point metering, central metering, average metering.
White balance setting: automatic, incandescent lamp, sunny day, cloudy.
(6) Normal photograph settings:
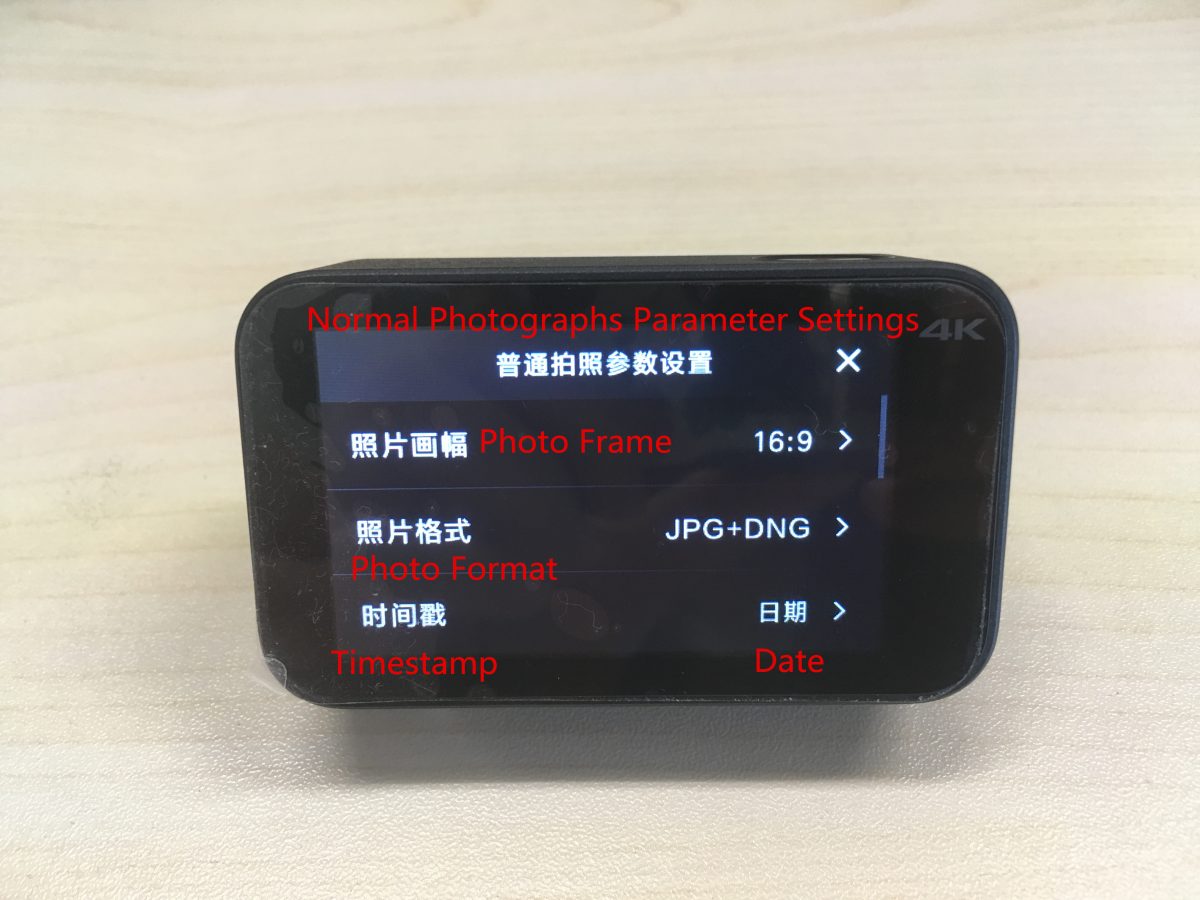
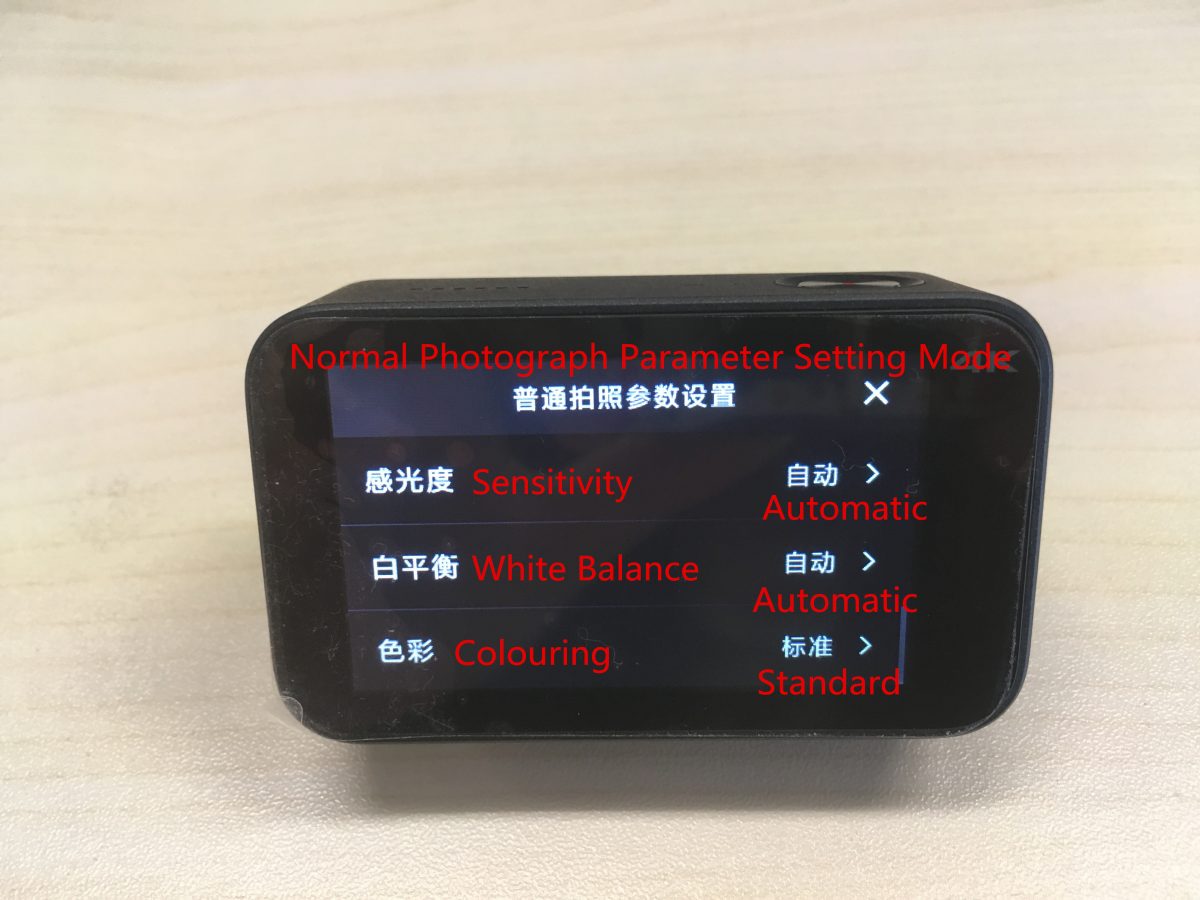
The corresponding settings from above to the bottom are as followings:
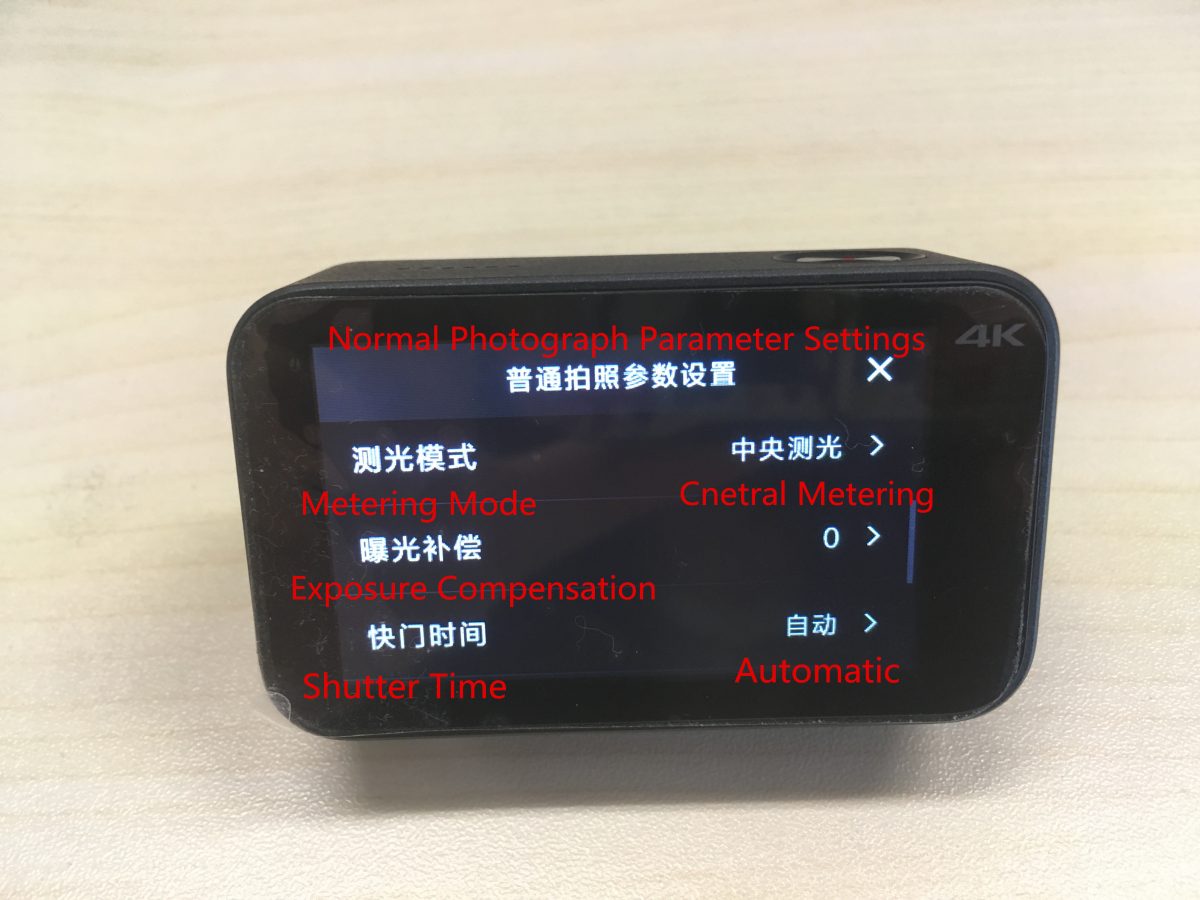
Photo frame, photo format, timestamp, metering mode, exposure compensation, shutter time, sensitivity, white balance, coloring.
Set the timestamp: ON / OFF, date, time, date / time.
Set metering modes: point metering, central metering, average metering.
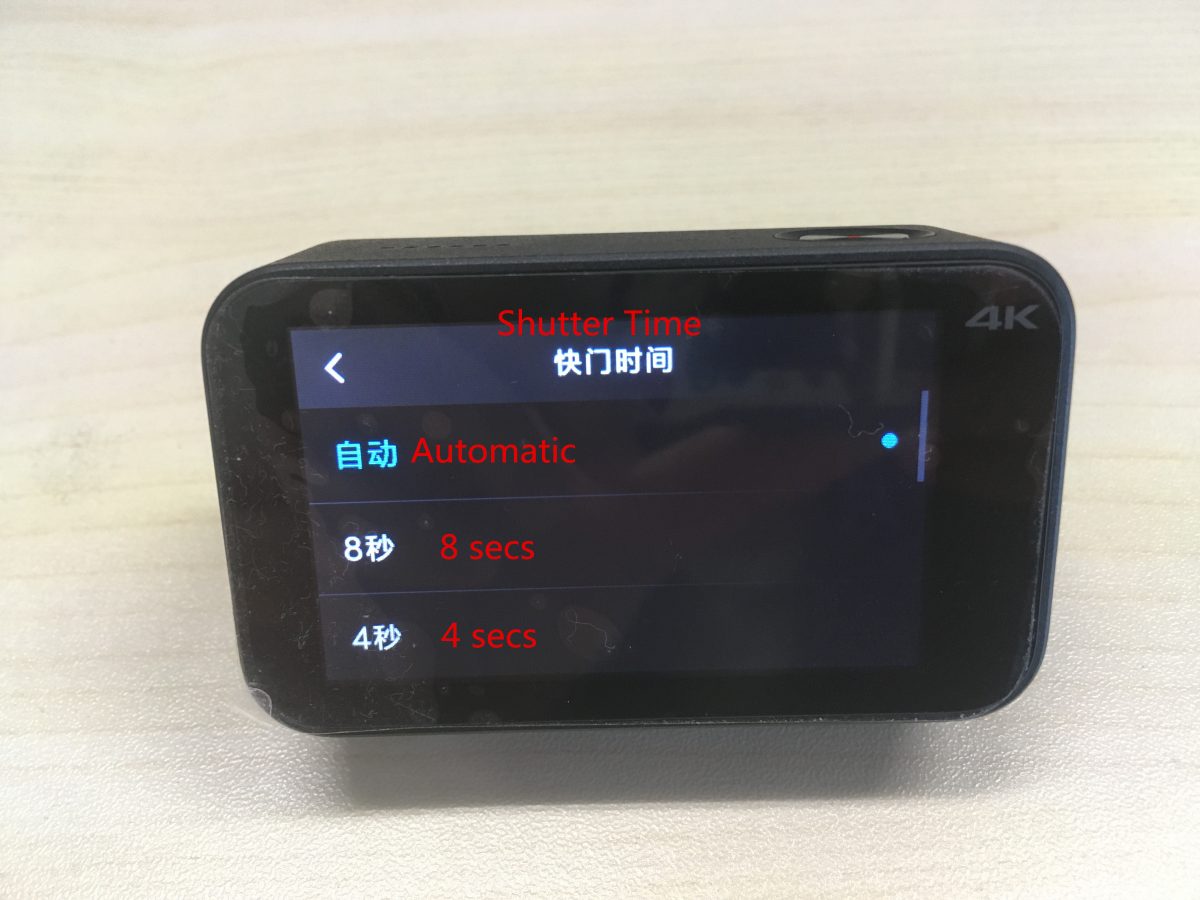
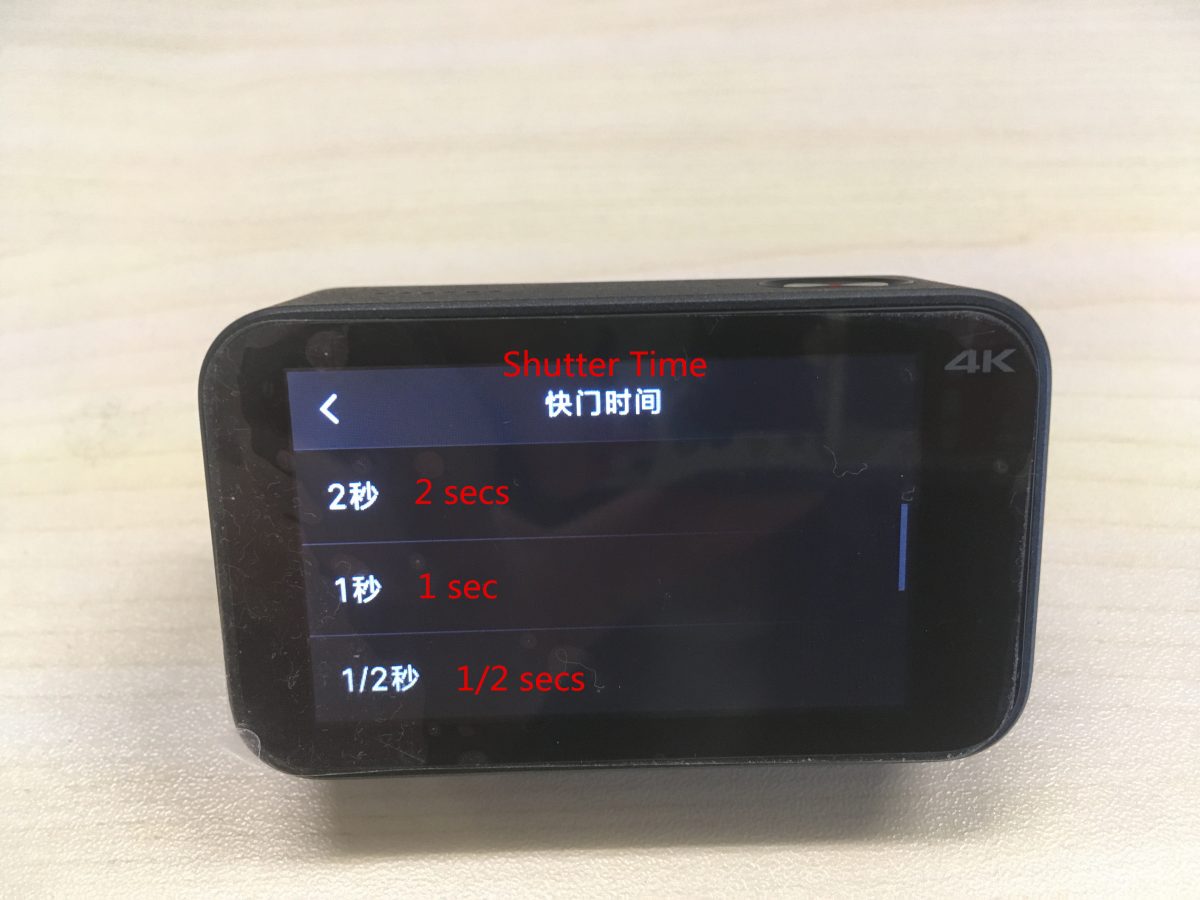
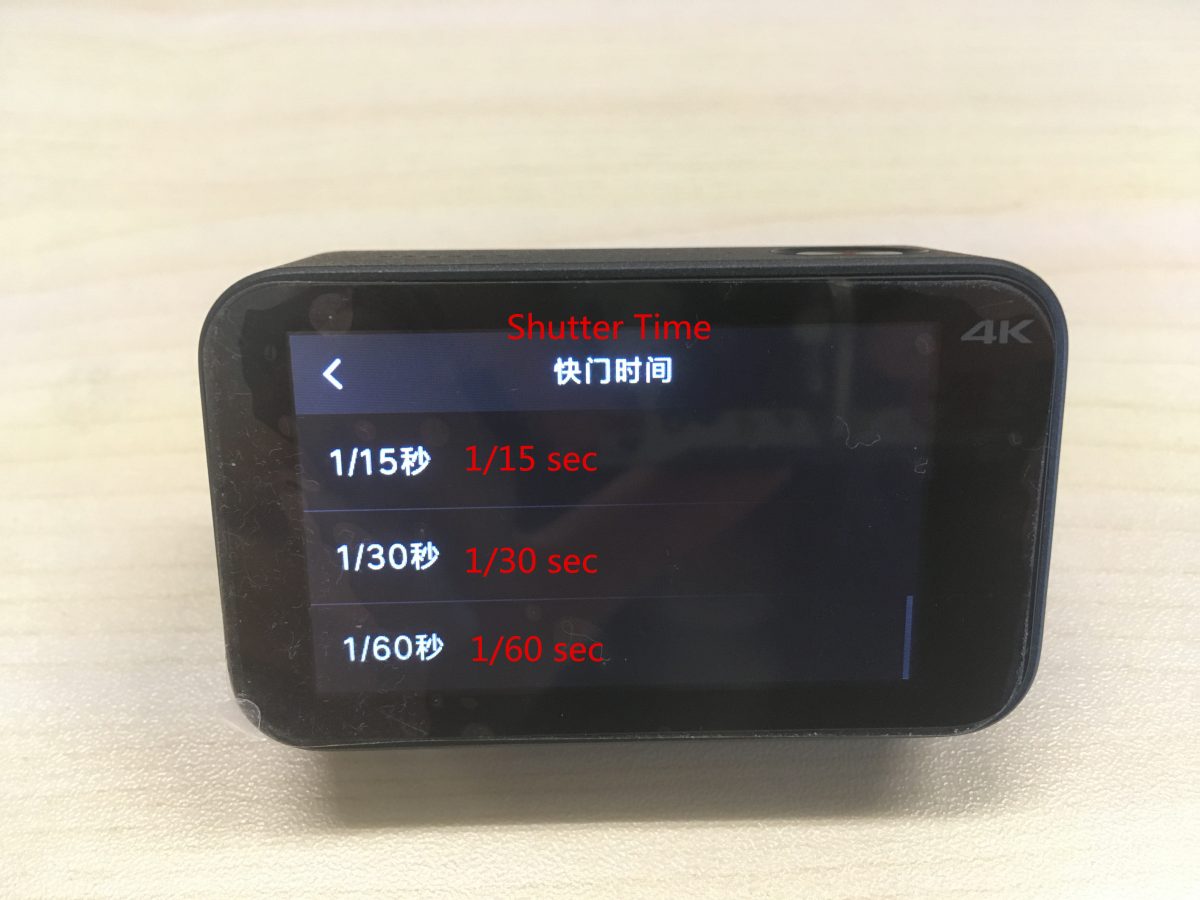
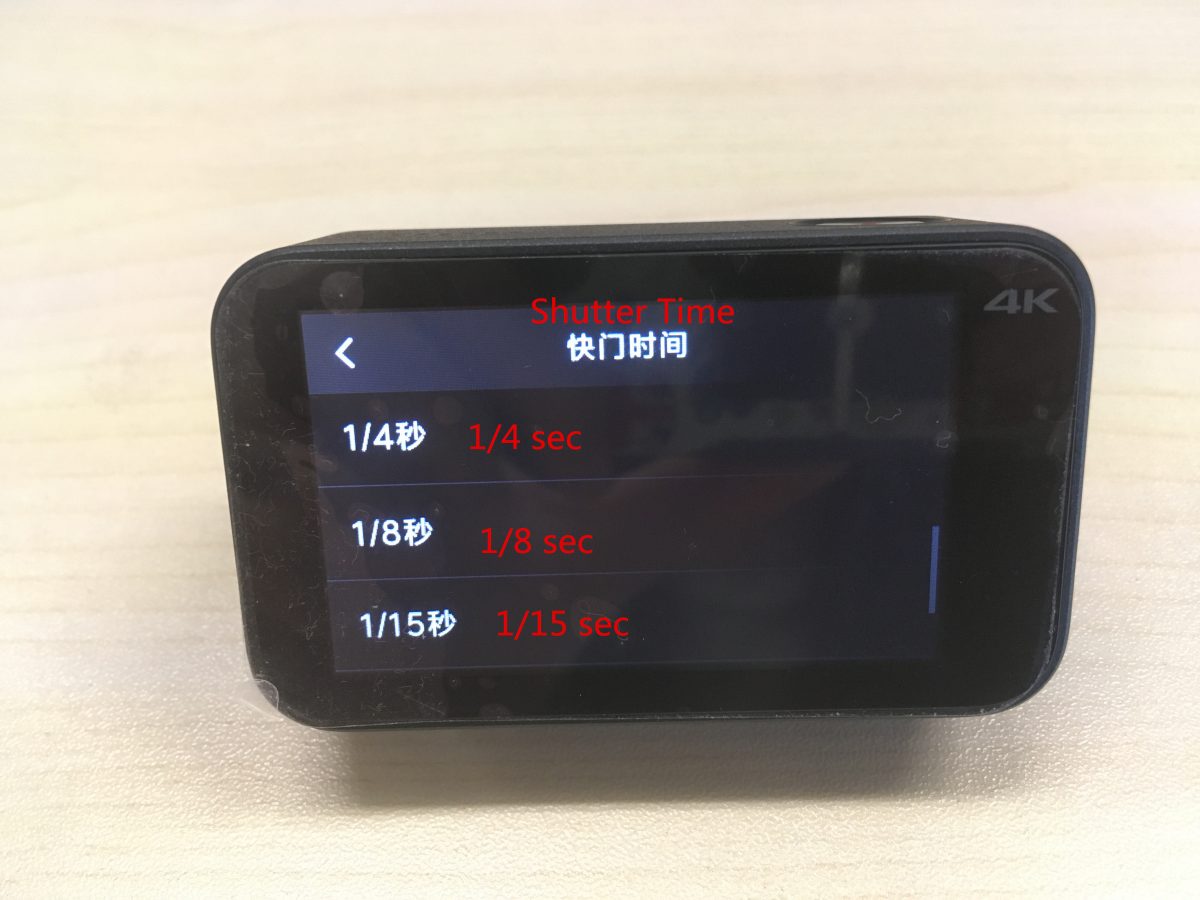
The corresponding shutter time from above to the bottom are as followings: automatic, 8 secs, 4 secs, 2 secs, 1 sec, 1/2 sec, 1/15 sec, 1/30 sec, 1/60 sec, 1/4 sec, 1/8 sec, 1/15 sec.
White balance setting: automatic, incandescent lamp, sunny day, cloudy.
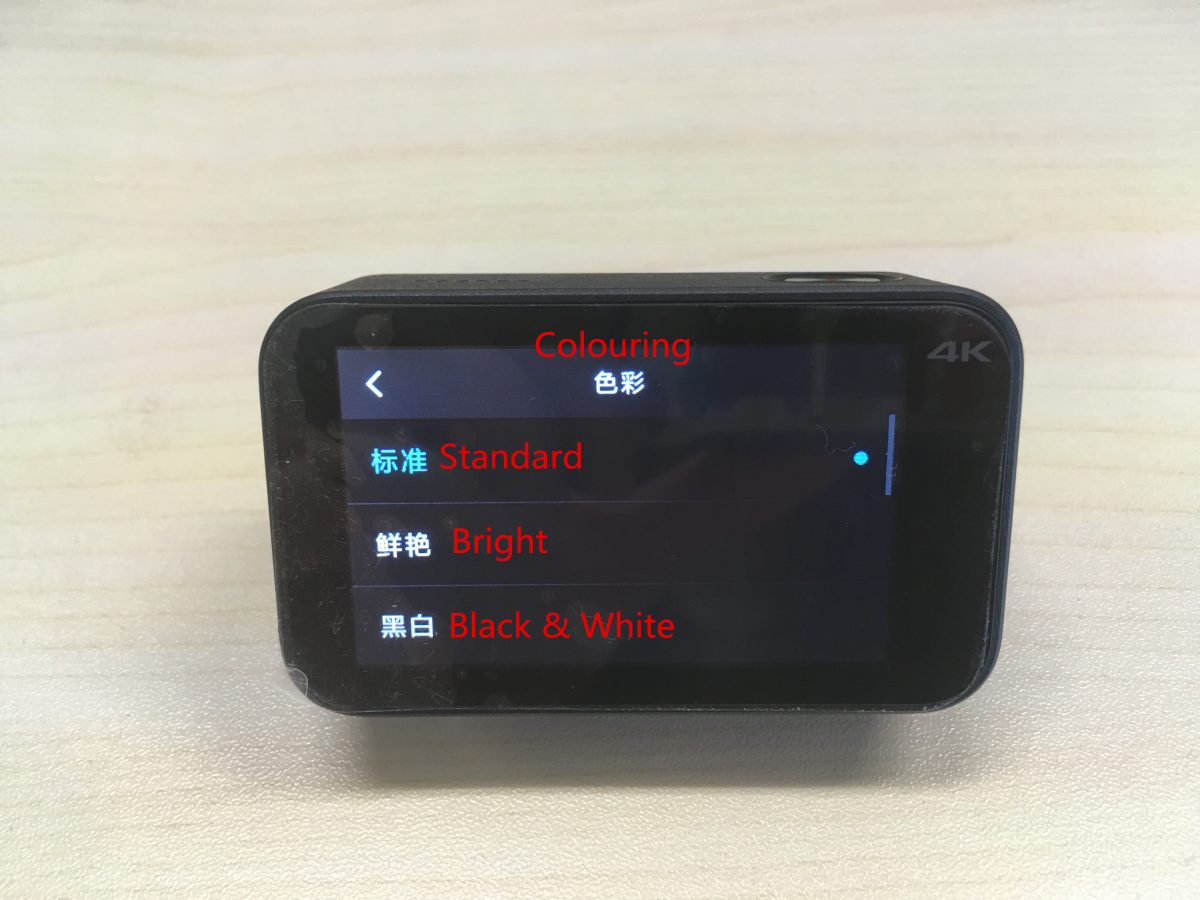
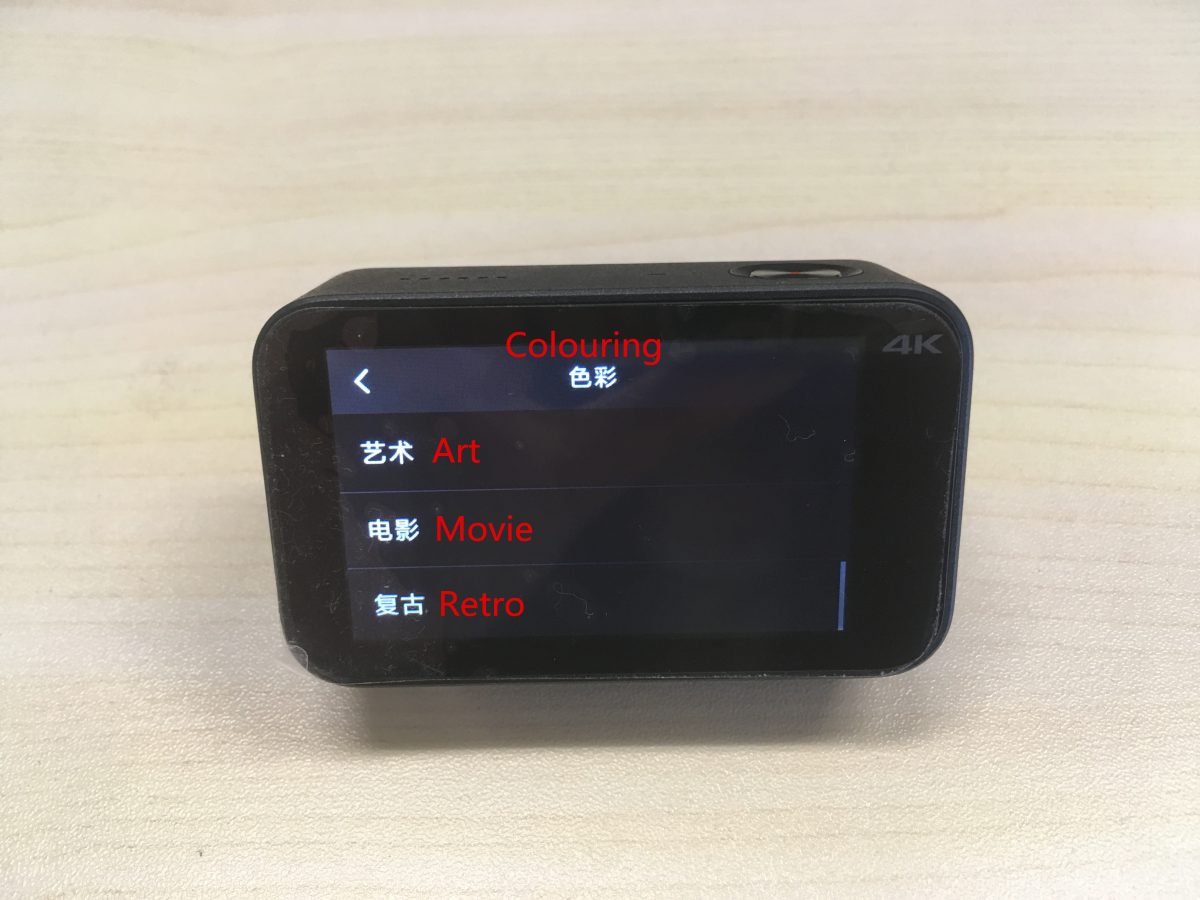
The corresponding colorings from above to the bottom are as followings: standard, bright, black& white, art, movie, retro.
(7) Timing photo settings:

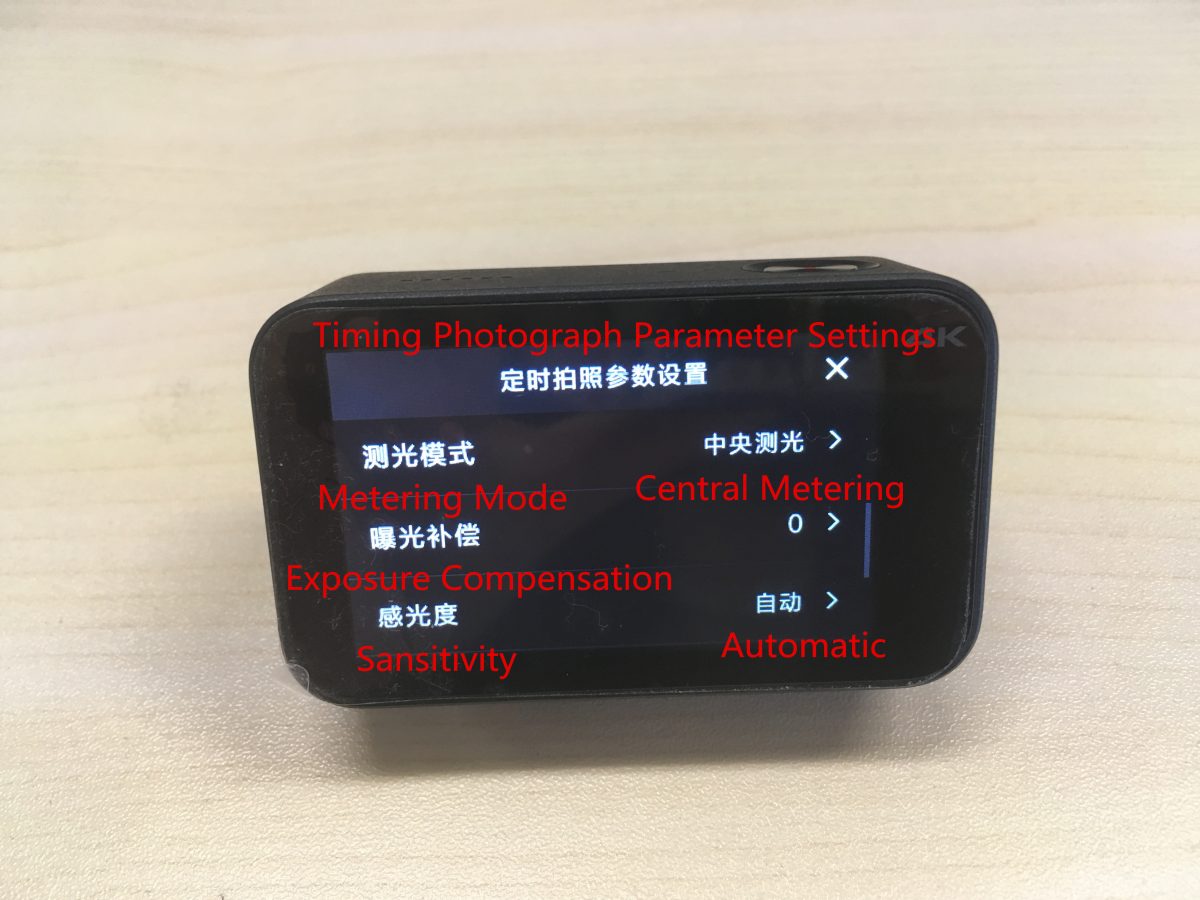
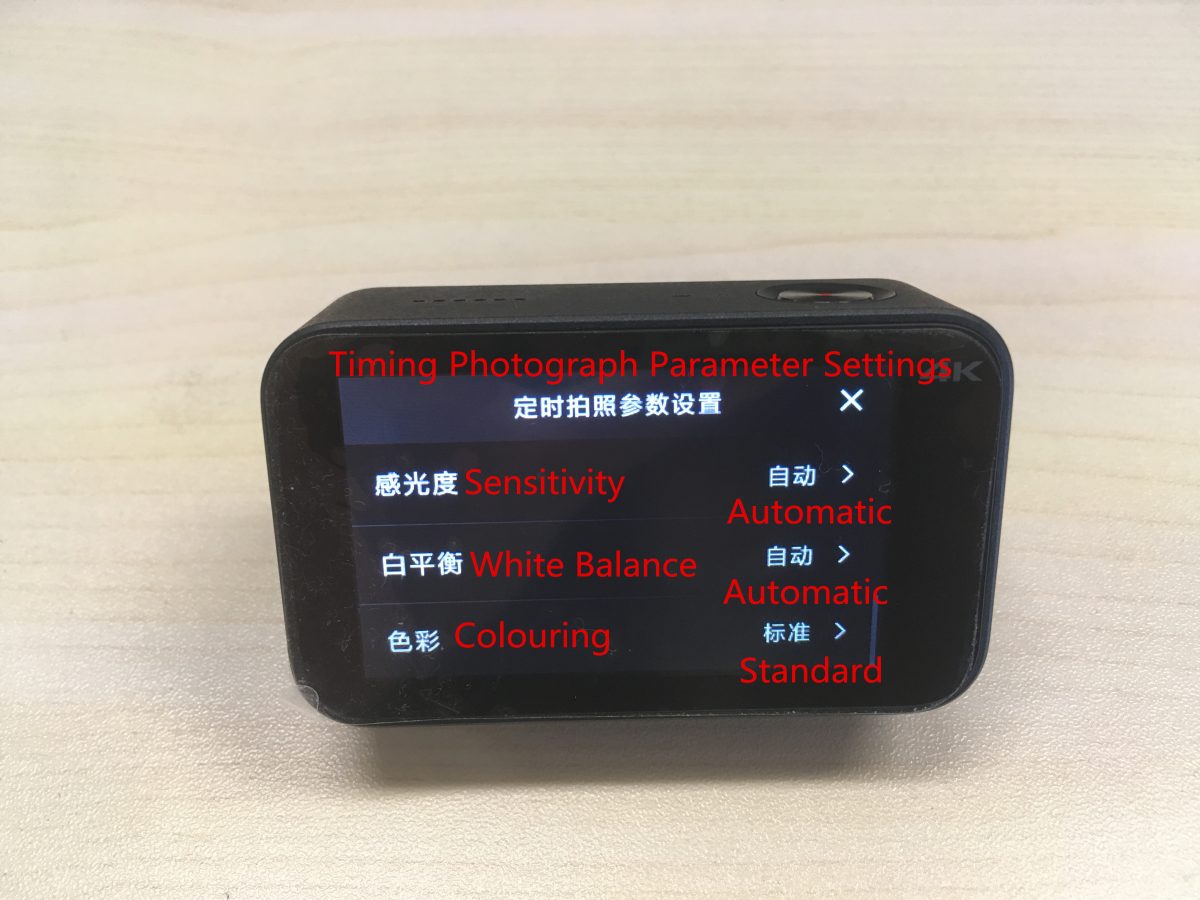
The corresponding settings from above to the bottom are as followings:
Countdown, photo frame, timestamp, metering mode, exposure compensation, sensitivity, white balance and coloring.
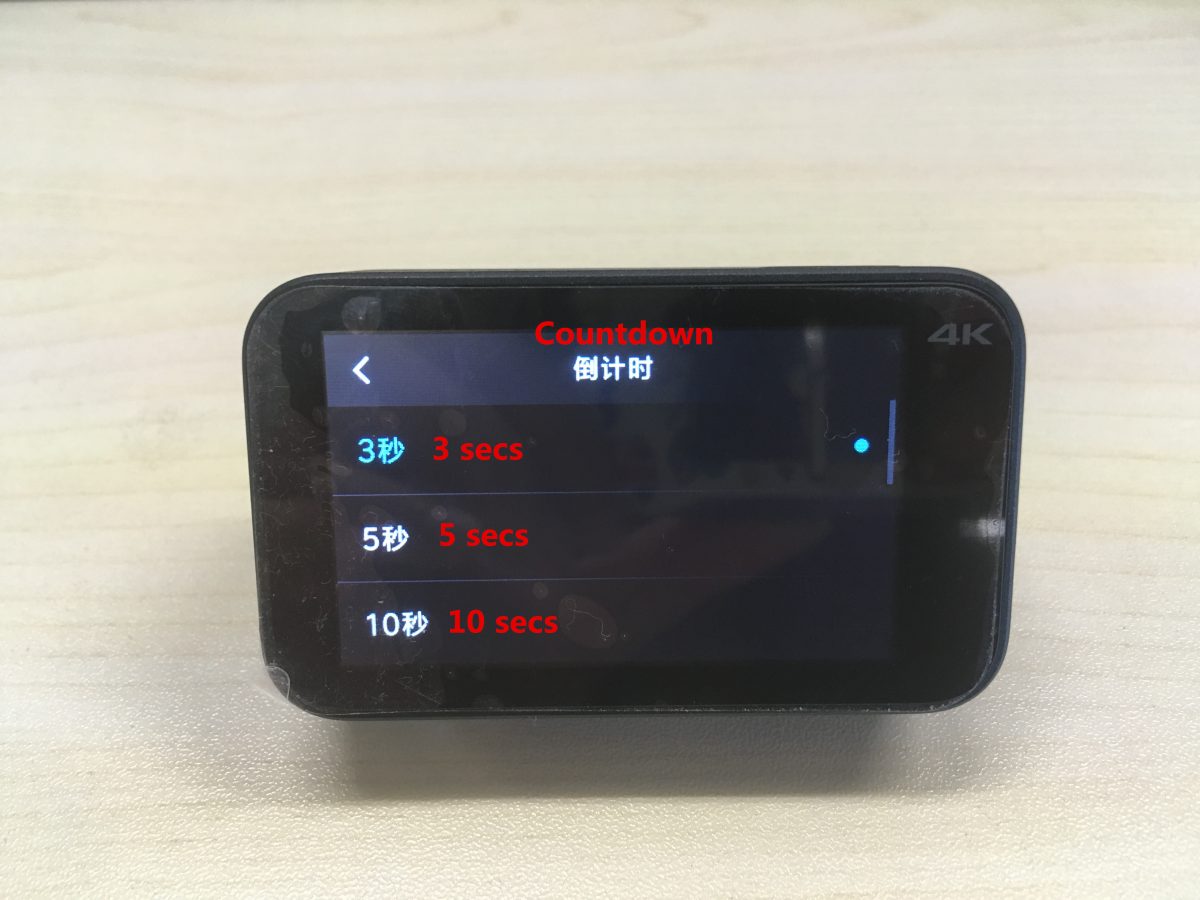
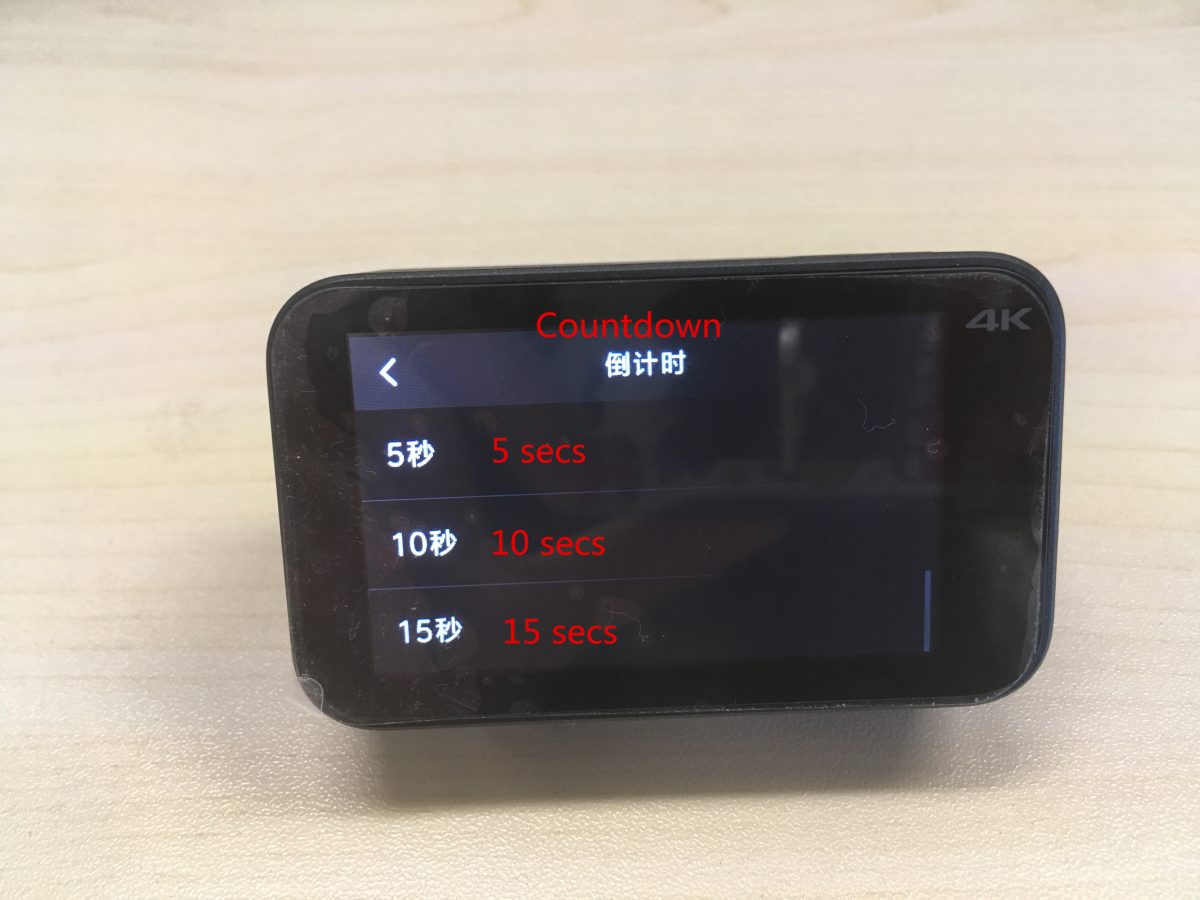
The corresponding countdown settings are as followings: 0.3 secs, 5 secs, 10 secs, 15 secs.
Set the timestamp: ON / OFF, date, time, date / time.
Set metering modes: point metering, central metering, average metering.
White balance setting: automatic, incandescent lamp, sunny day, cloudy.
The corresponding colorings from above to the bottom are as followings: standard, bright, black& white, art, movie, retro.
(8) Continuous photo settings:
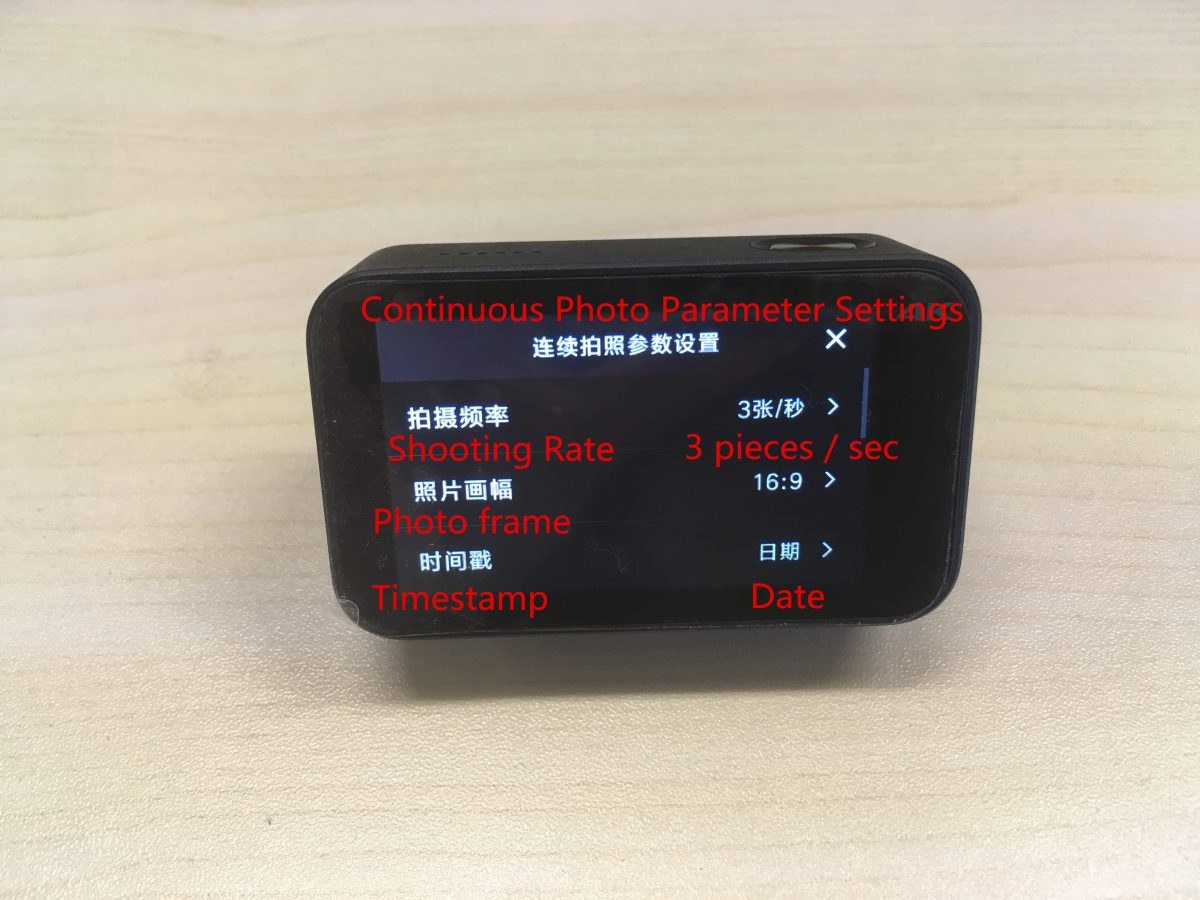
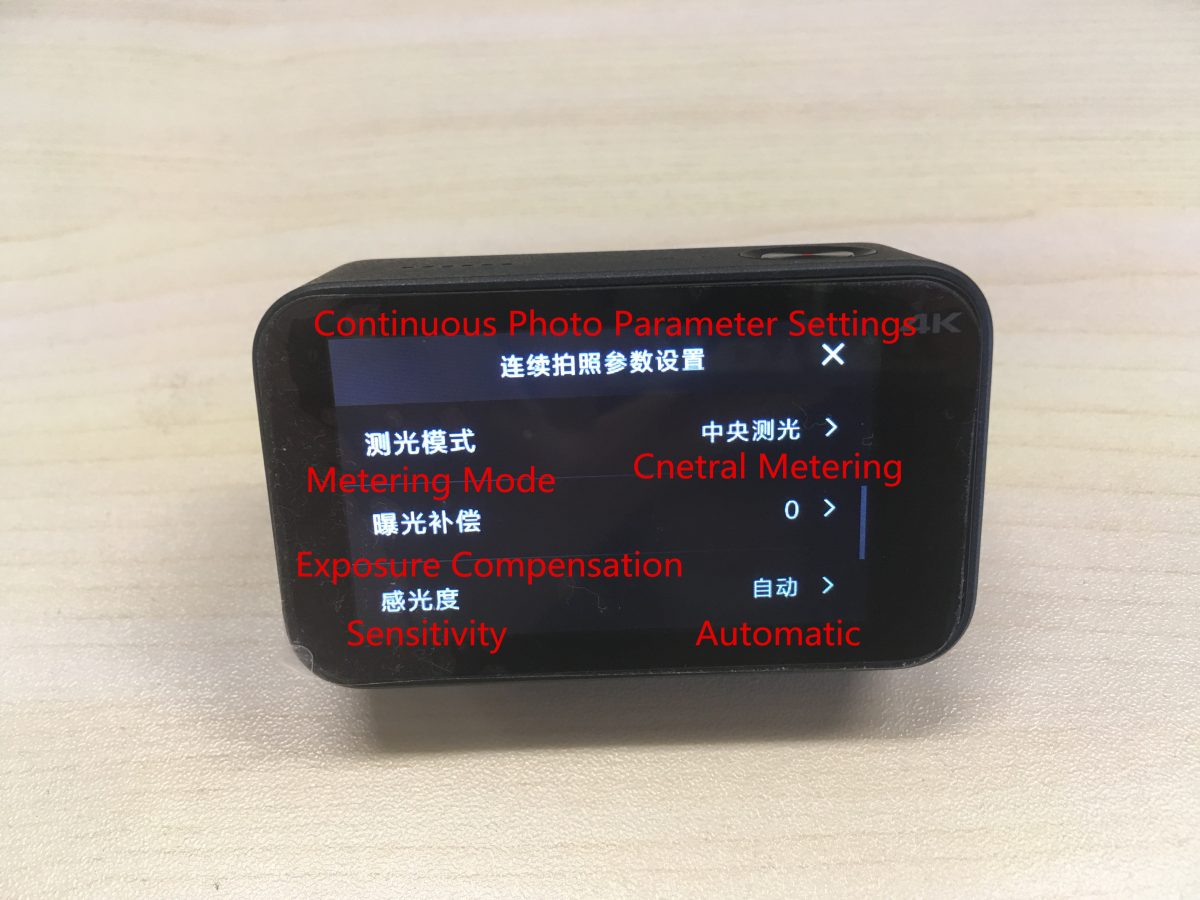
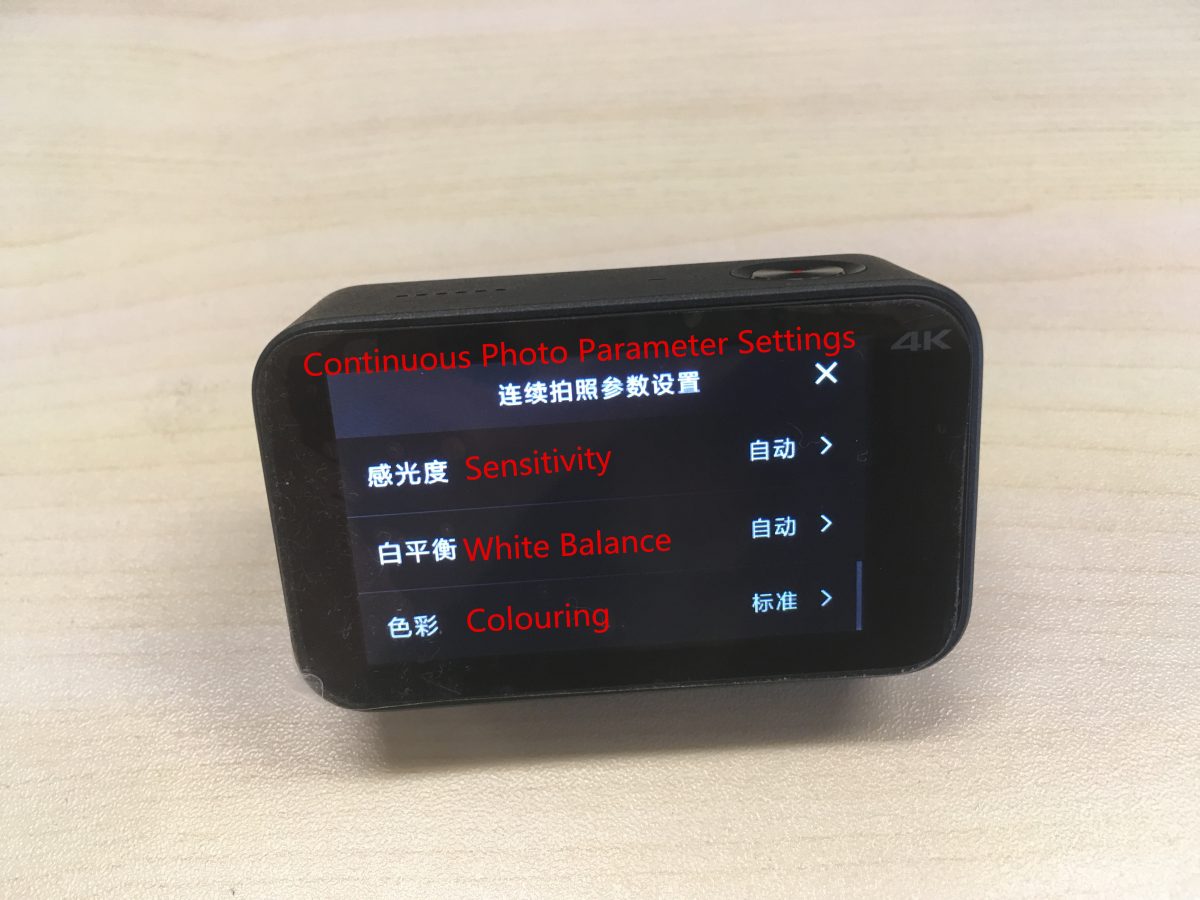
The corresponding settings from above to the bottom are as followings:
Shooting rate, photo frame, time stamp, metering mode, exposure compensation, sensitivity, white balance, coloring.
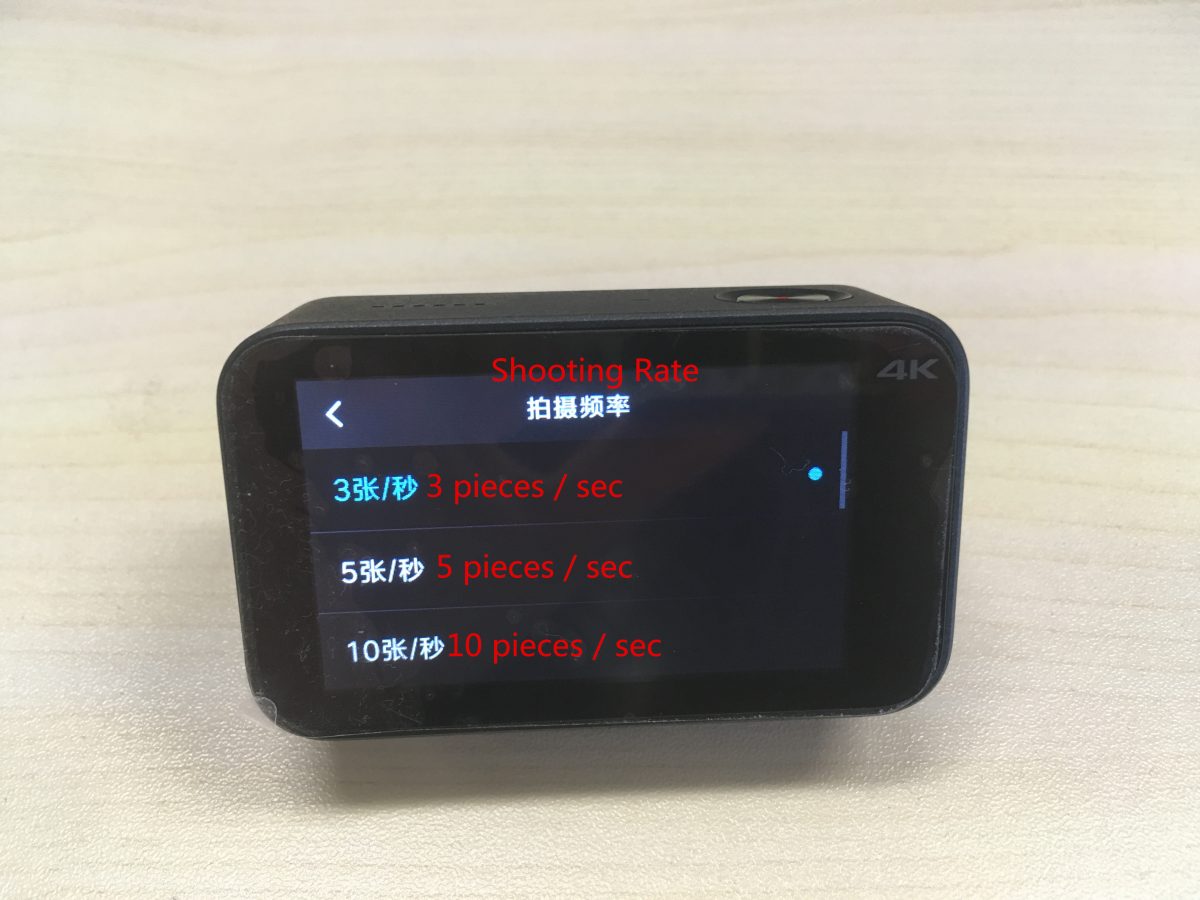
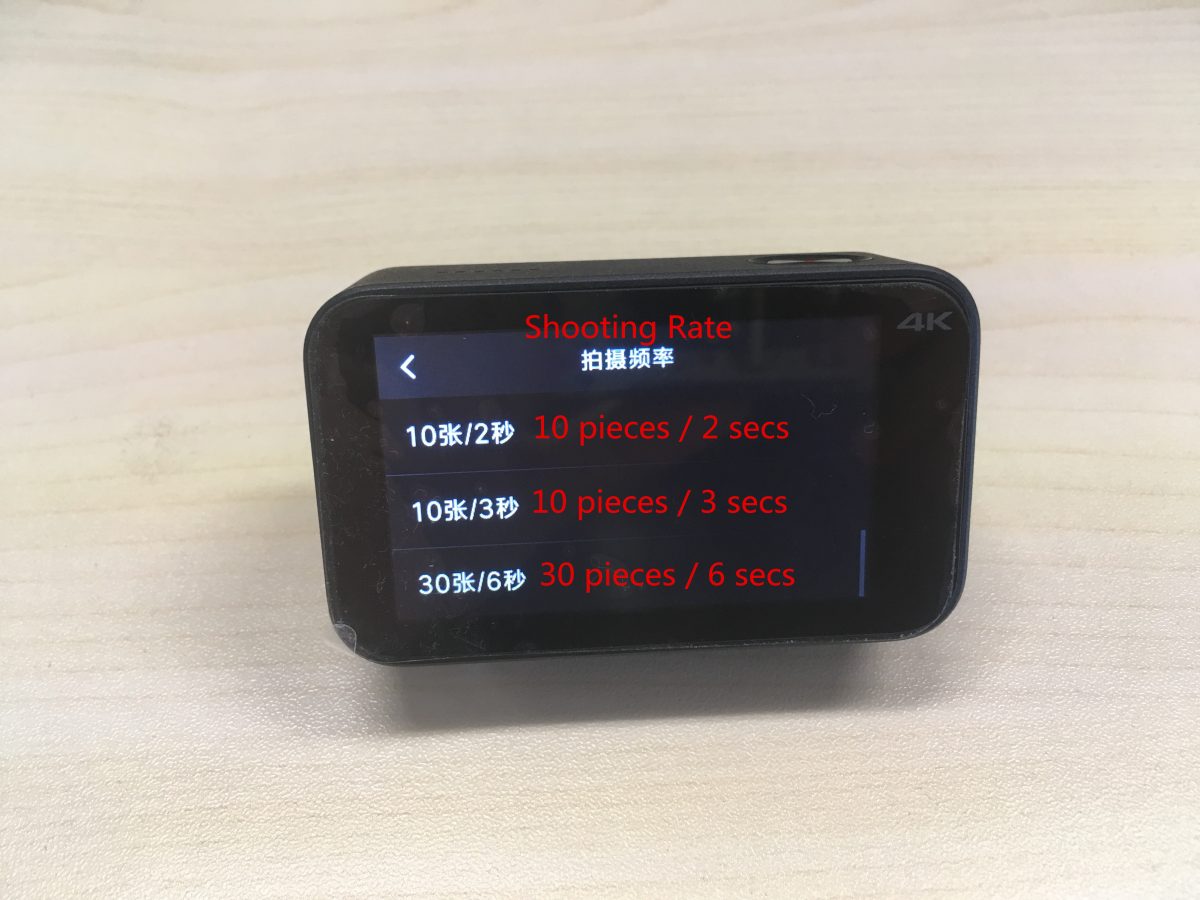
The corresponding shooting rate settings from above to the bottom are as followings:
3 pieces / sec, 5 pieces / sec, 10 pieces / sec, 10 pieces / 2 secs, 10 pieces / 3 secs, 30 pieces / 6 secs.
Set the timestamp: ON / OFF, date, time, date / time.
Set metering modes: point metering, central metering, average metering.
White balance setting: automatic, incandescent lamp, sunny day, cloudy.
The corresponding colorings from above to the bottom are as followings: standard, bright, black& white, art, movie, retro.
(9) Time-lapse photo settings:
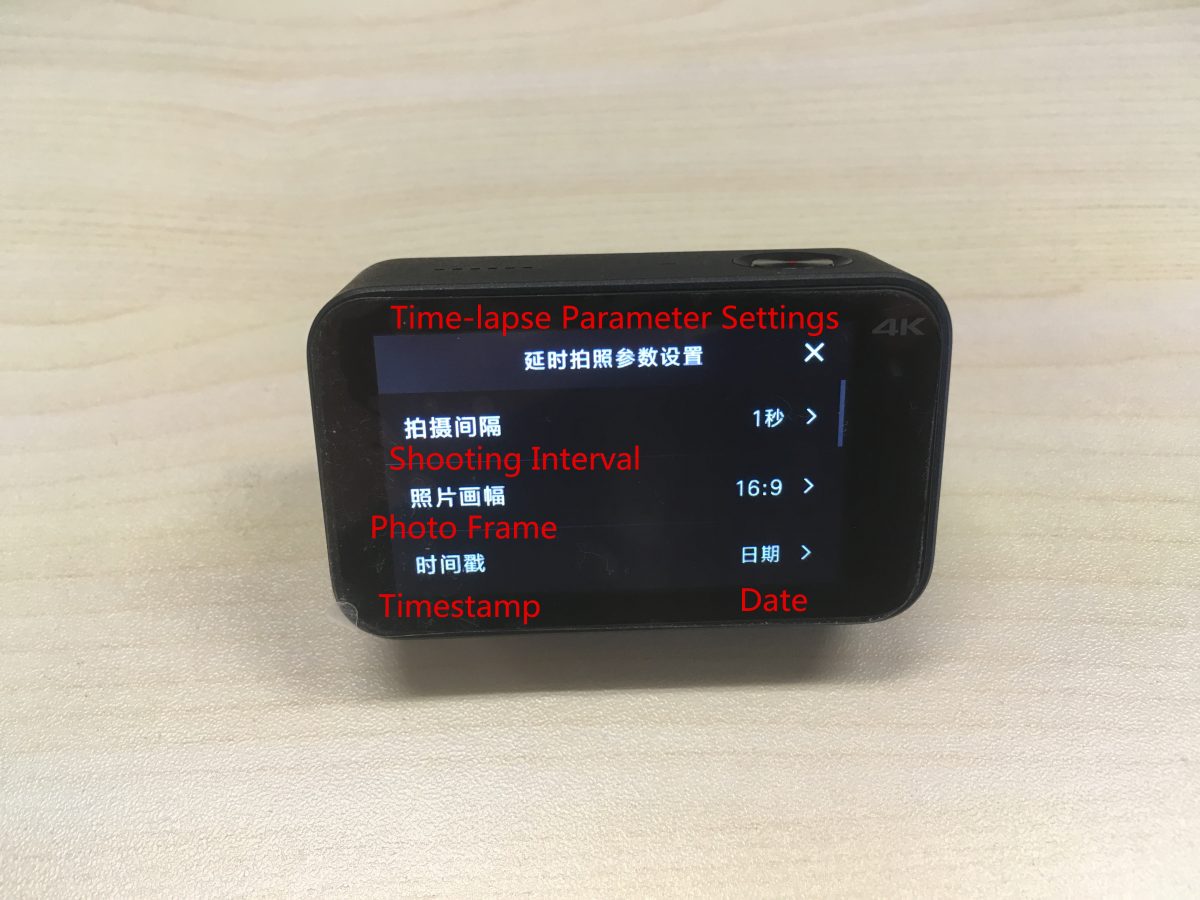
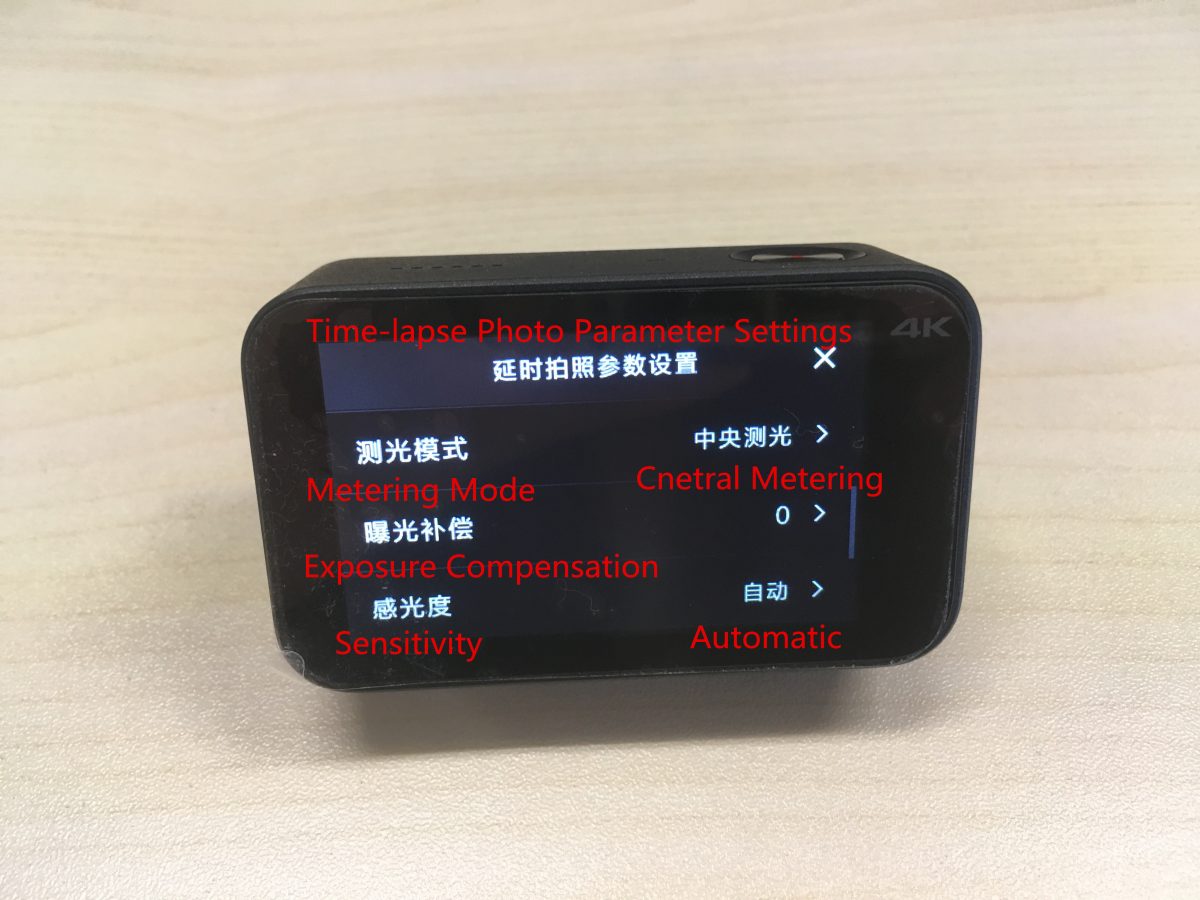
The corresponding settings from above to the bottom are as followings:
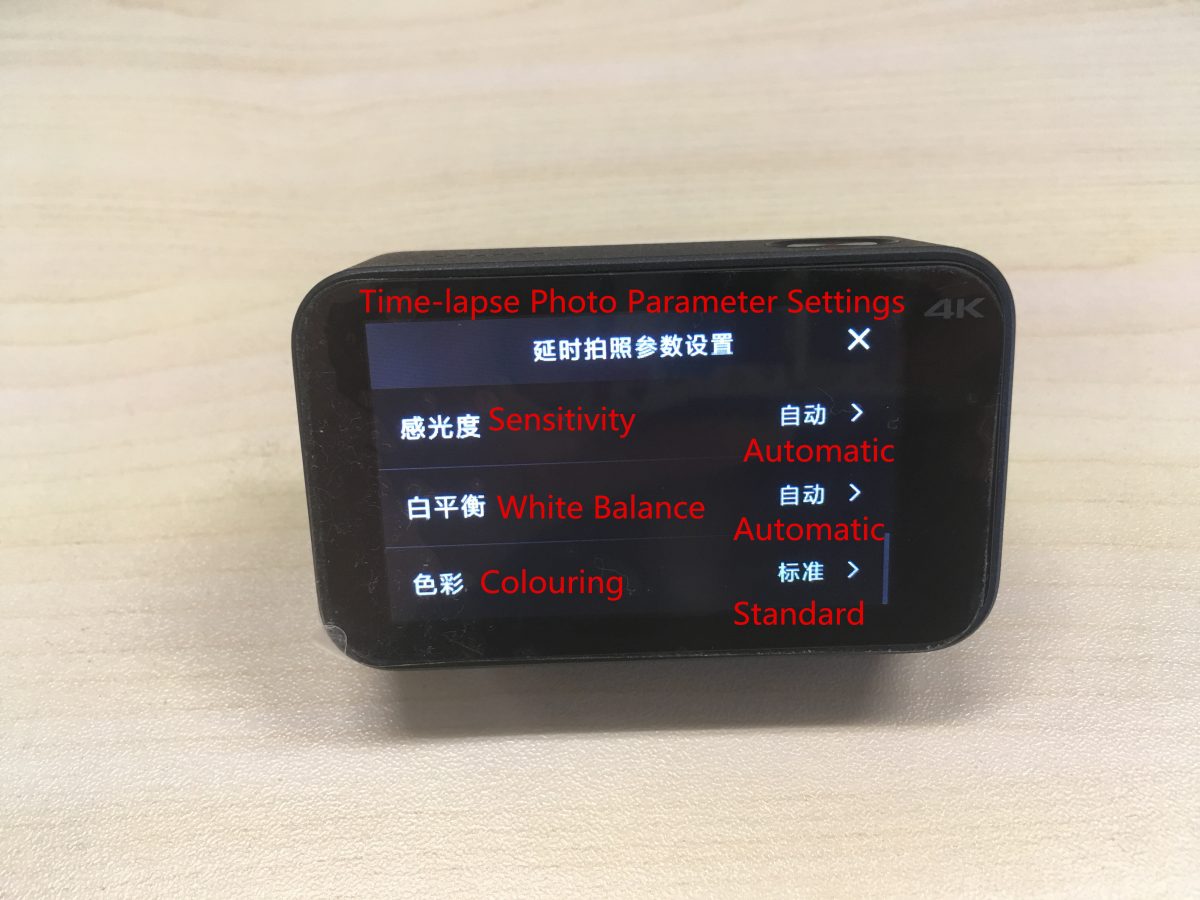
Shooting interval, photo frame, time stamp, metering mode, exposure compensation, sensitivity, white balance, coloring.

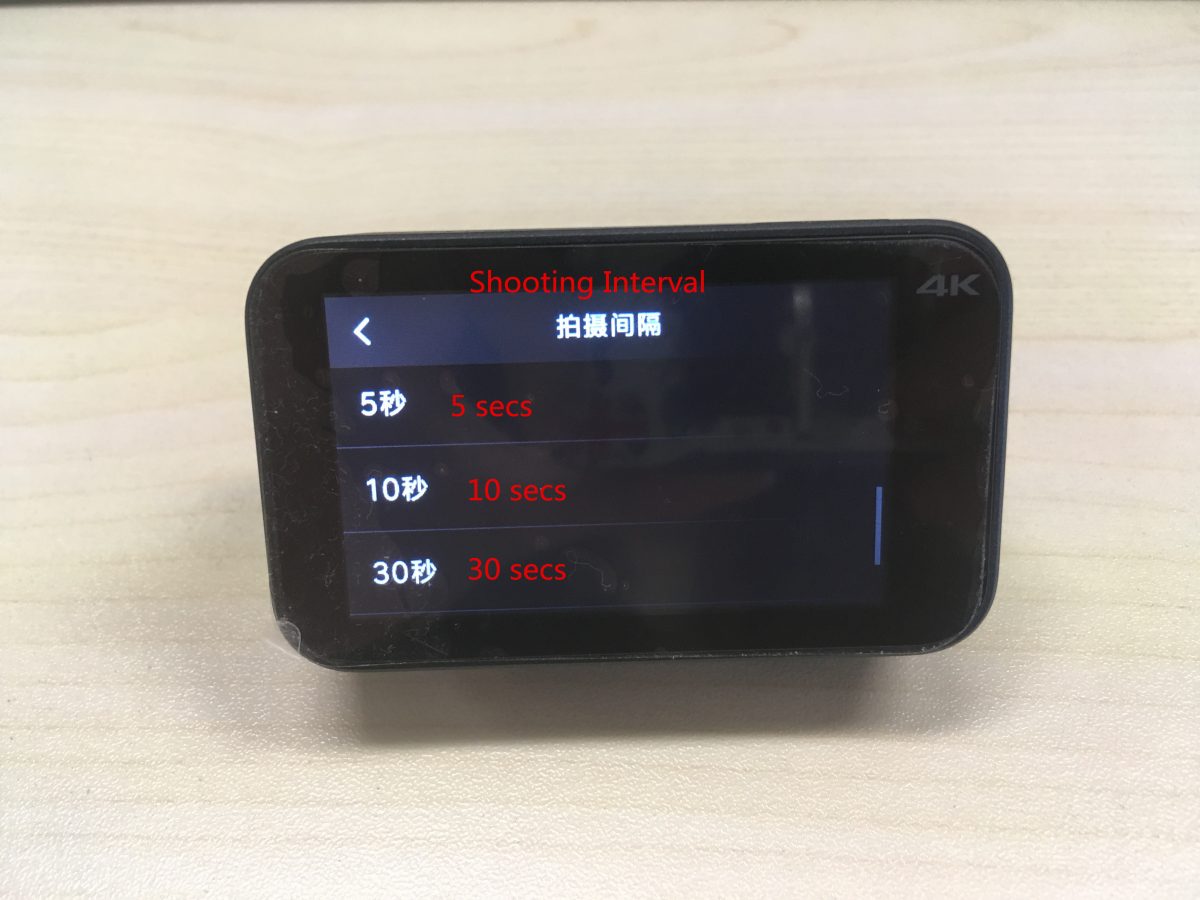
The corresponding shooting interval settings from above to the bottom are as followings:
0.5 secs, 1 sec, 2 secs, 5 secs, 10 secs, 30 secs, 60 secs.
Set the timestamp: ON / OFF, date, time, date / time.
Set metering modes: point metering, central metering, average metering.
White balance setting: automatic, incandescent lamp, sunny day, cloudy.
The corresponding colorings from above to the bottom are as followings: standard, bright, black& white, art, movie, retro.
3. Guide for general settings:
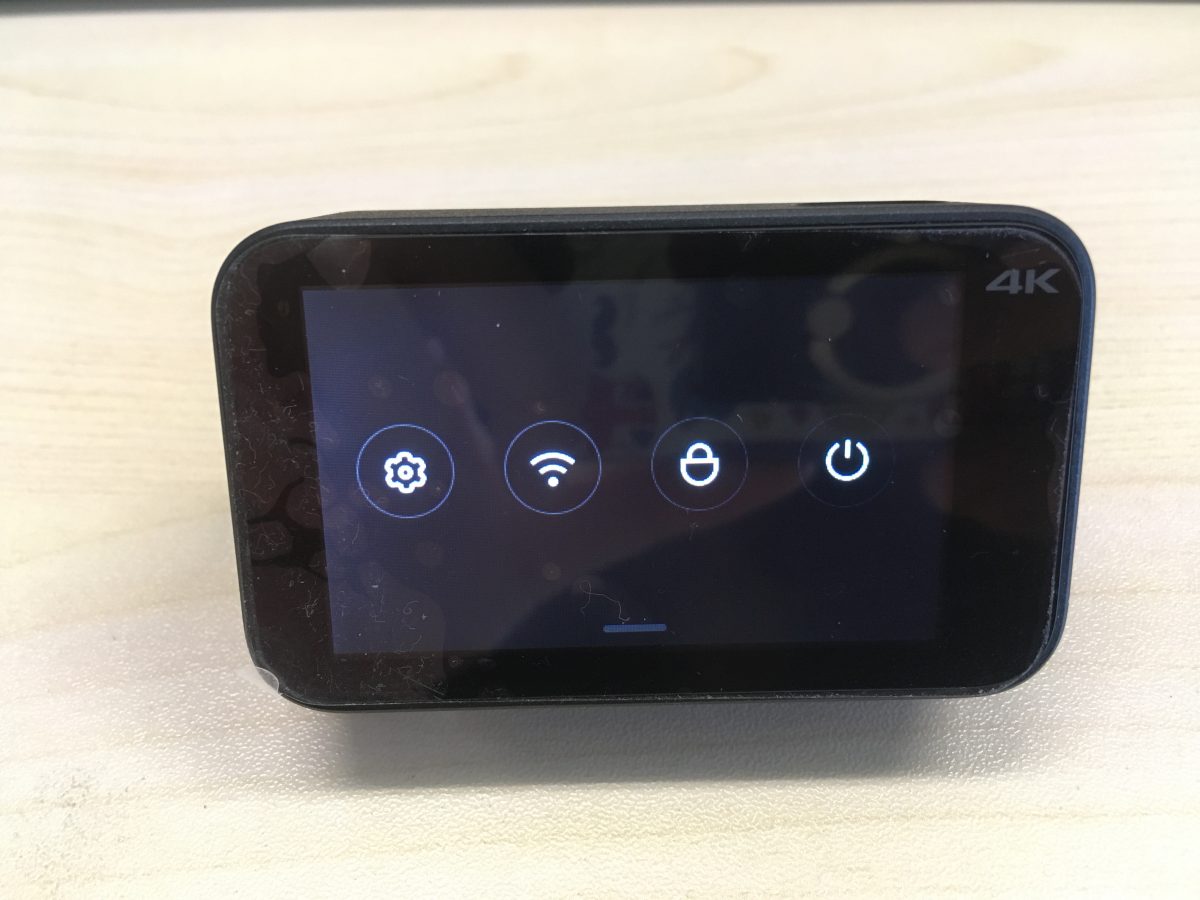
Press the first button to enter into the general settings.
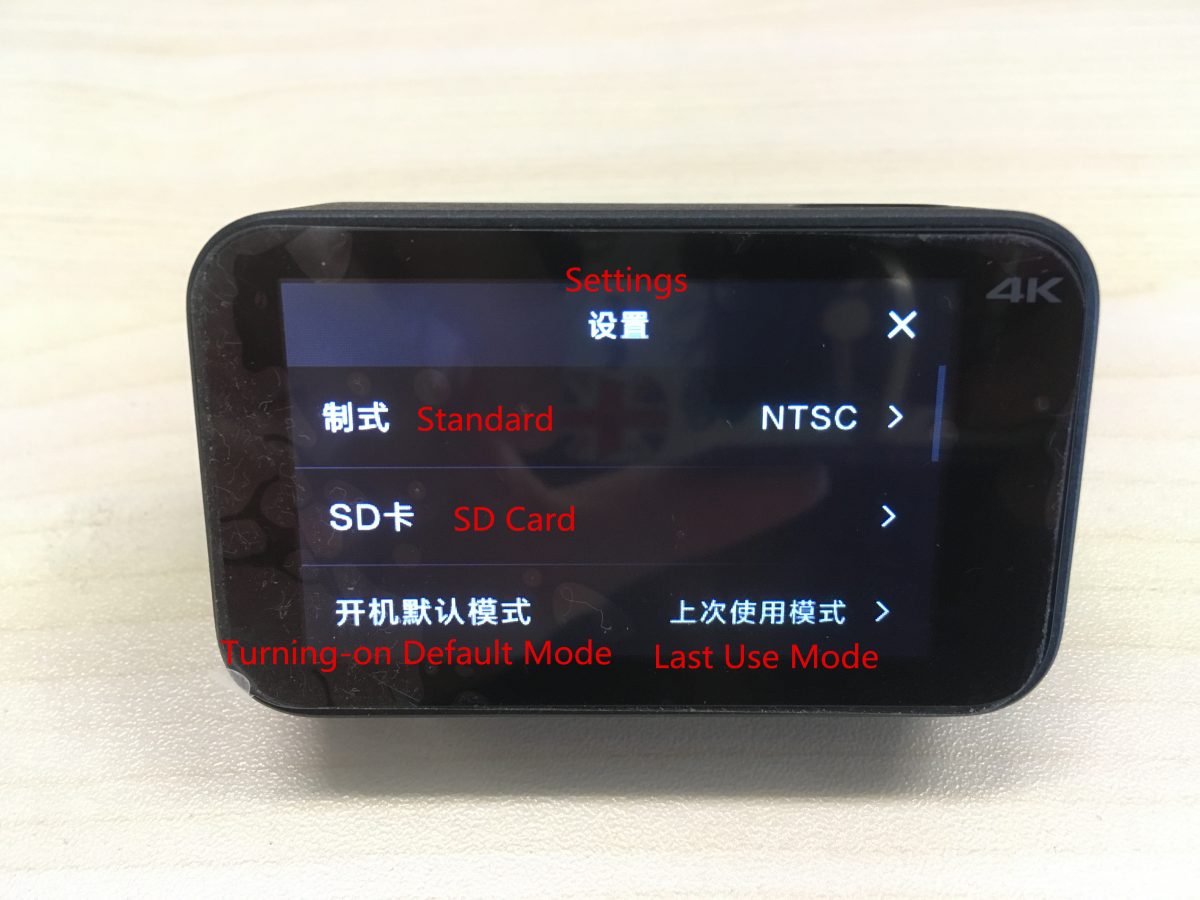
The corresponding settings from above to the bottom are as followings:
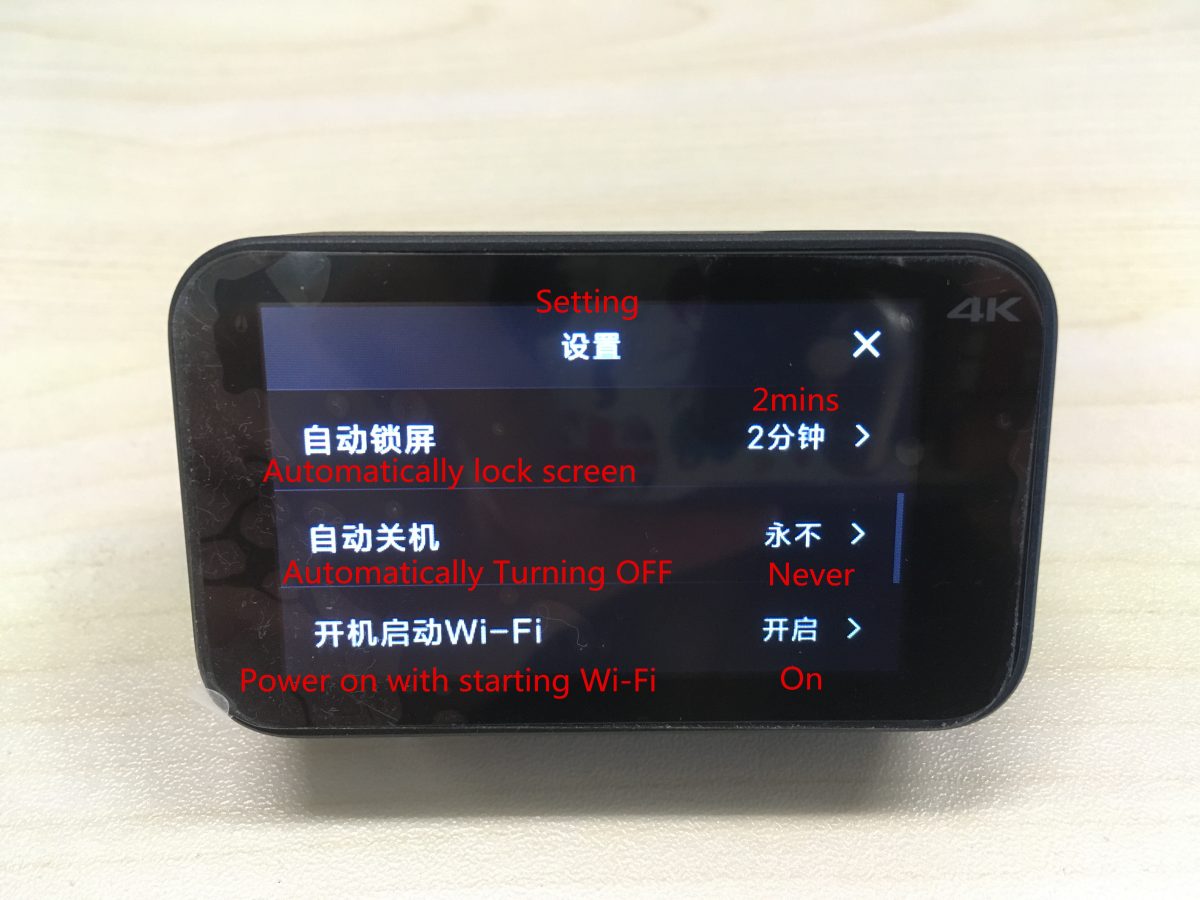
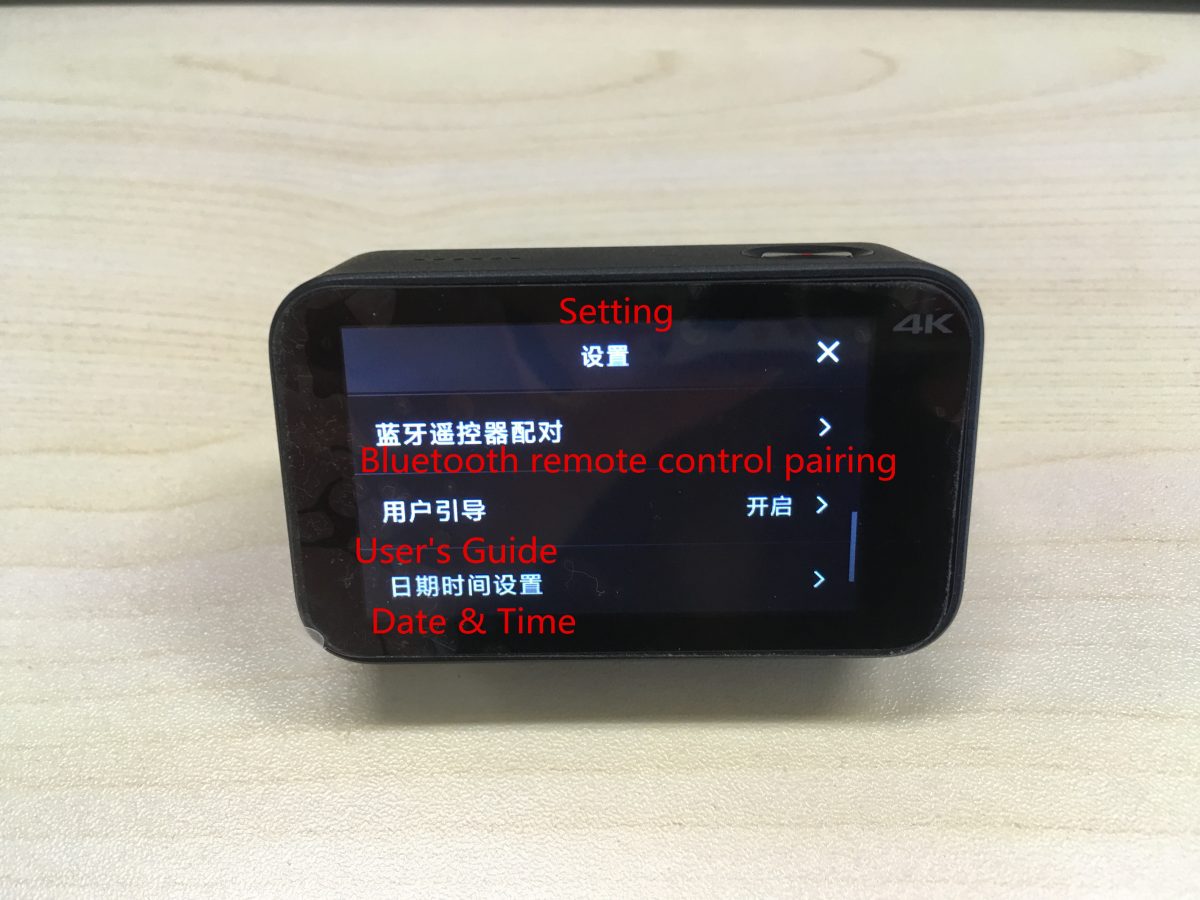
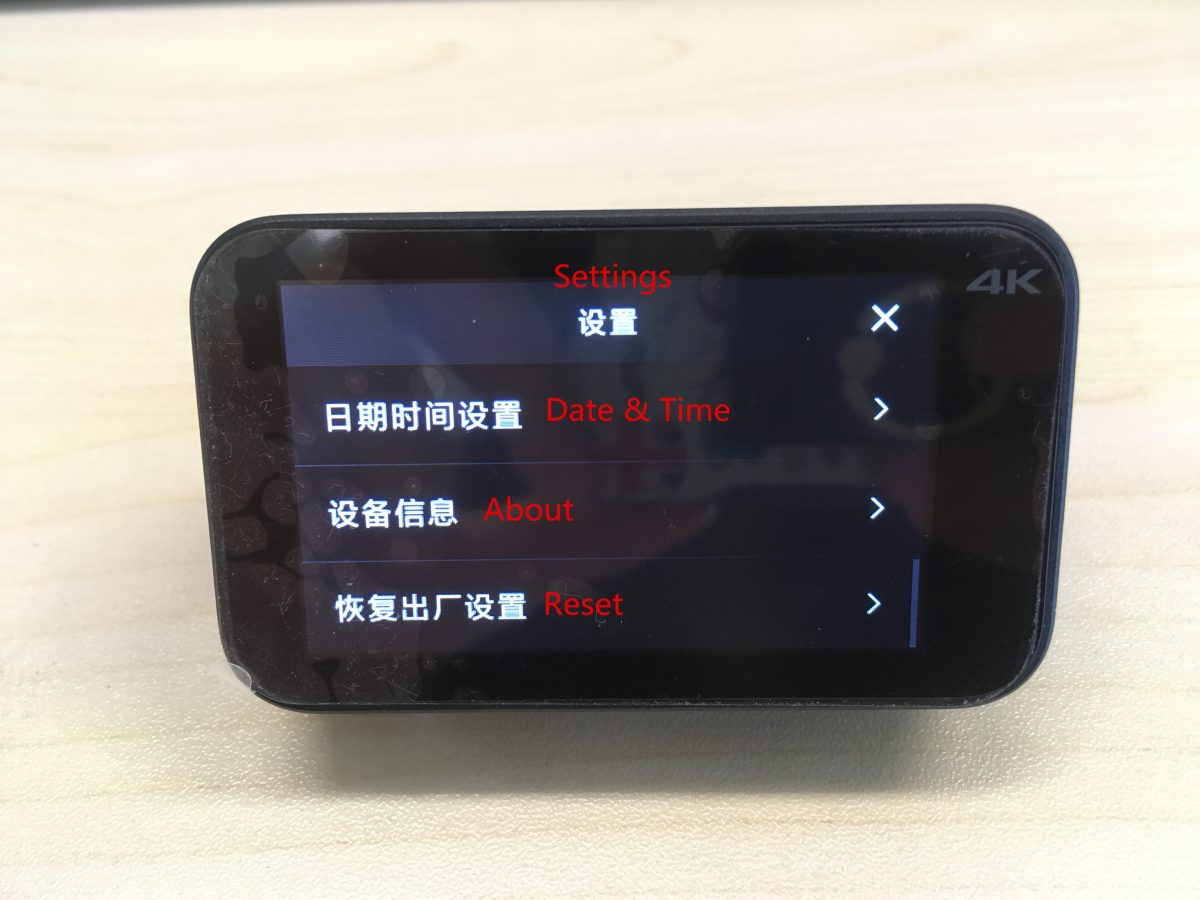
Standard, SD card, turning on default mode, prompt tone volume, screen brightness, screen rotation, automatically lock screen, automatically power off, power on with starting Wi-Fi, Bluetooth remote control pairing, user’s guide, date & time, about, reset.
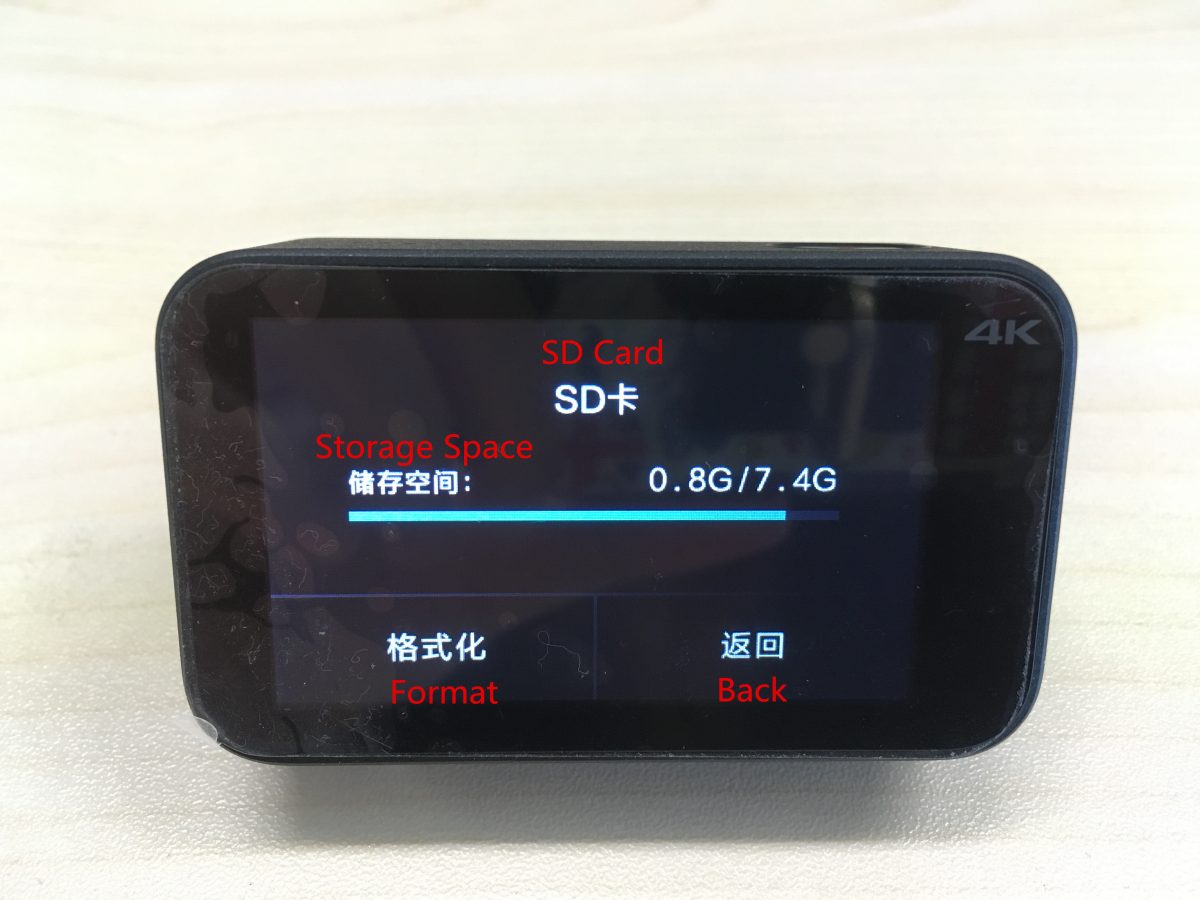
(1) The information about SD card.
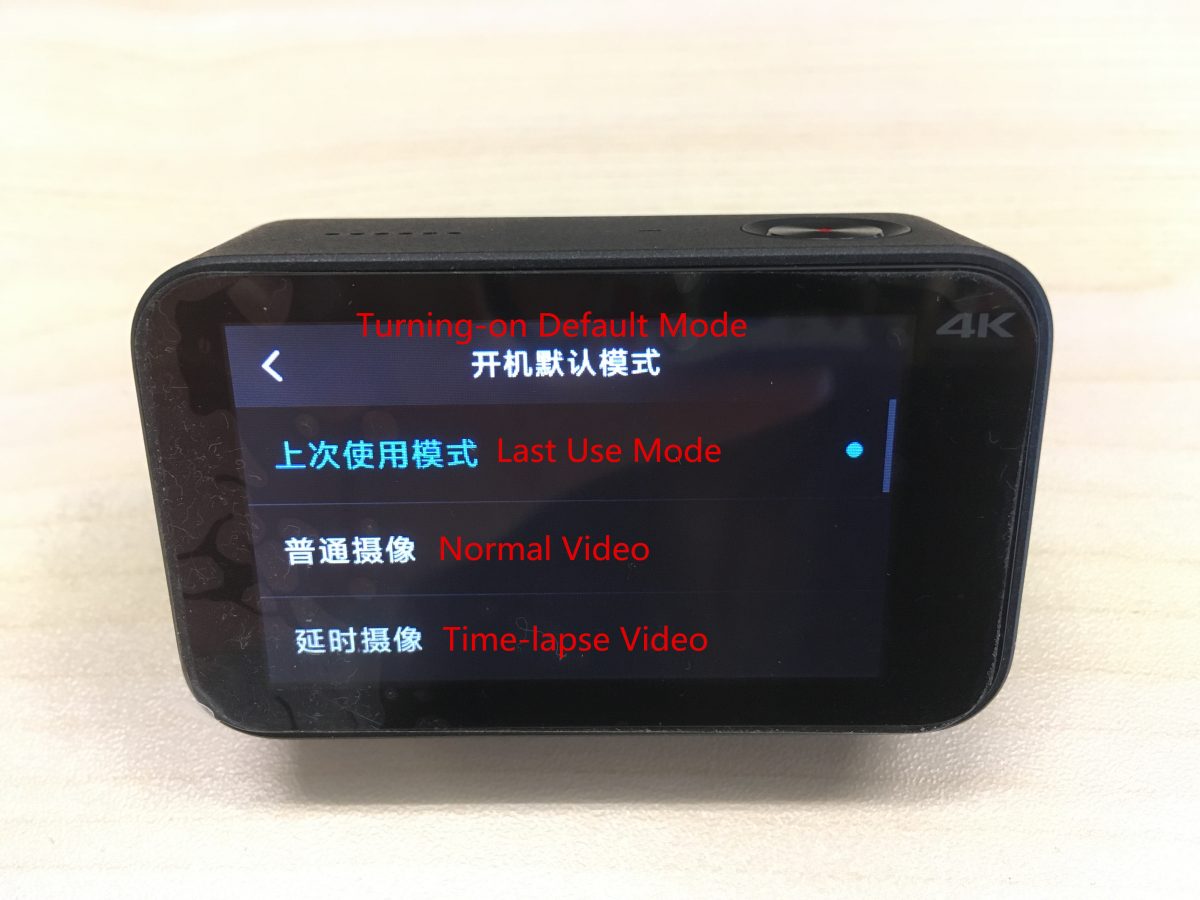
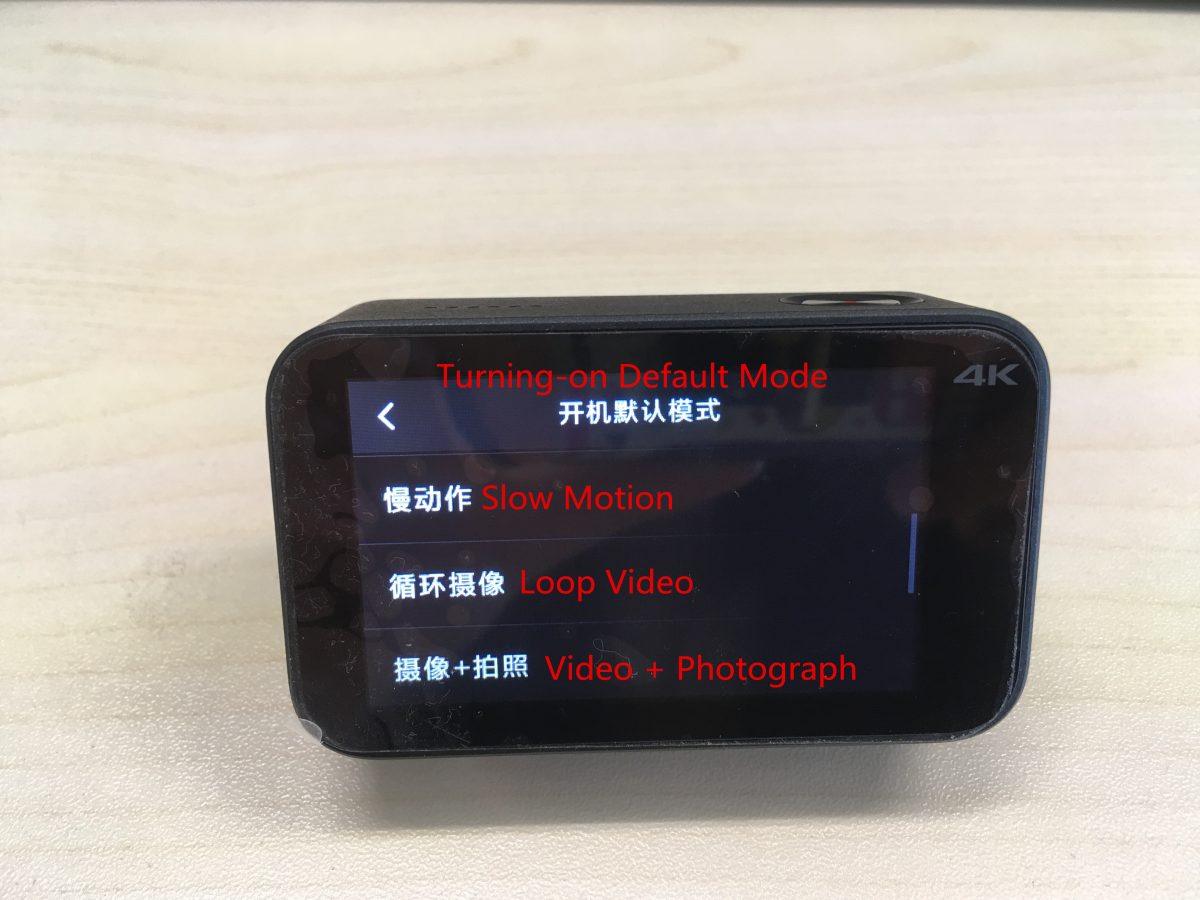
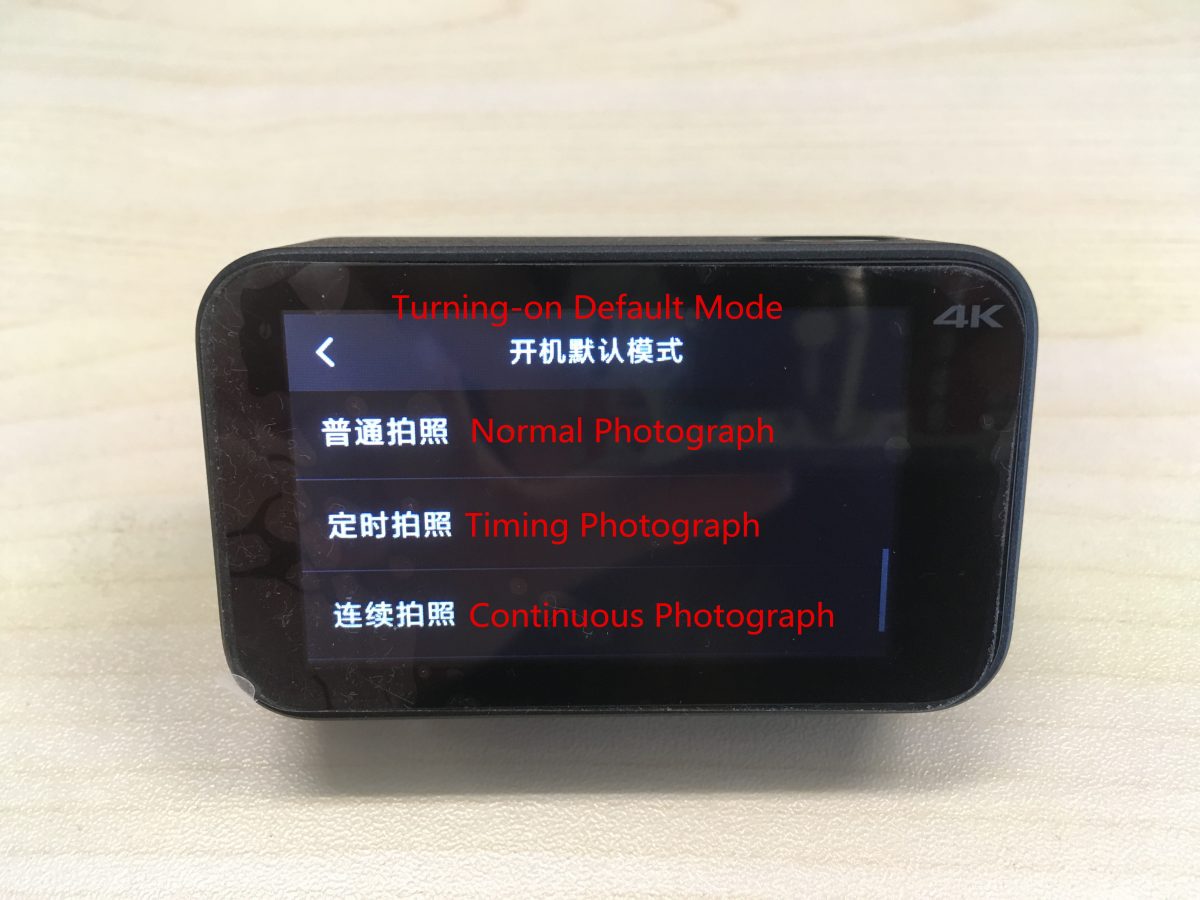
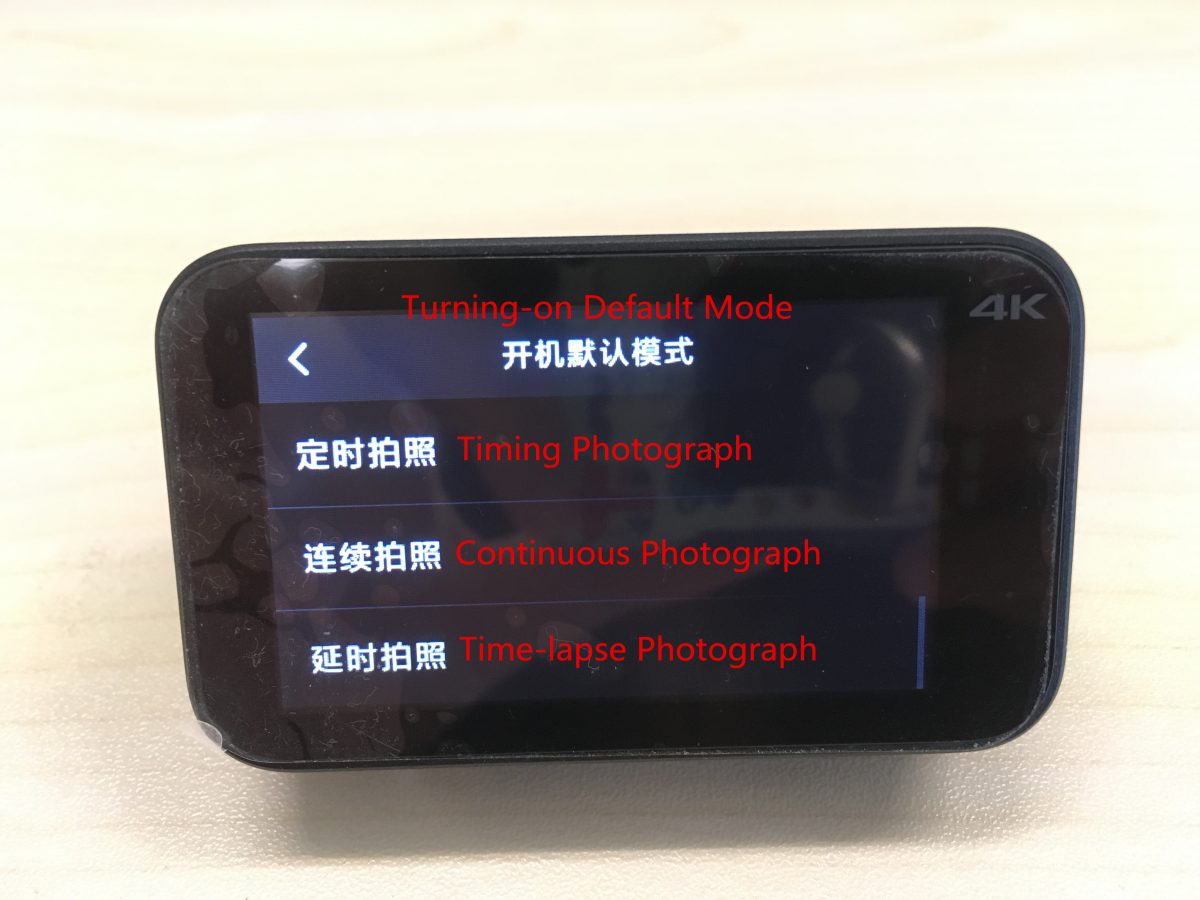
(2) The corresponding default modes when power on from the above to the bottom are as followings:
Last use mode, normal video, time-lapse video, slow motion, loop video, video + photograph, normal photograph, timing photograph, continuous photograph, time-lapse photograph.
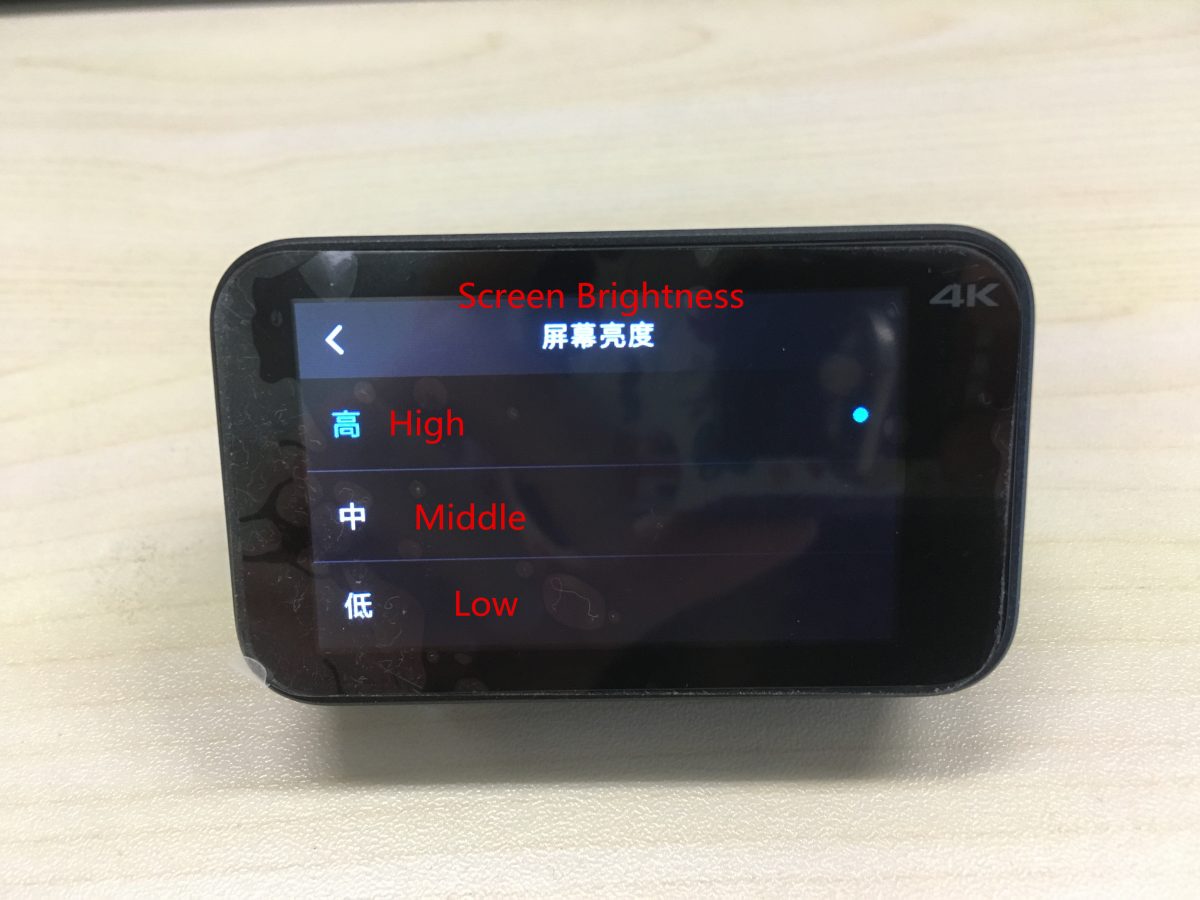
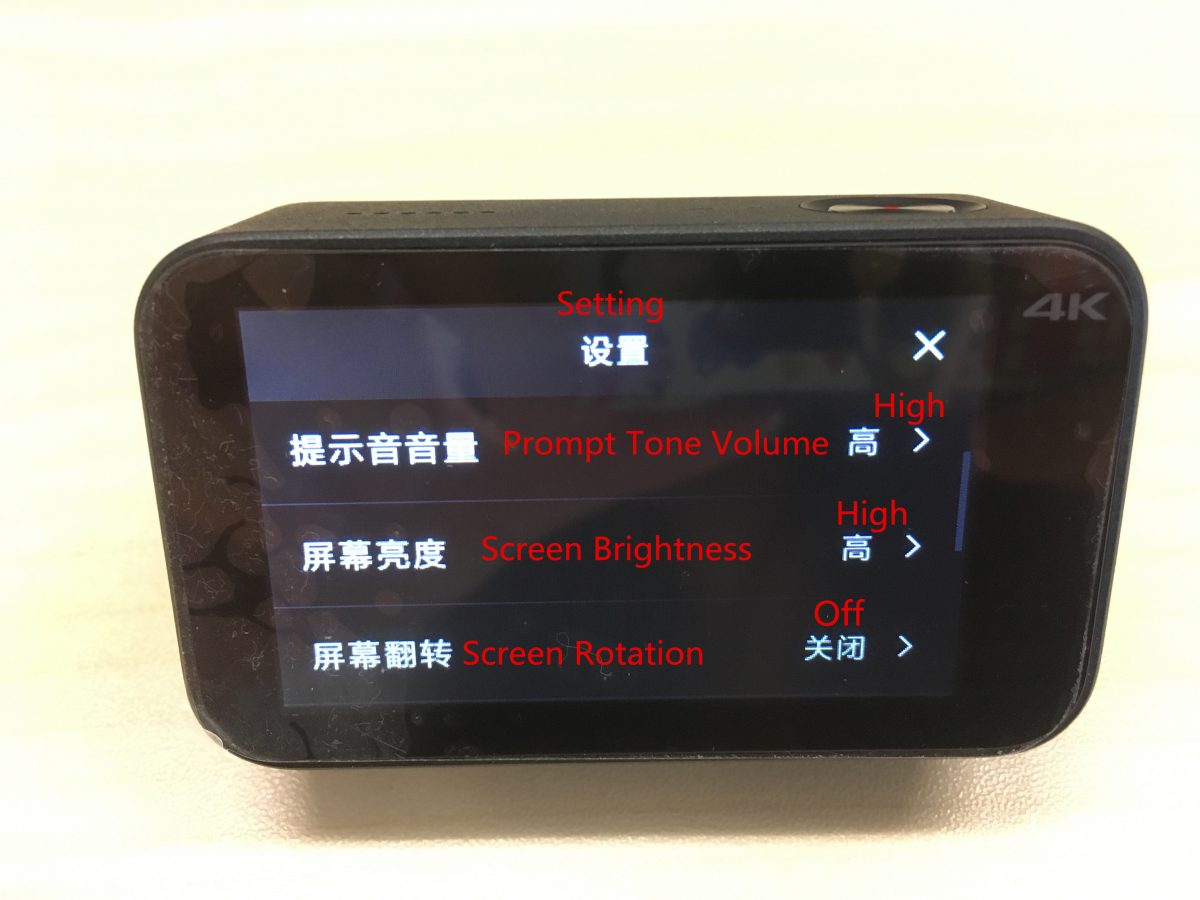
(3) The screen brightness can be divided as followings: High, middle, low.
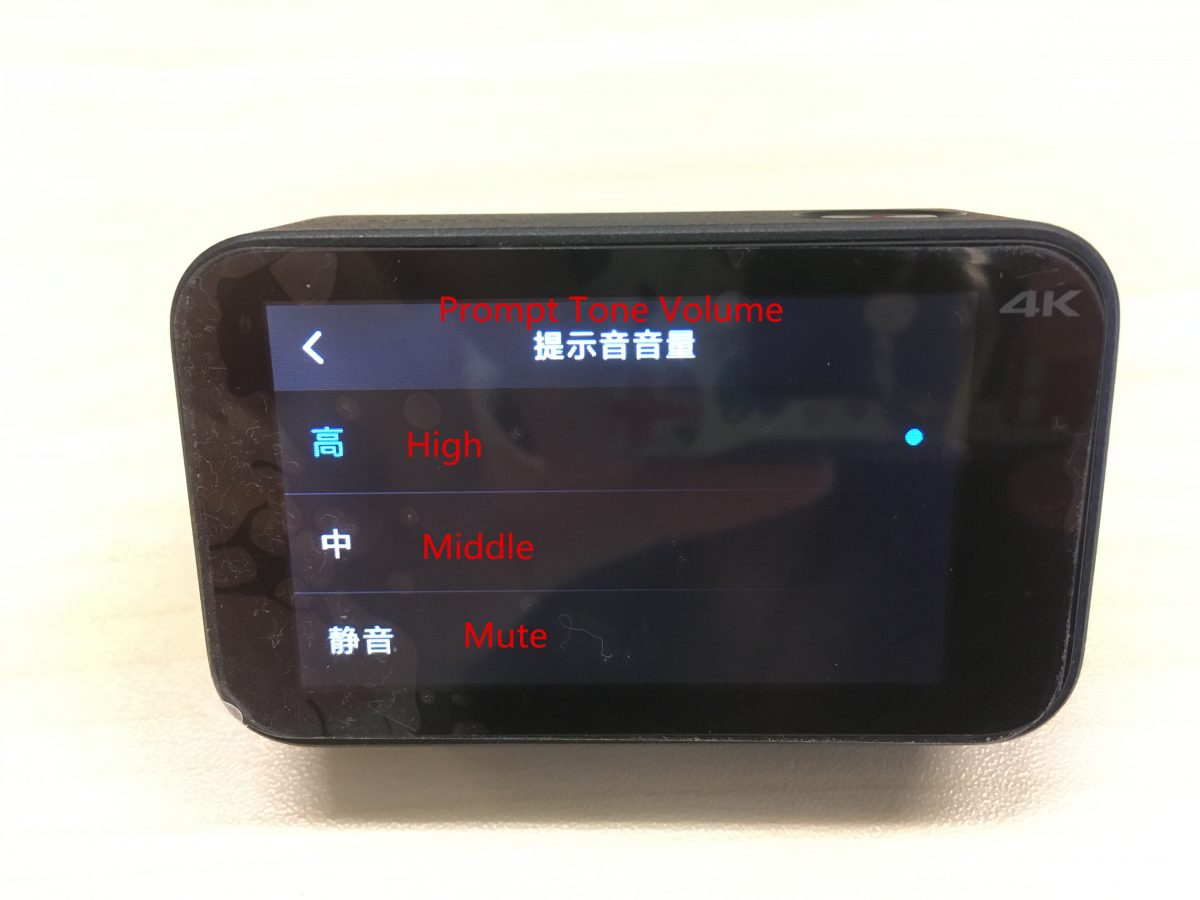
(4) The prompt tune volume can be divided as followings: High, middle, low.
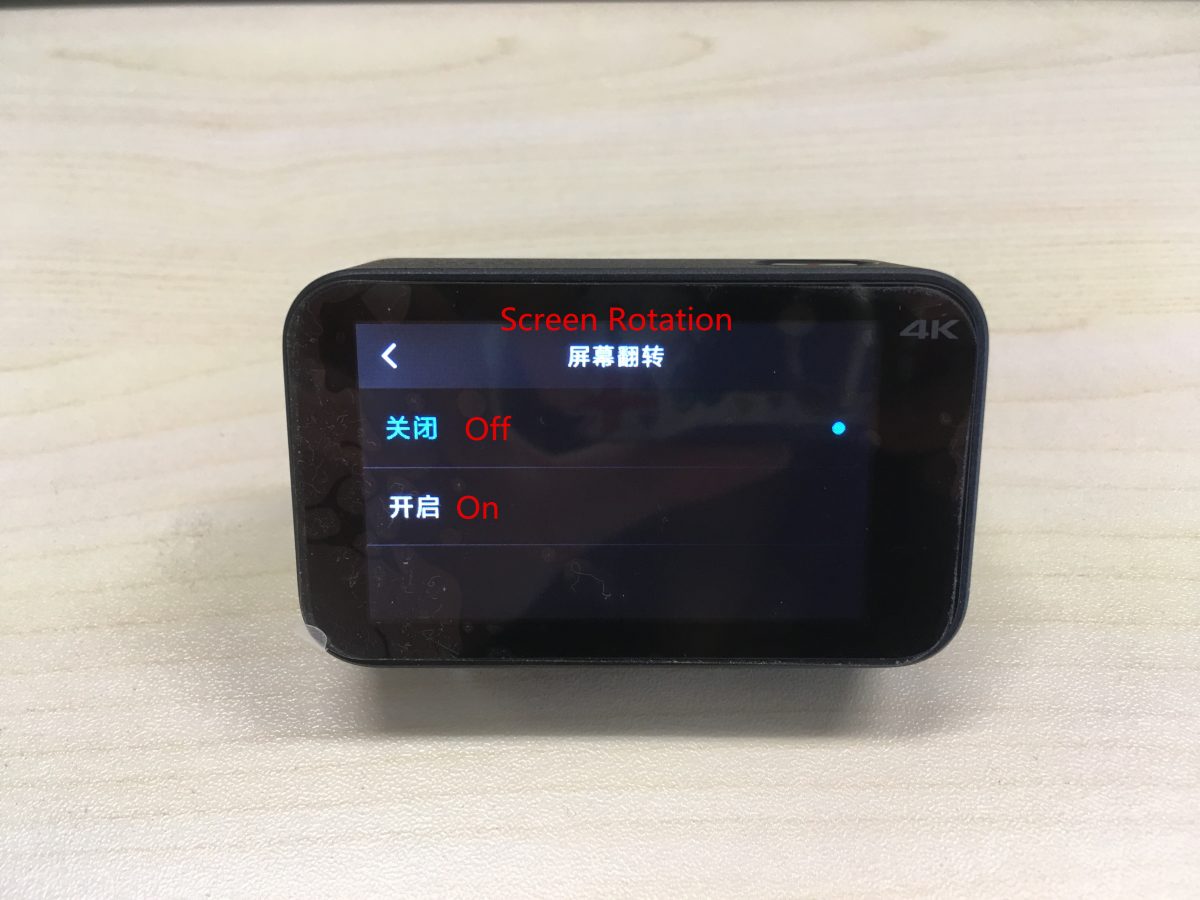
(5) Turn on / off the screen rotation from here.
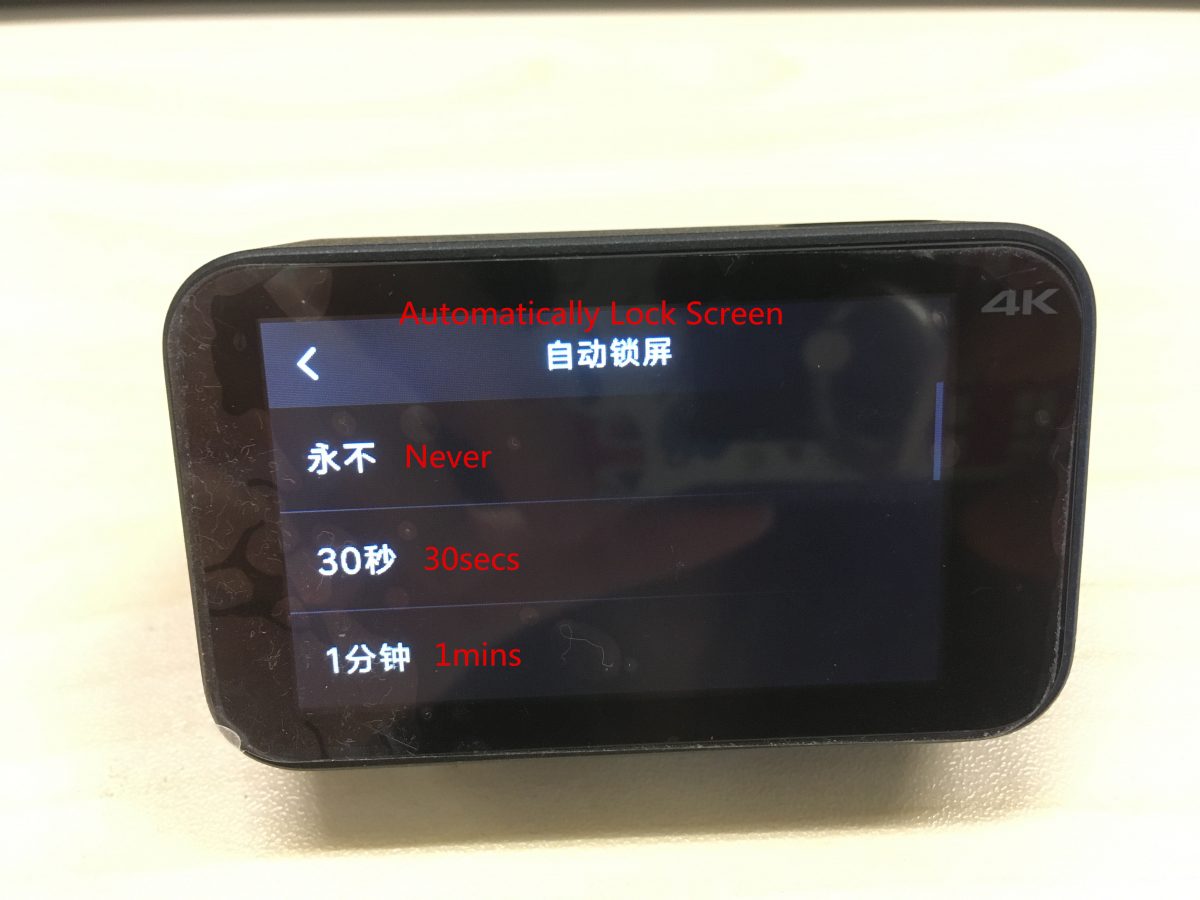
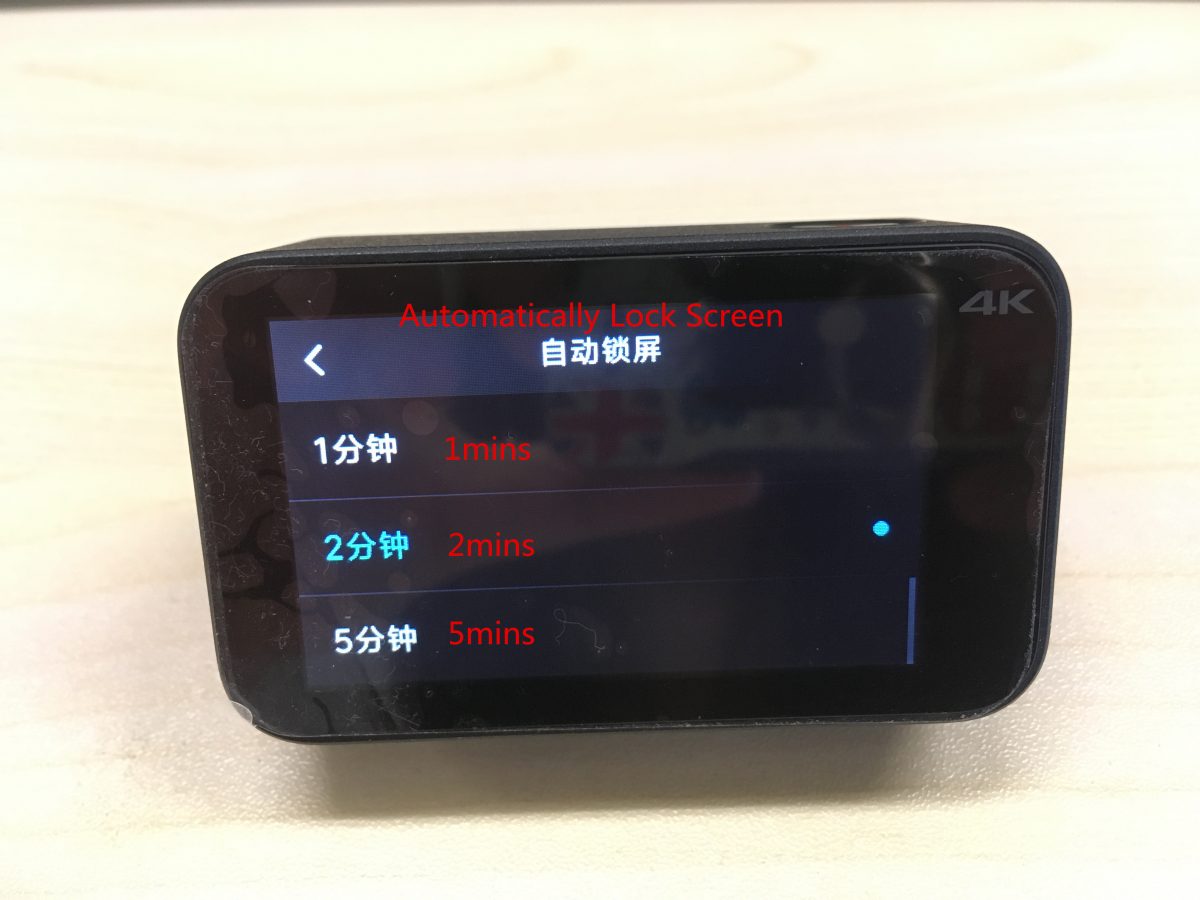
(6) Automatically lock the screen: never, 30secs, 1mins, 2mins, 5mins.
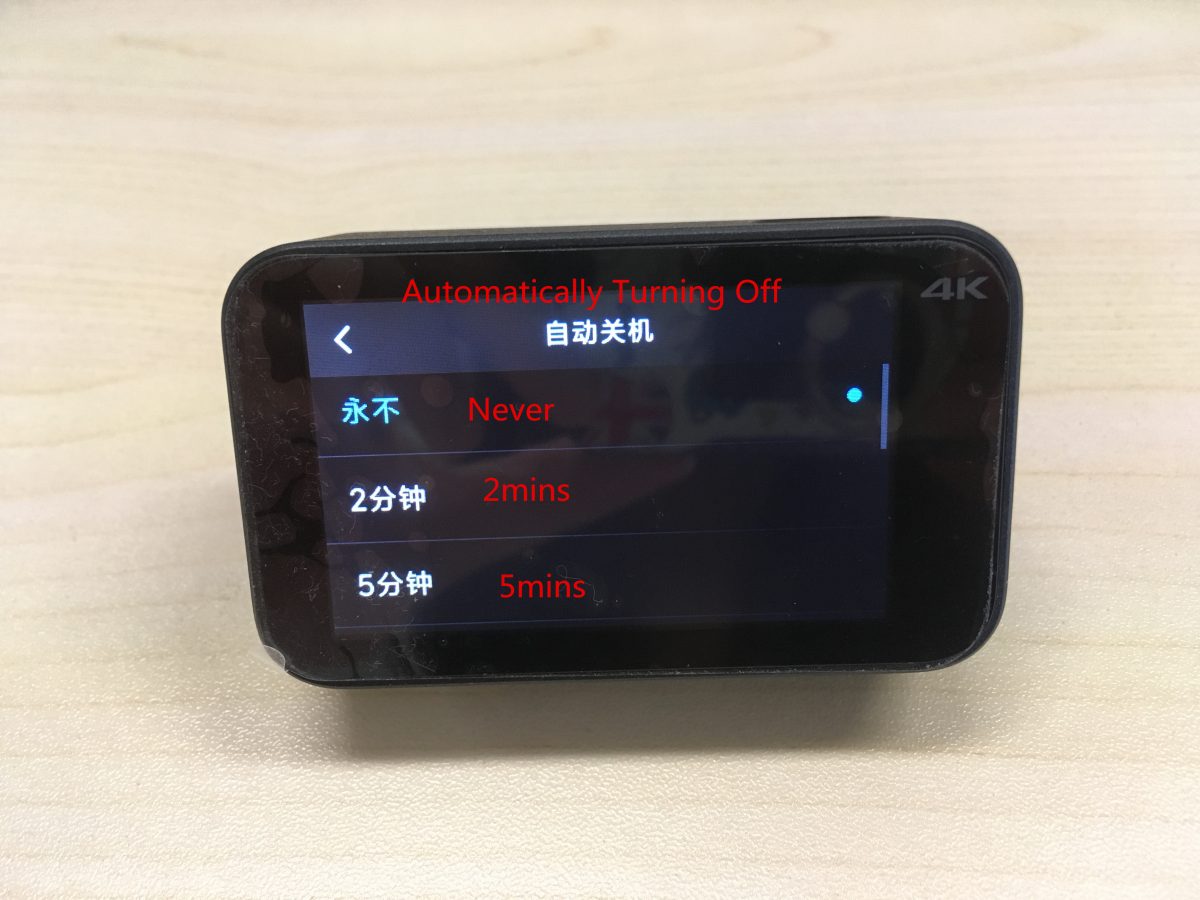
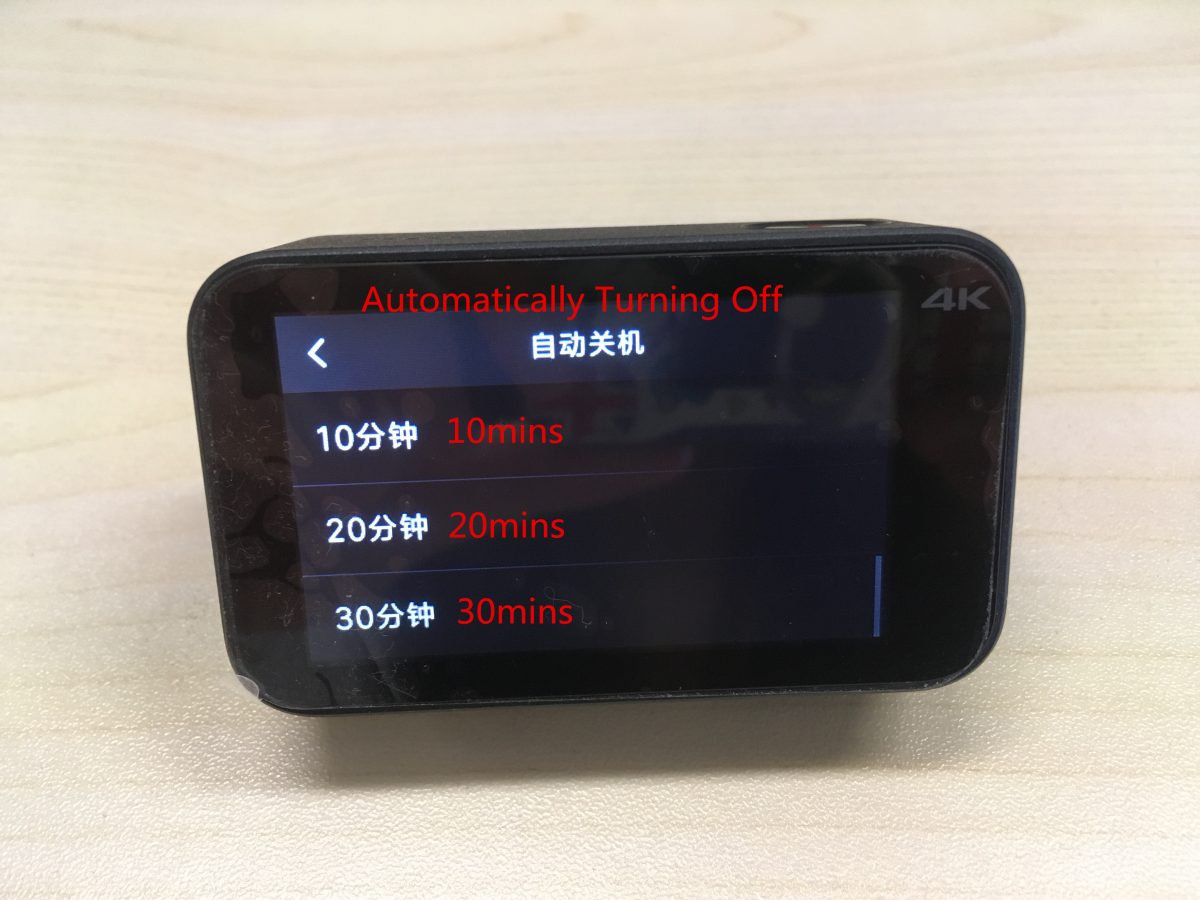
(7) Automatically power off: never, 2mins, 5mins, 10mins, 20mins, 30mins,
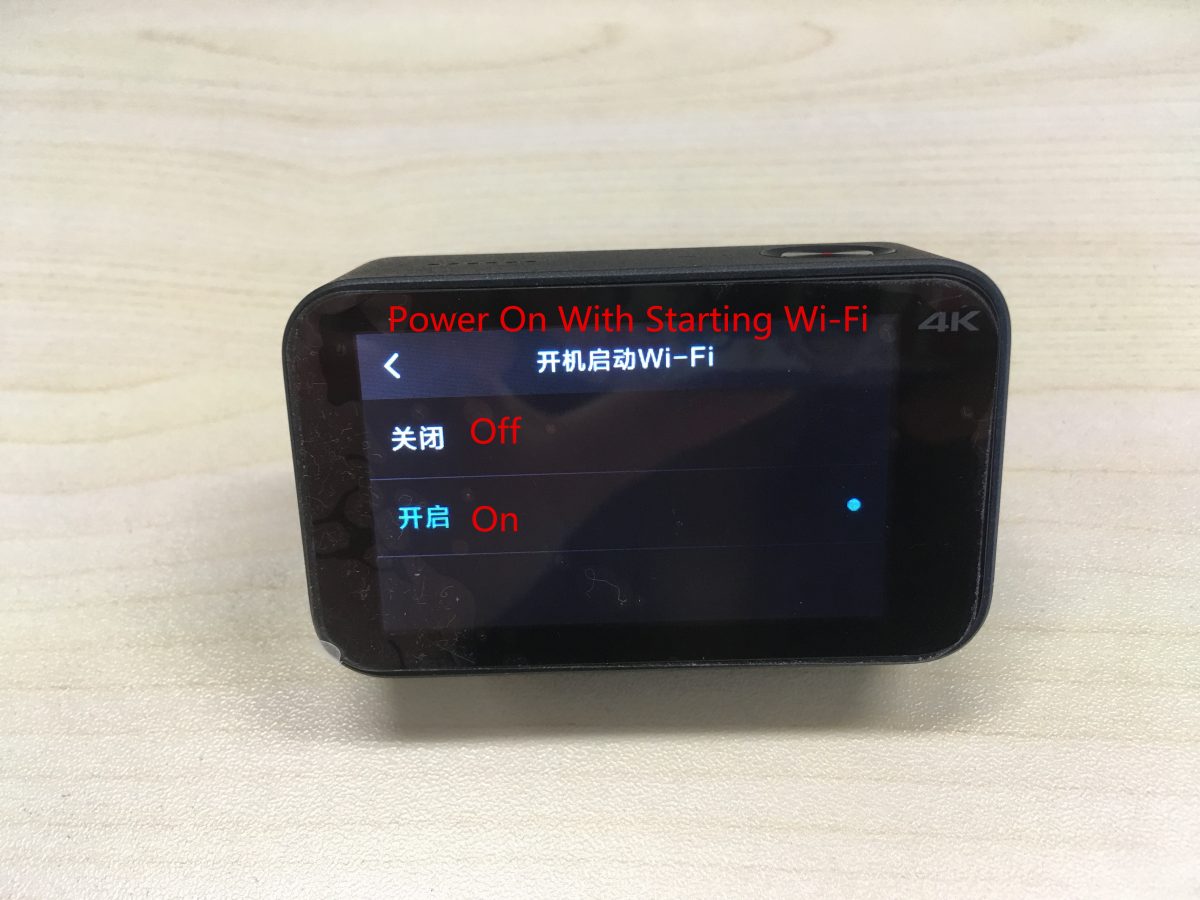
(8) Turn On / Off “Power on with starting Wi-Fi”.
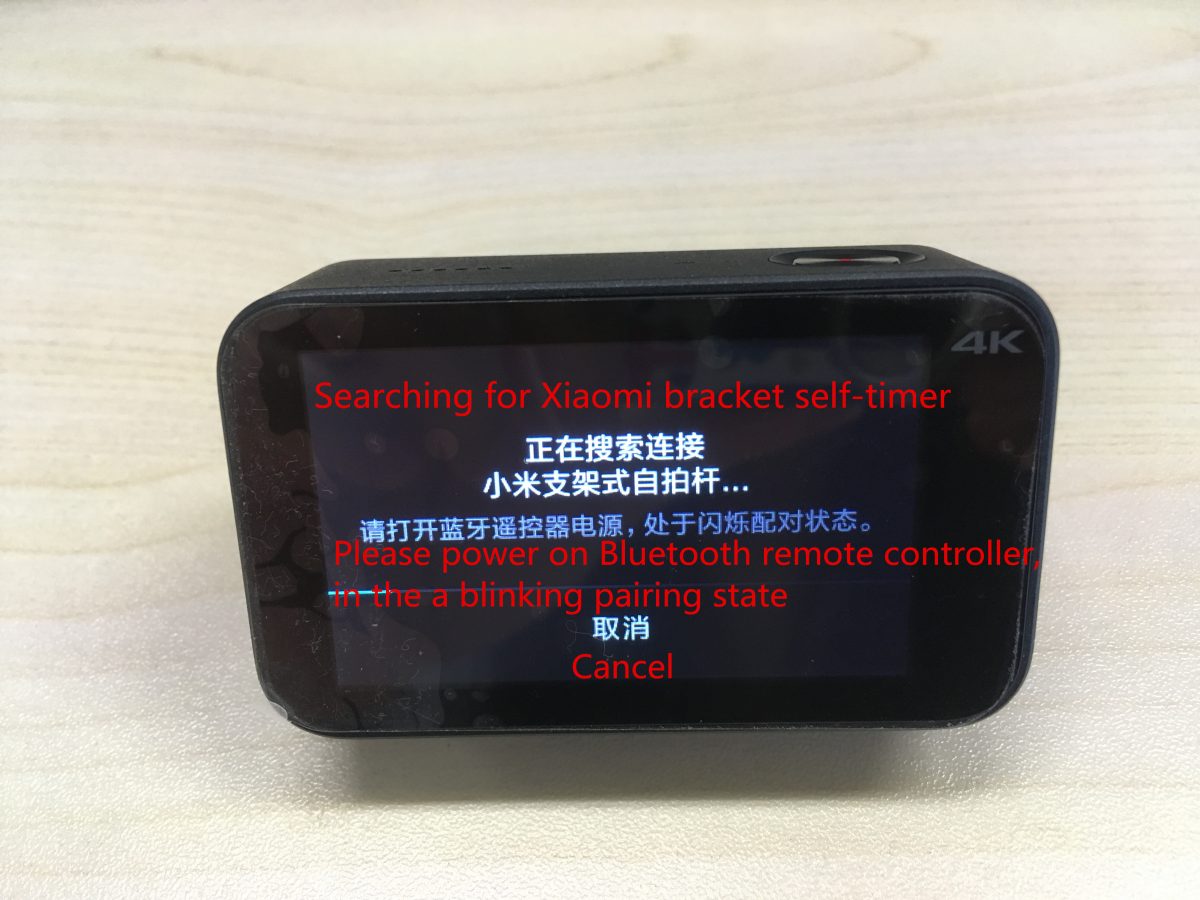
(9) Bluetooth remote control pairing: please power on Bluetooth remote controller and be in the blinking pairing state.
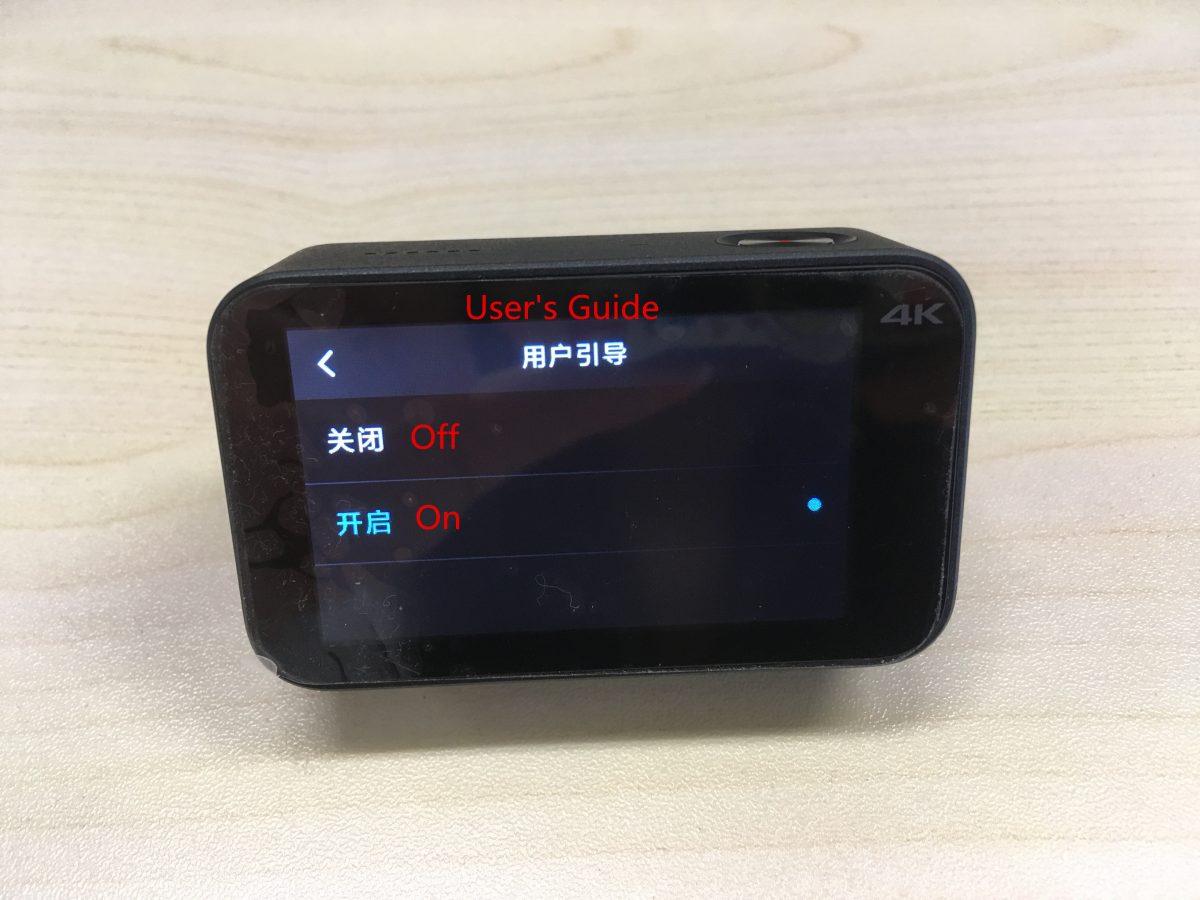
(10)Turn on / off the user’s guide.
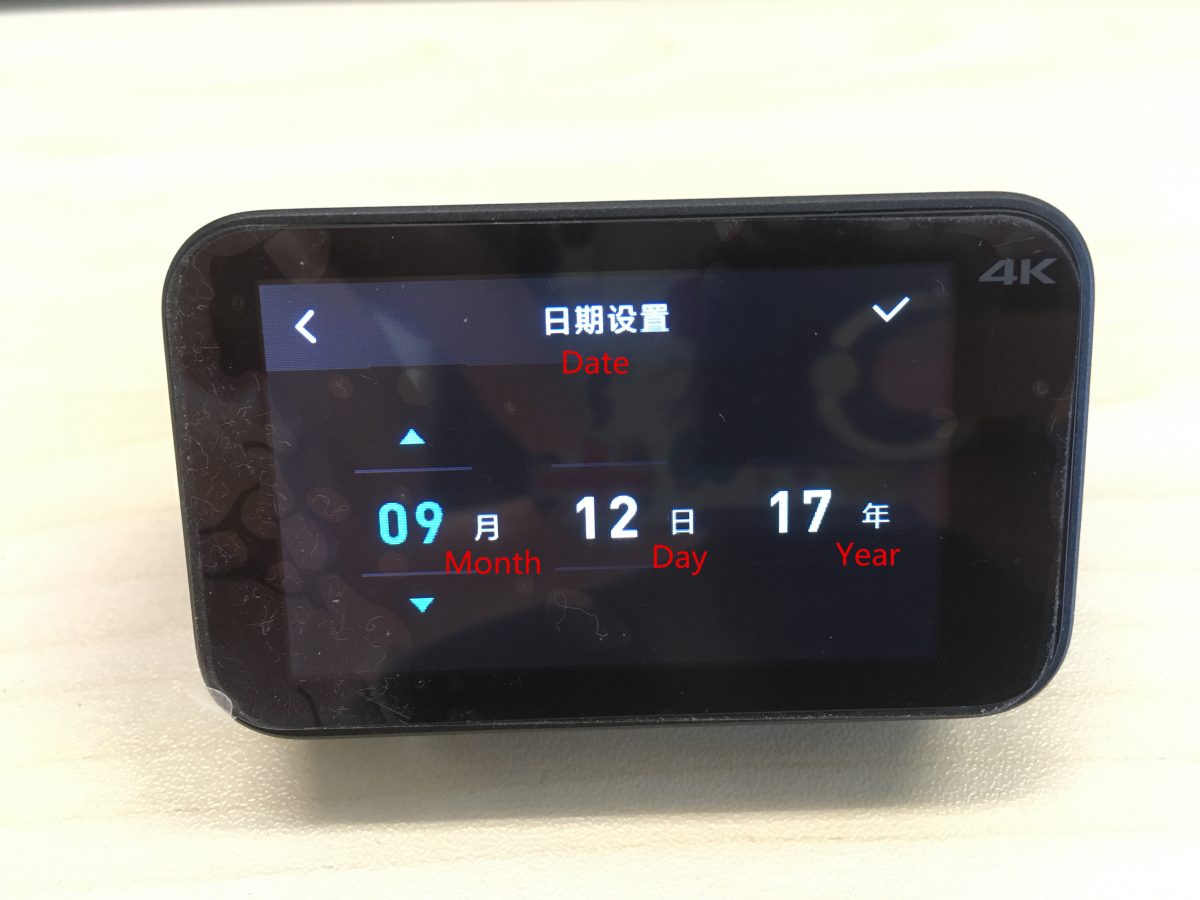
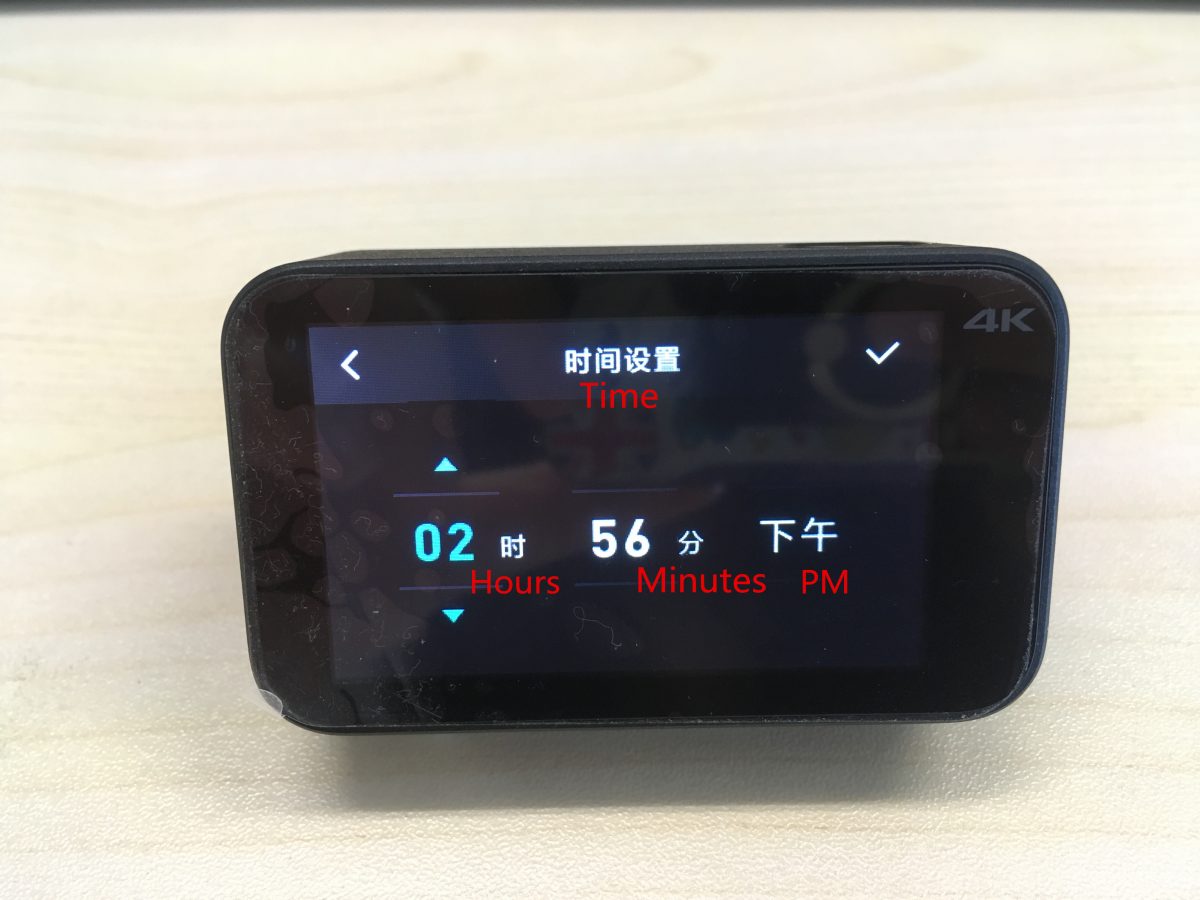
(11) Set the date and time from here.
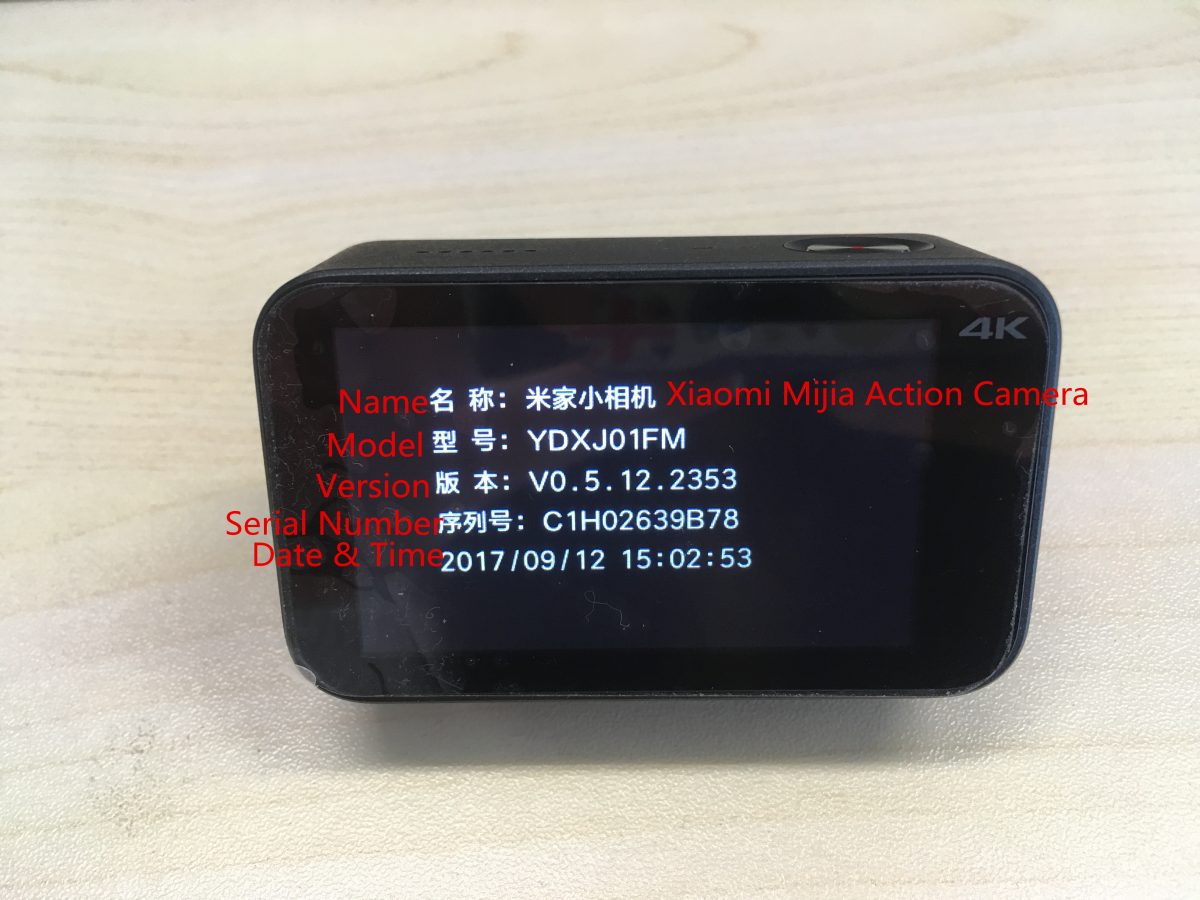
(12) About: the specific information about the camera.
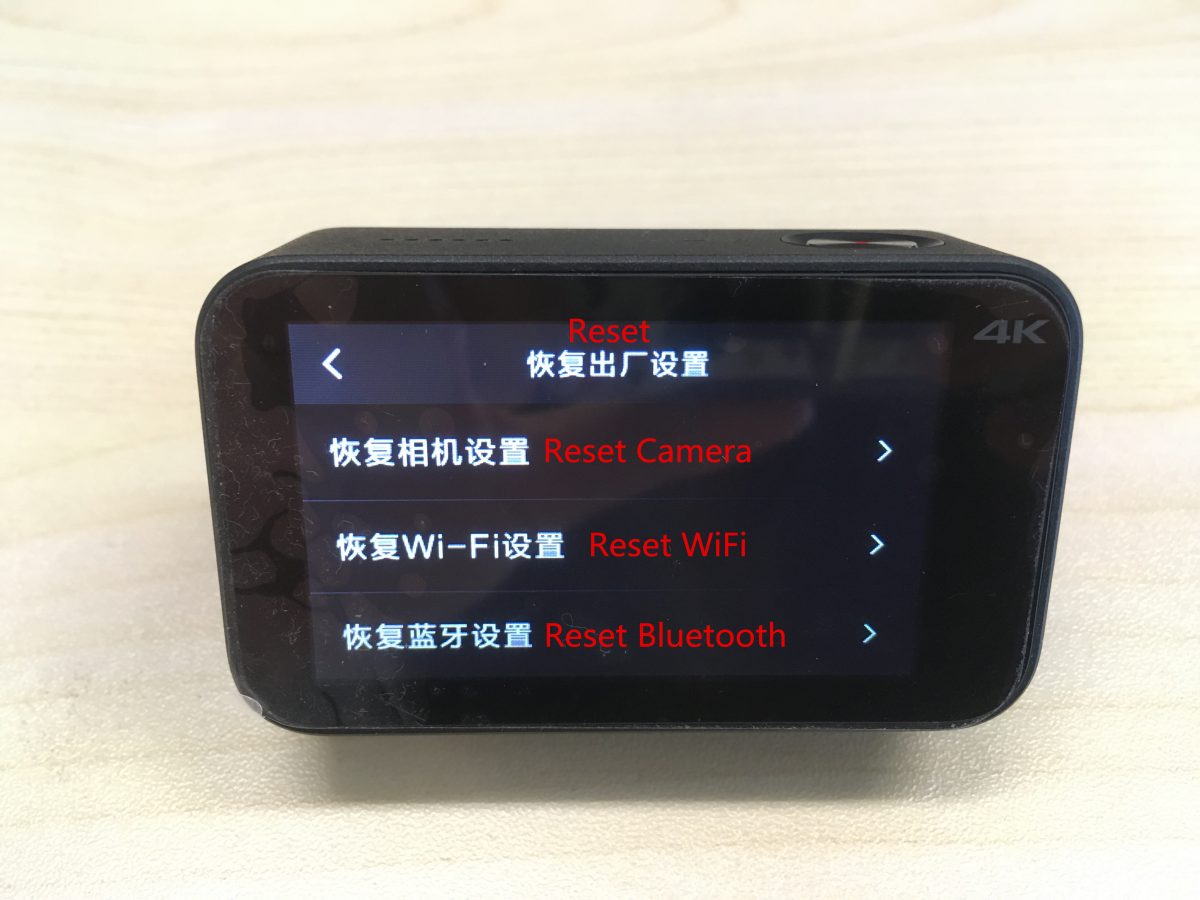
(13) Reset the camera, Wi-Fi, Bluetooth settings from here.
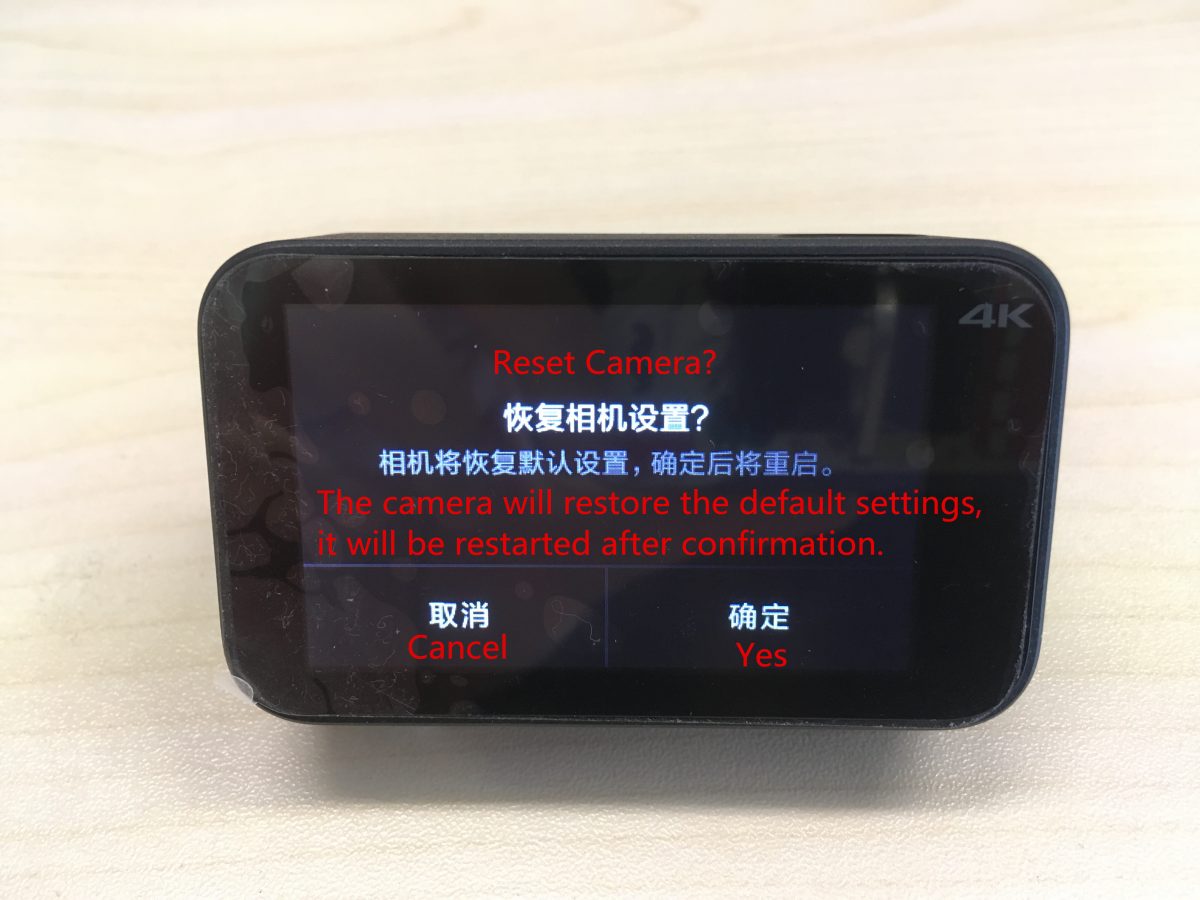
The camera will restore the default settings, it will be restarted after confirmation.
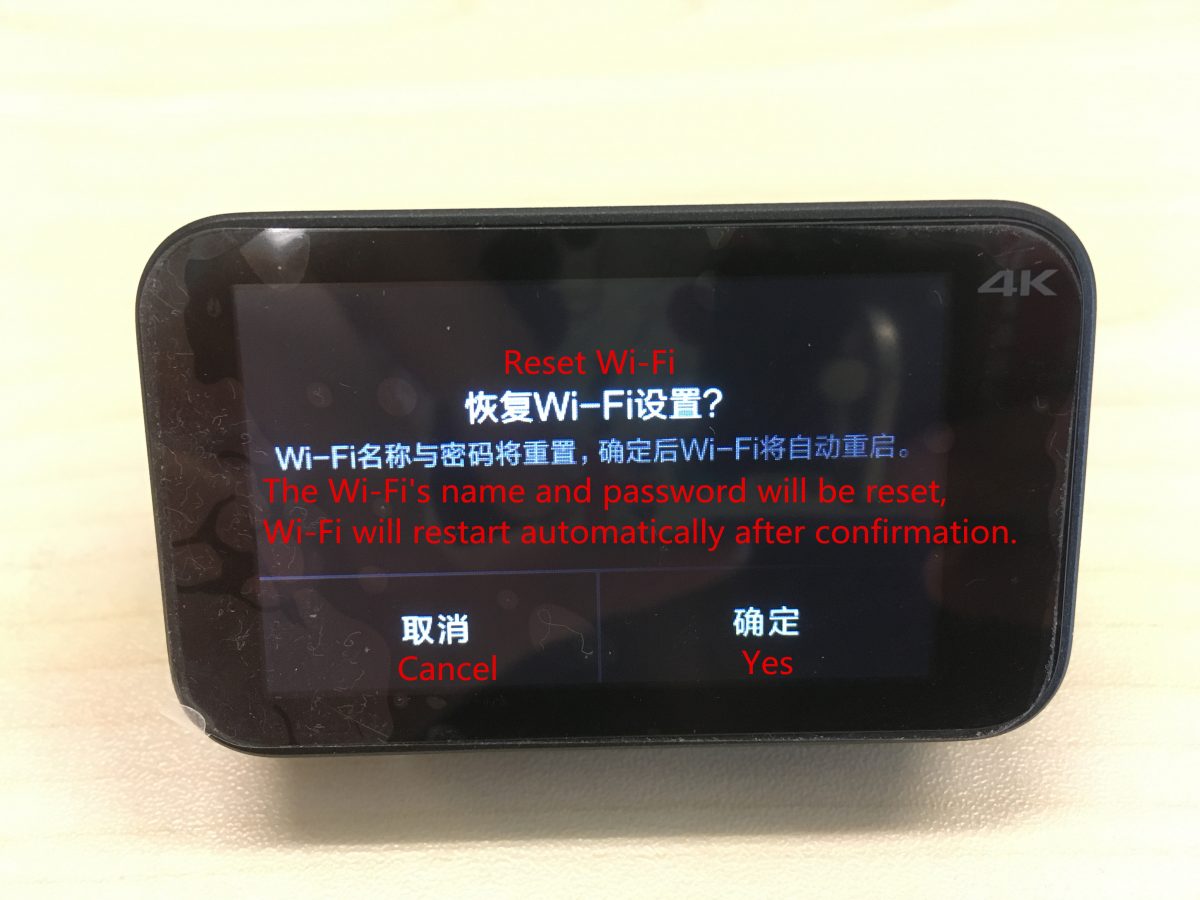
The Wi-Fi’s name and password will be reset, Wi-Fi will restart automatically after confirmation.
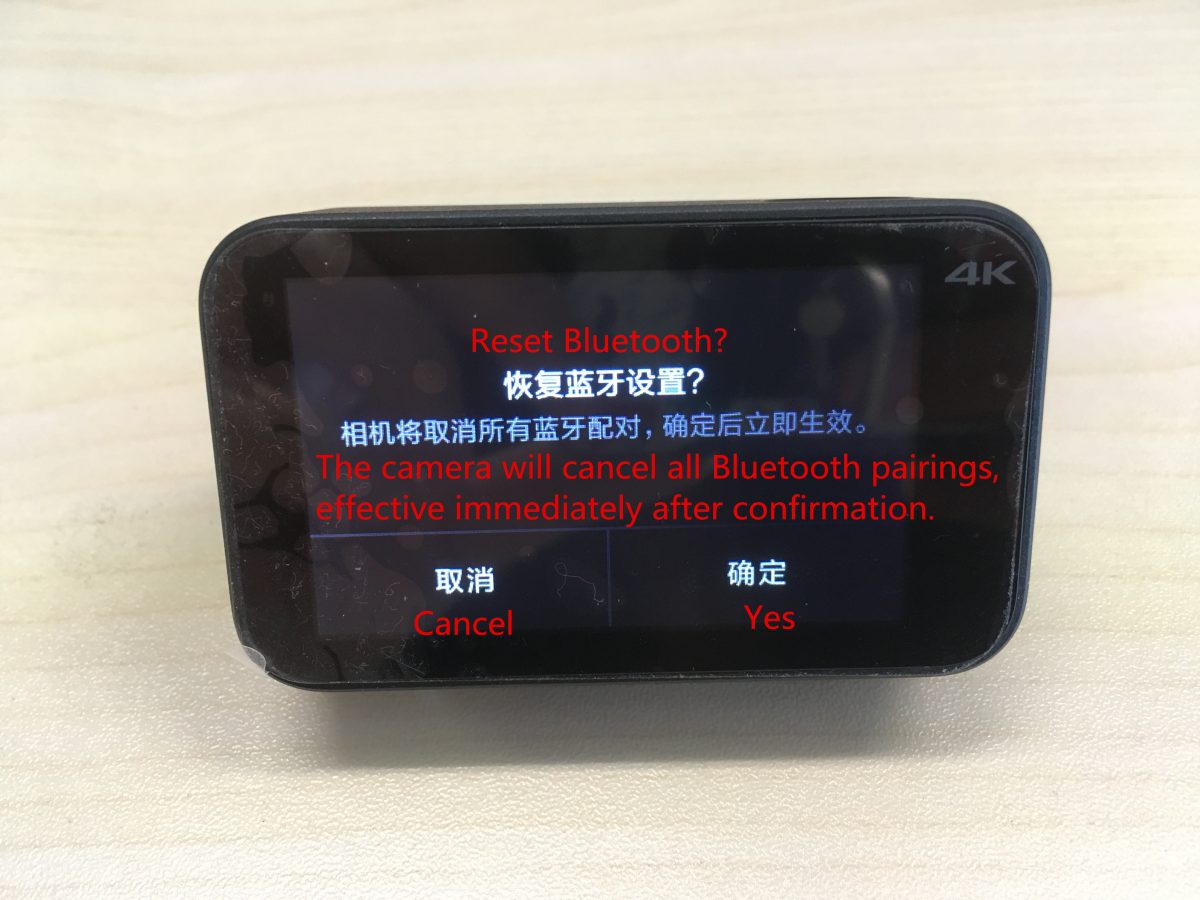
The camera will cancel all Bluetooth pairings after, effective immediately after confirmation.
4. Guide for Wi-Fi Settings:
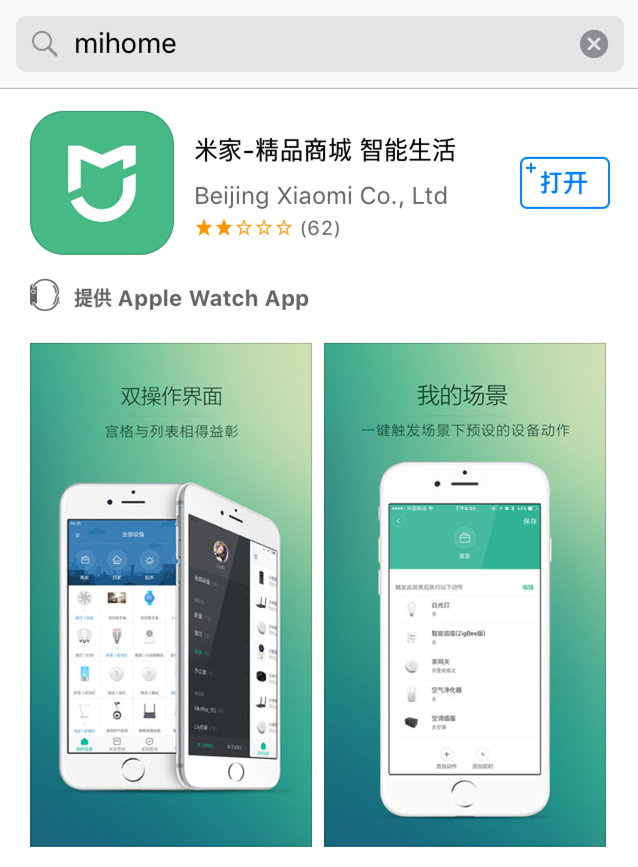
(1) Search “Mihome” at APP store or scan the QR code on user manual to download the APP.
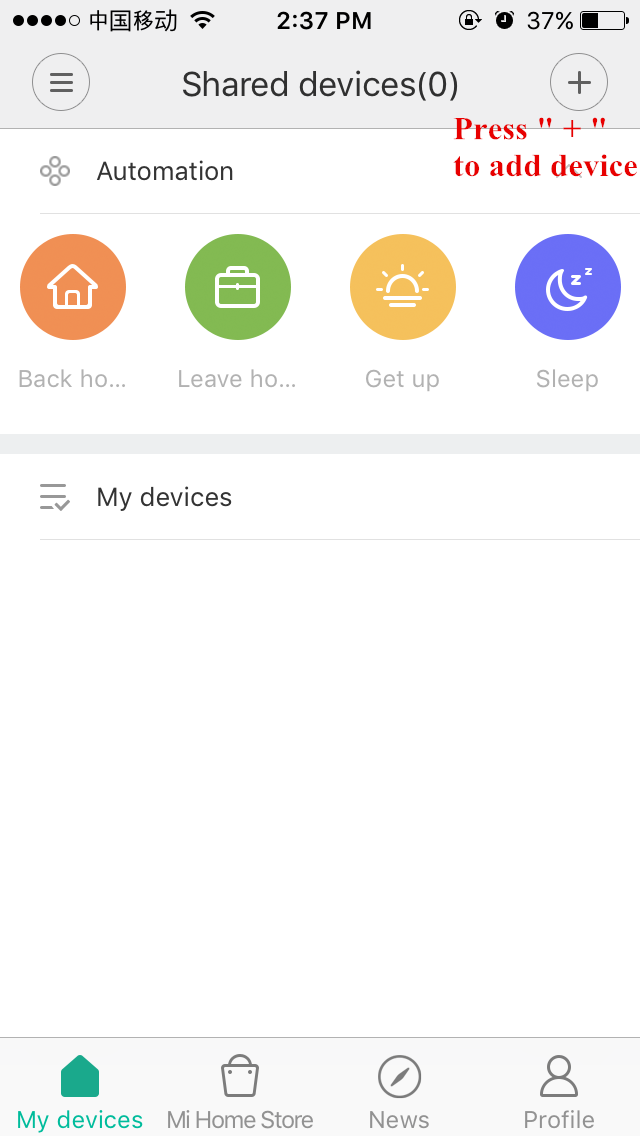
(2) Press “+” to add the device.
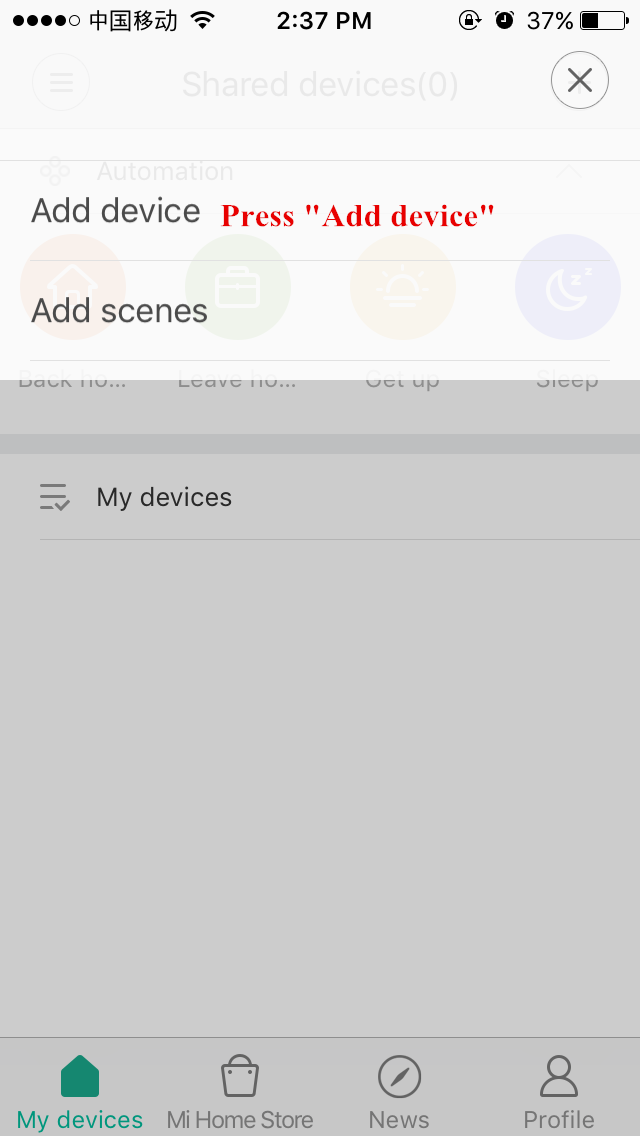
(3) Press “Add device”.
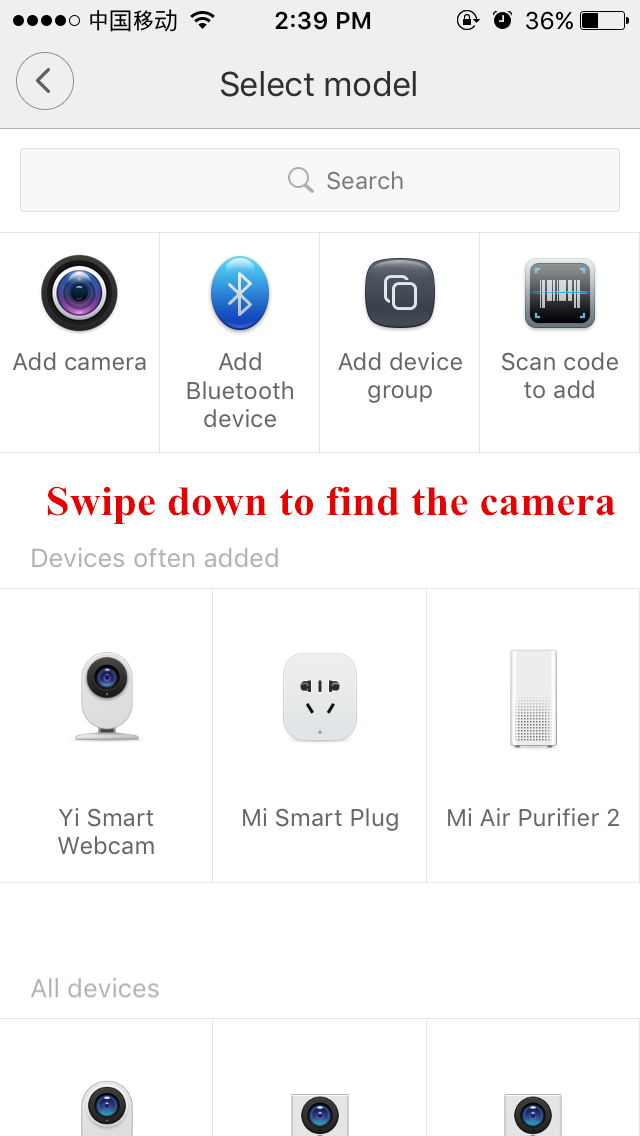
(4) Swipe down to the Xiaomi action camera.

(5) The camera is on the right middle side and press it.
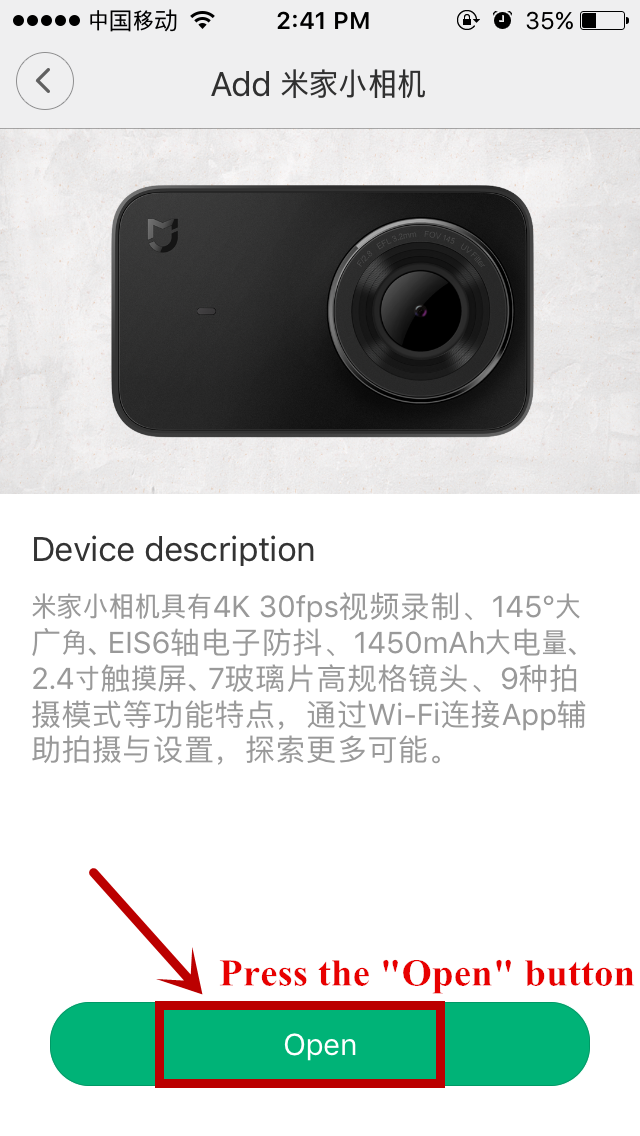
(6) Press the “Open” button.
(7) Turn on camera’s Wi-Fi.
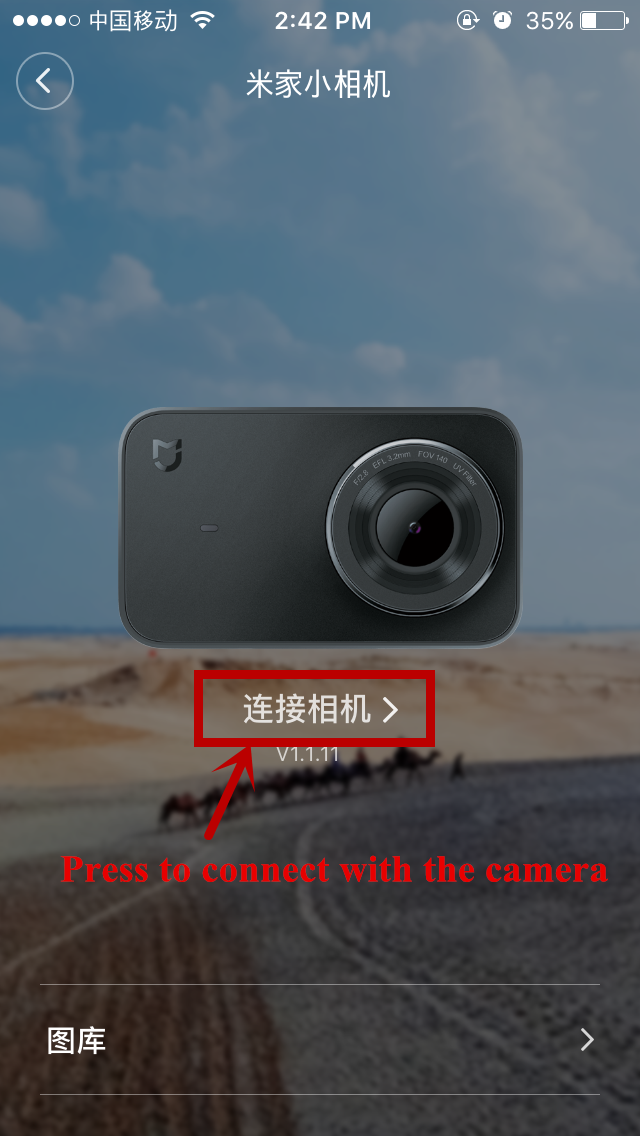
(8) Press to the connecting button to finish connecting the camera with APP.
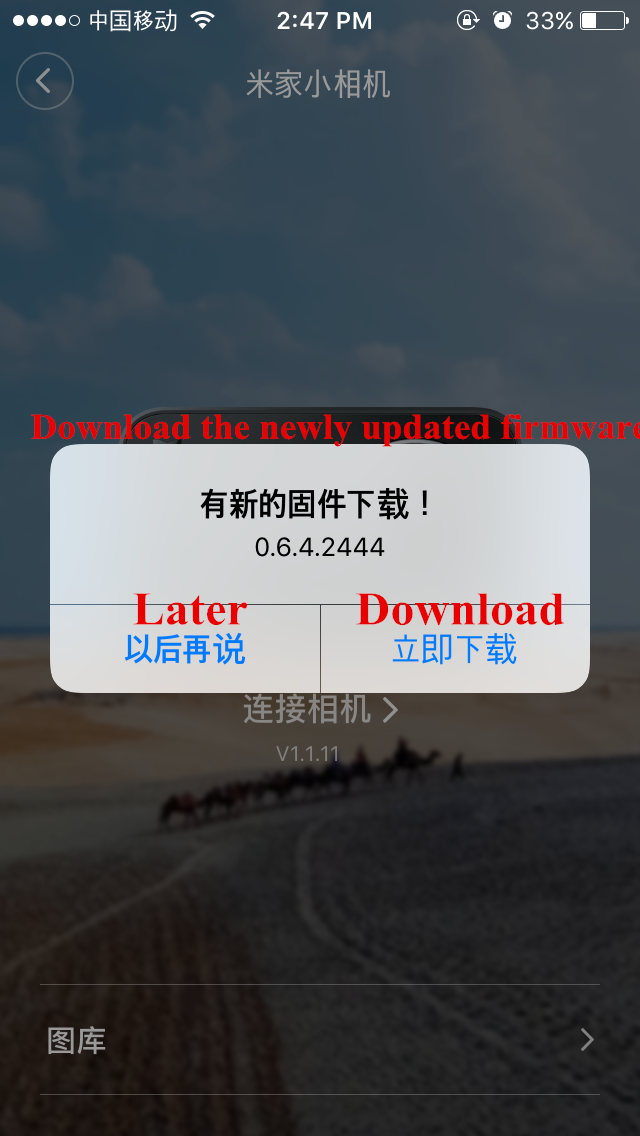
When the APP prompts you to update the firmware, you can choose to download it later or down load immediately.
5. Operation guide translation:
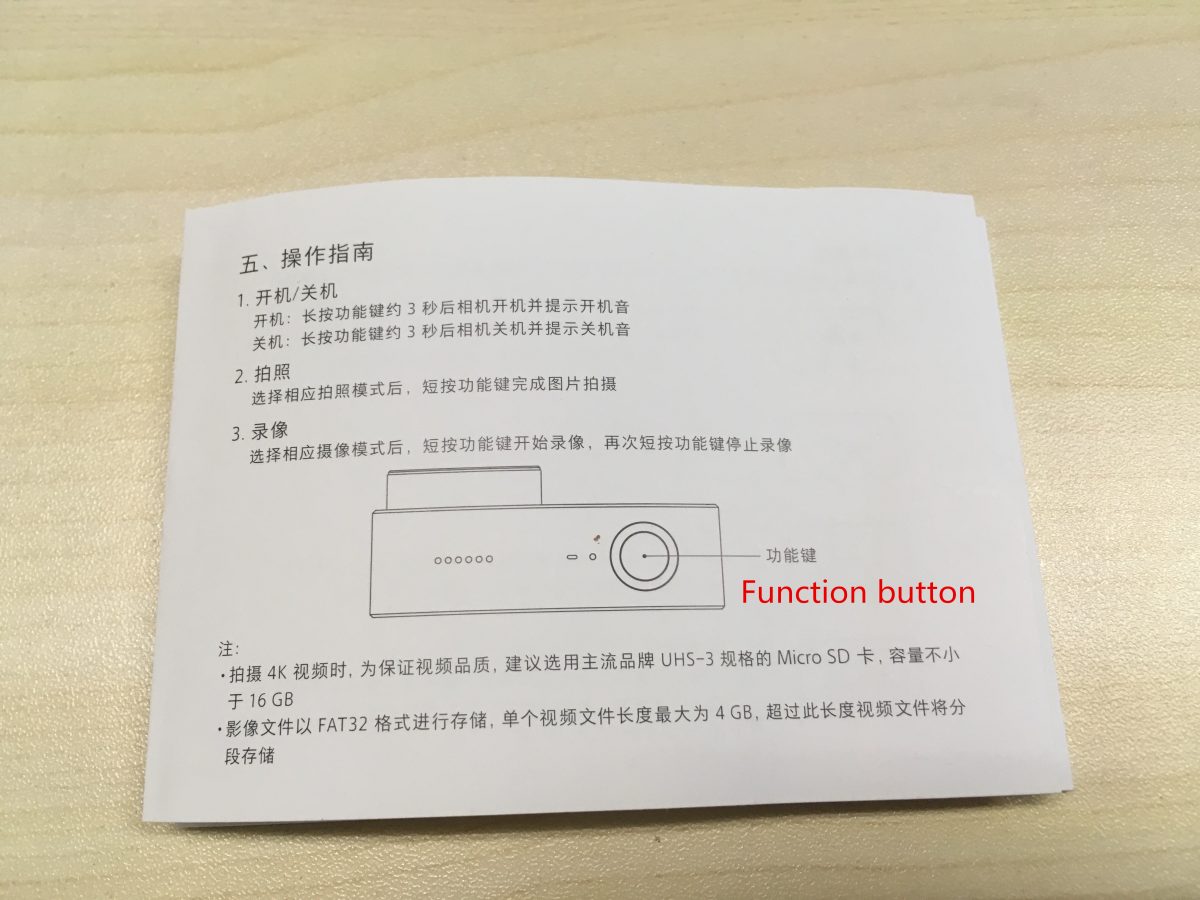
(1) Turn on / off
Turn on: long press the function button for about 3secs to turn it on and you can hear the power-on sound.
Turn off: long press the function button for about 3secs to turn it off and you can hear the power-off sound.
(2) Photography
Choose the corresponding photography mode, short press the function button to finish shooting photos.
(3)Video
Choose the corresponding video mode, short press the function button to start shooting videos, press the function button again to stop shooting videos.
Note:
* When shooting 4k videos, we suggest you use Micro SD card of UHS-3 format with more than 16GB capacity.
* The image files are stored in FAT32 format. The max single video file’s length is 4GB, the videos over 4GB will be stored separately.
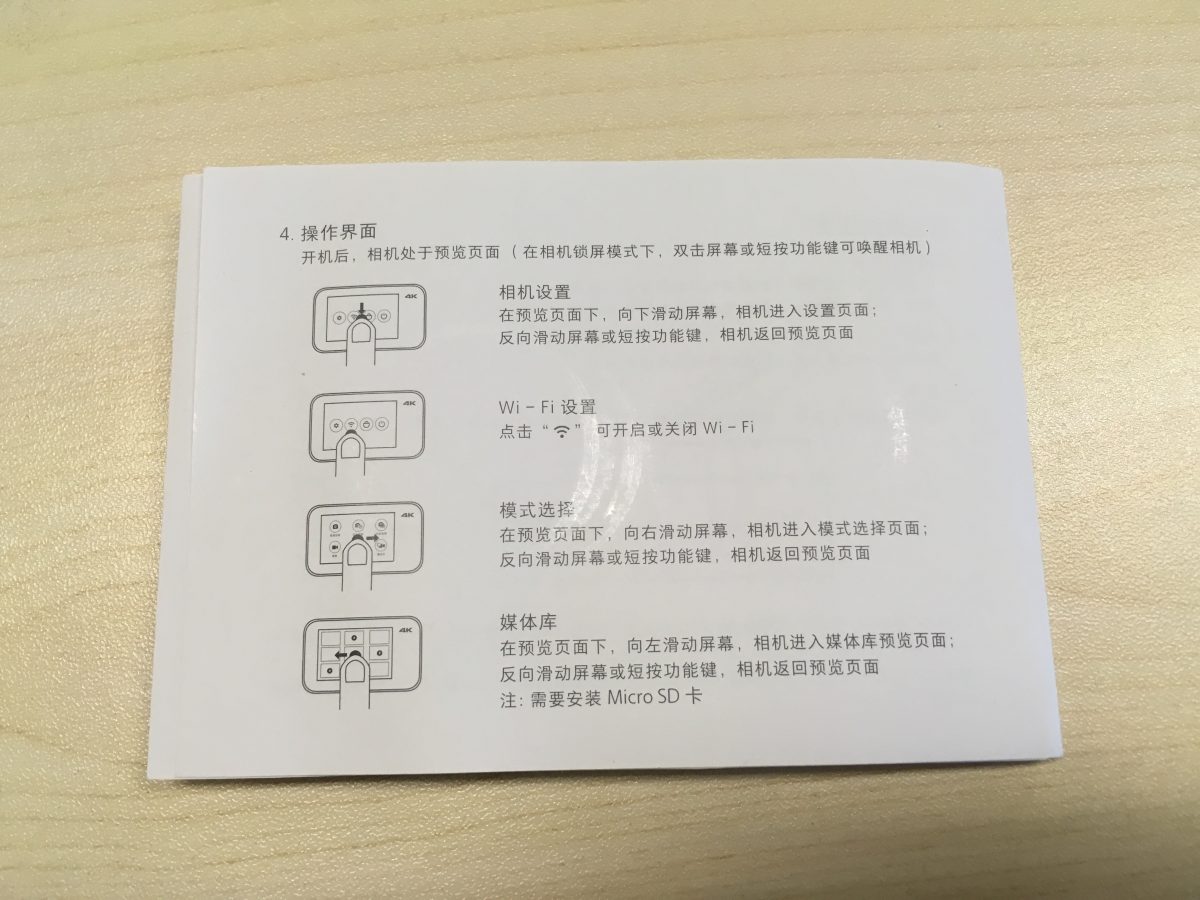
(4) Operation interface
After turning it on, the camera will be on the preview page (under the lock mode, double click or short press the function button to wake up camera)
Camera setting: on the preview page, swipe down to enter into the setting page; swipe to the contrary direction or short press the function button to back the preview page.
Wi-Fi Setting: press the Wi-Fi symbol to turn on / off Wi-Fi.
Mode selection: on the preview page, swipe to the right side to enter into the mode selection page; swipe to the contrary direction or short press the function button to back the preview page.
Media Library: on the preview page, swipe to the left side to enter into the media library preview page; swipe to the contrary direction or short press the function button to back the preview page.
Note: need to install Micro SD card.
