
Specification
Vorke R1 IR remote is customized for Vorke V1 & V1 Plus mini PCs
How to make it work?
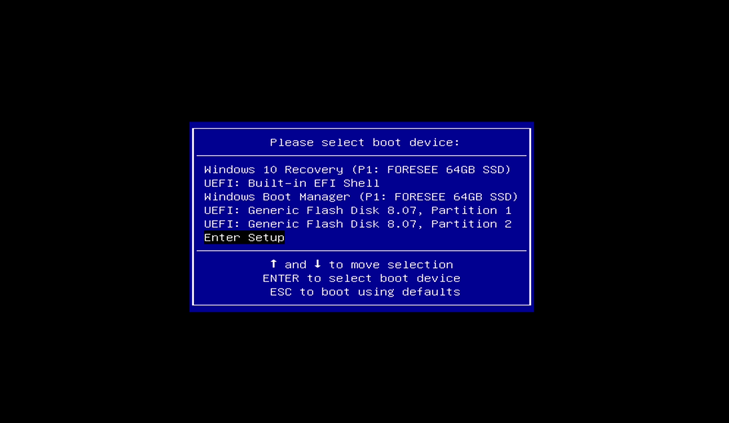
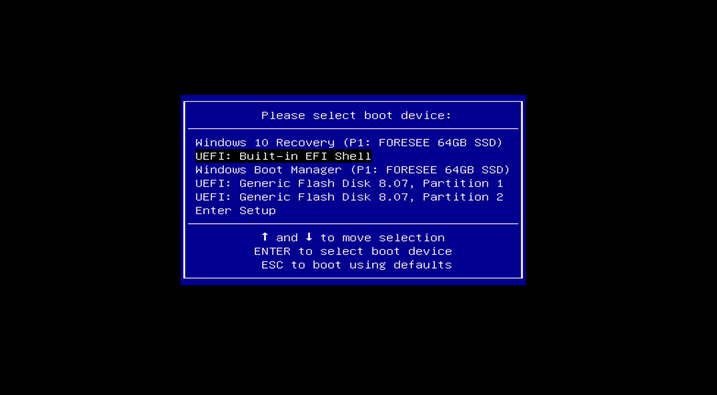
1. Please keep pressing the F7 key when turning on the VORKE V1 or VORKE V1 PLUS and you will enter the following picture, select Enter Setup and press the Enter Key.
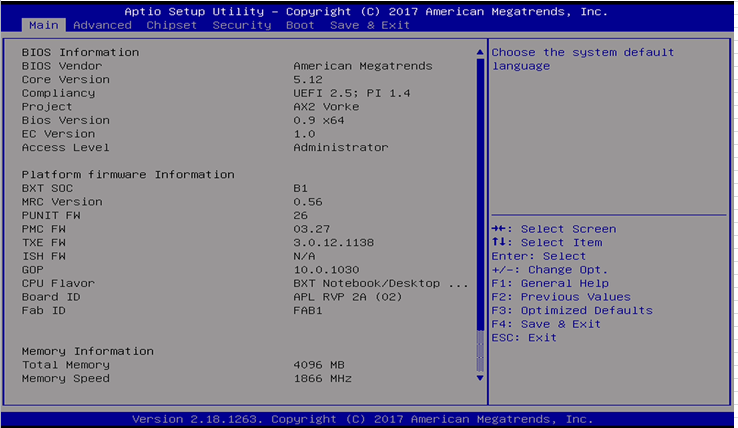
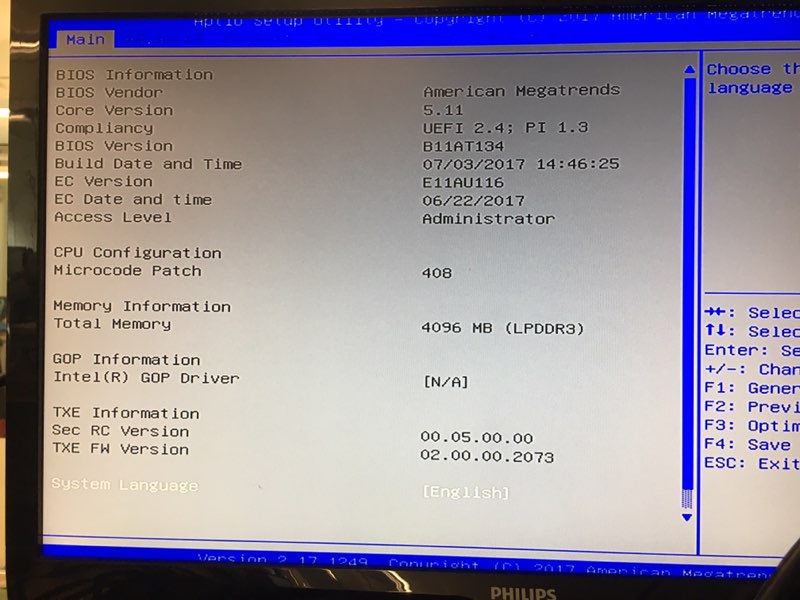
2. BIOS check
A: vorke v1 plus
Please check VORKE V1 Plus BIOS Version, if it is the latest BIOS Version 0.9 X64 EC Version 1.0, you can control the device with VORKE R1 IR remote directly. If the version number is lower than this, you will have to upgrade it.
B: vorke v1
Please check VORKE V1 BIOS Version, if it is the latest BIOS Version B11AT134 EC Version E11AU116, you can control the device with VORKE R1 IR remote directly. If the version number is lower than this, you will have to upgrade it.
3. Download BIOS
A: vorke v1 plus
Download the BIOS file from address:http://vorke.mediafire.com/file/2d3cfy6dxtjgtkl/Vorke_V1_Plus_B0.9_E1.0.zip, extract the file to get Vorke_V1_Plus_B0.9_E1.0 folder, copy the file to the U disk, and then insert the U disk into the Mini PC, press the power button and keep pressing F7 key, then you will enter the following picture, select UEFI: Built-in EFI Shell and press Enter key.
B: vorke v1
Download the BIOS file from address: http://vorke.mediafire.com/file/ee1l17lqebe4b8n/Vorke_V1_BIOS_T134U116.zip, copy the file to the U disk, and then insert the U disk into the Mini PC, press the power button and keep pressing F7 key, then you will enter the following picture, select UEFI: Built-in EFI Shell and press Enter key.
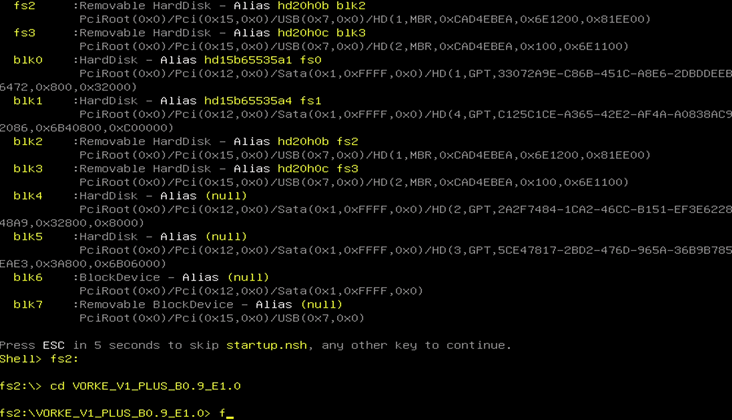
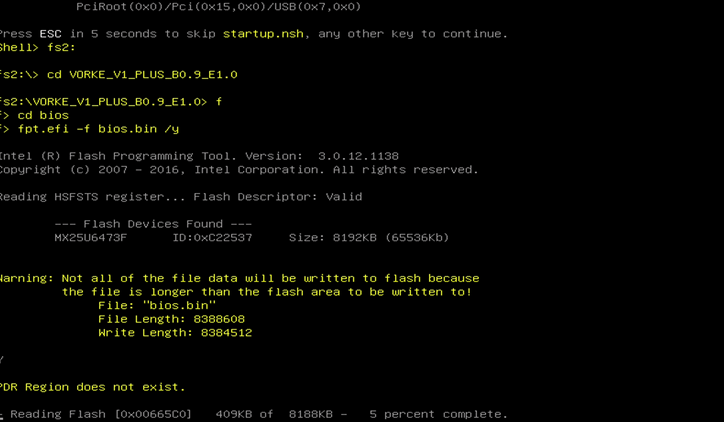
4. Find the exact U disk drive you just inserted, enter the VORKE_V1_PLUS_B0.9_E1.0 file or Vorke_V1_BIOS_T134U116 , press “F” to upgrade the BIOS. When the upgrade completes, the Mini PC will shut down automatically. You get the following commands:
fs2:
cd VORKE_V1_PLUS_B0.9_E1.0
f