Here are the detailed steps of LaserGRBL User Guide:
Install Laser GRBL
Before you start using Laser GRBL, you need to download the latest version of Laser GRBL from the official website and unzip the downloaded file. Next, copy the unzipped file to your computer.
Connecting to Laser Cutter or Engraver
Before you use Laser GRBL, you need to connect your computer to the laser cutter or engraver. Usually, you can connect your computer to the laser cutter or engraver via a USB cable. Then, start Laser GRBL and select the correct port and baud rate so that Laser GRBL can communicate with the laser cutter or engraver.
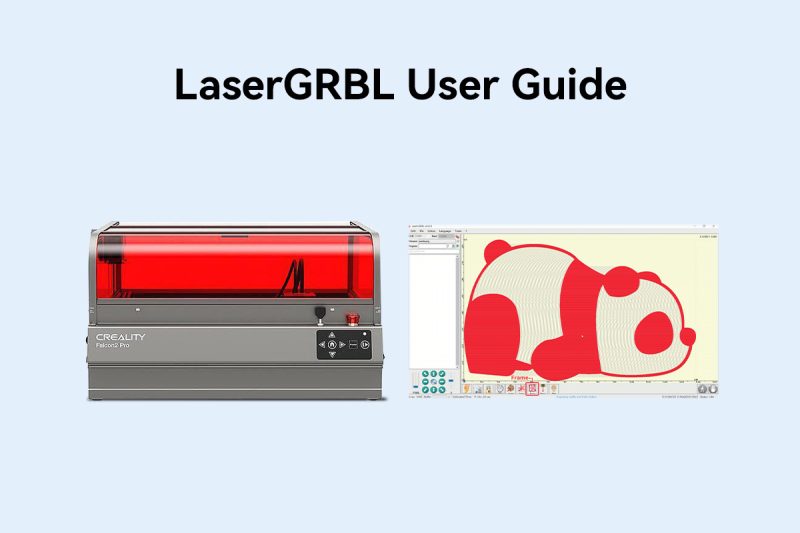
Laser GRBL Main Interface
Once you successfully connect to the laser cutter or engraver, you will see the main interface of Laser GRBL. The interface includes the following parts:
- Toolbar: includes buttons such as Connect, Disconnect, Reset, Open File, Start, Pause and Stop.
- File Control: Displays the loaded file name and engraving progress. The green “Play” button will start the program execution.
- Manual Commands: You can enter any G-Code line here and press “Enter”. The command will be added to the command queue.
- Command Log and Command Return Codes: Shows queued commands and their execution status and errors.
- Manual Control (Jogging): Allows manual positioning of the laser. The left vertical slider controls the movement speed and the right slider controls the step size.
- Engraving Preview: Shows a preview of the final job. During the engraving process, a small blue cross will show the current laser position.
- Grbl Reset/Home/Unlock: These buttons submit soft reset, home and unlock commands to the grbl board. To the right of the unlock button you can add some user defined buttons.
- Feed Hold and Resume: These buttons can pause and resume program execution, sending feed hold or resume commands to the grbl board.
- Line Count and Time Prediction: LaserGRBL can estimate program execution time based on actual speed and job progress.
- Override Status and Control: Show and change actual speed and power overrides. Overrides are a new feature of grbl v1.1 and are not supported in older versions.
Preparation
Before engraving, use a dust-free cloth and alcohol to wipe the protective lens of the laser module to ensure the best engraving effect. Put down the wooden board in the working area of the laser engraving machine, put down the focus bar, loosen the hand screw on the side of the laser module, and adjust the focus. When the focus bar is naturally vertically downward, it should contact the surface of the engraving material. Use the hand screw on the right to tighten it, and turn the focus bar clockwise until it is attracted by the magnet. Finally, plug in the laser module cable.
Software Tutorial
Double-click the .exe file to install the LaserGRBL software. If you cannot install it, visit the official website to download the appropriate version. After successful installation, double-click to open the LaserGRBL software, power on the machine, turn on the power switch, wait for the machine to initialize, and use the Type-C data cable to connect the computer and the machine. Select the corresponding serial port number and ensure that the baud rate is 115200. Click “Connect”. Some icons will light up after the connection is successful.
Machine Connection Test
Connect the power supply, connect the black power cable that comes with the machine to the charger, and connect the power supply. Connect the data, and use the Type-C data cable to connect the computer and the machine.
Processing Patterns
Click the icon next to Filename to open the file to be engraved. LaserGRBL supports files in formats such as G-Code, .svg, and pictures. Here we take pictures as an example. After opening the picture, a mode selection window will pop up: we choose smooth mode, and the slider below can adjust the picture, such as contrast, brightness, etc.
Through the above steps, you can effectively use LaserGRBL software to control laser cutting machines and engraving machines to achieve precise engraving and cutting operations.
