Replacing the mainboard on your K2 Plus 3D printer can help resolve hardware issues and extend the machine’s lifespan. Follow this step-by-step guide to safely remove and install a new mainboard.
Creality K2 Plus Combo 3D Printer with CFS
Tools You’ll Need
- H2.0 hexagonal wrench
- H2.5 hexagonal wrench
- Cutting pliers
- Cable ties
- New mainboard
Mainboard Location
The mainboard is located in the lower left corner at the back of the printer.
Step-by-Step Instructions
Power Off the Machine
Turn off the printer and unplug the power cord before beginning any disassembly.
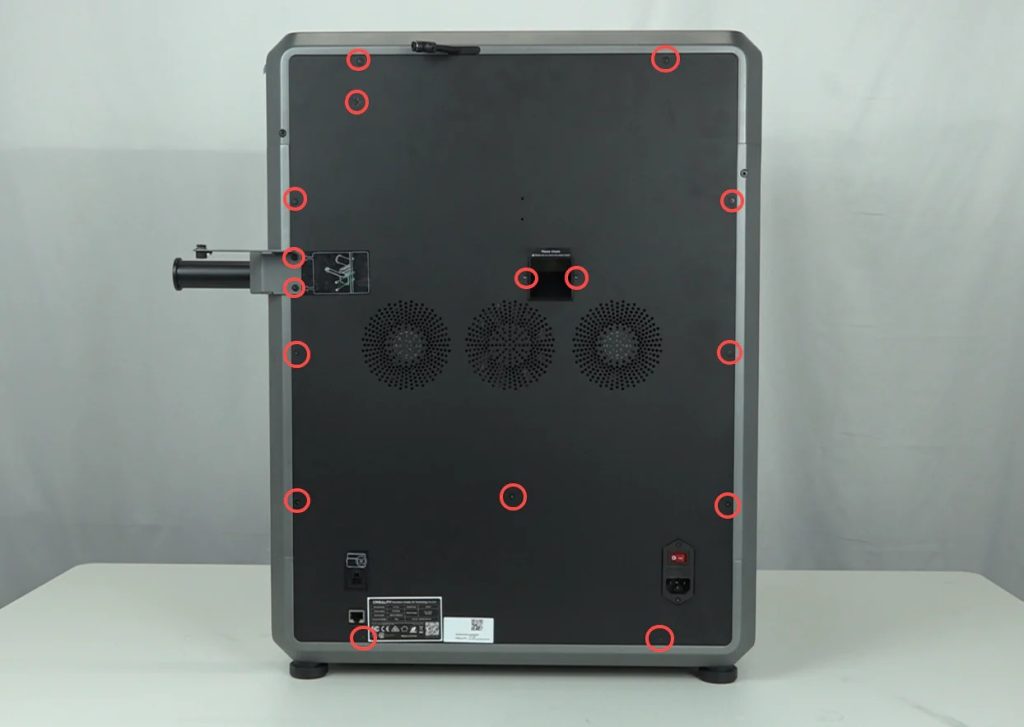
Remove the Back Panel
Use H2.0 and H2.5 hexagonal wrenches to unscrew the back panel.
Carefully remove the panel to expose the internal wiring and mainboard.
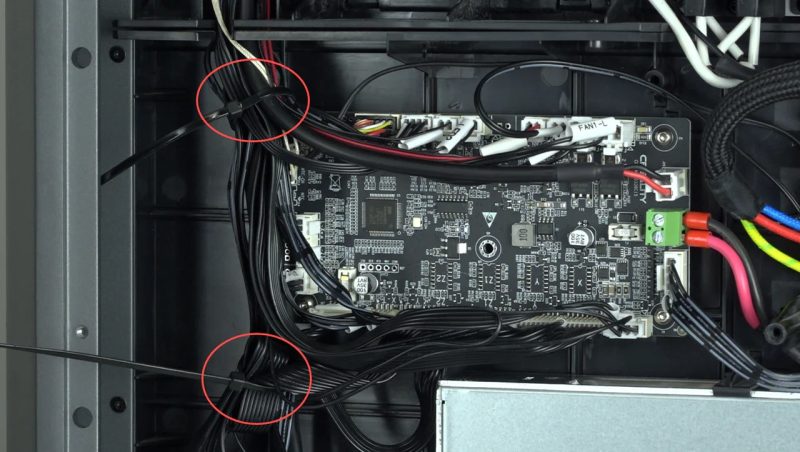
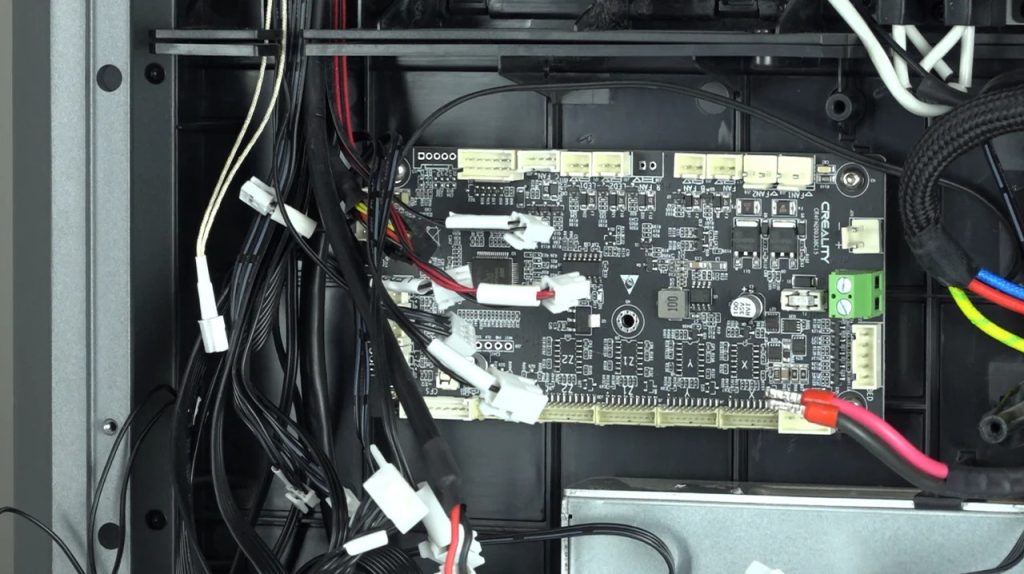
Detach the Mainboard
Use cutting pliers to remove the cable ties that secure the wires.
Note: Be cautious not to cut any ribbon cables.
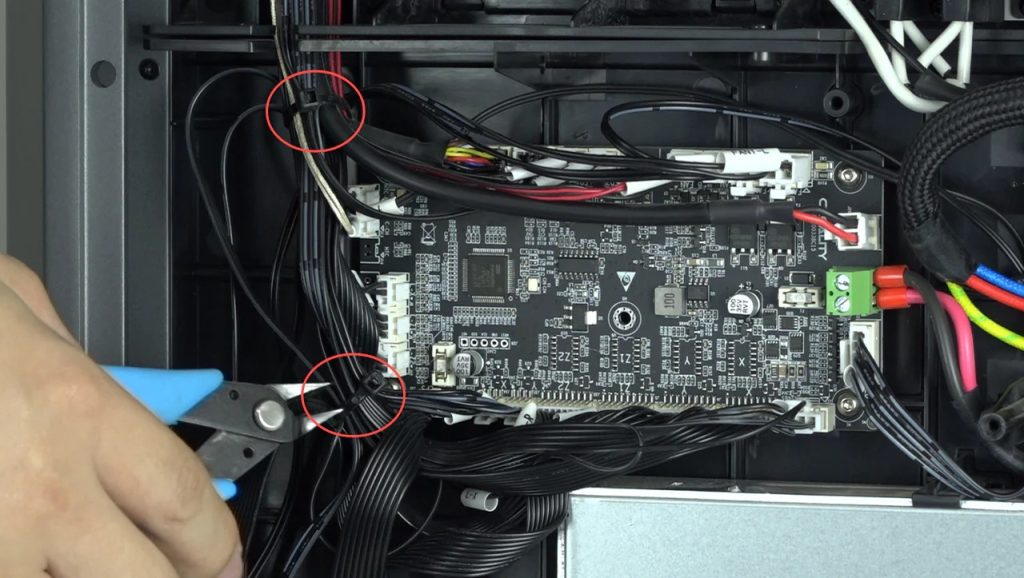
Unplug all connected wires from the mainboard.

With a H2.0 hexagonal wrench, remove the four M3 screws that fix the mainboard in place.

Gently lift and remove the damaged or faulty mainboard.
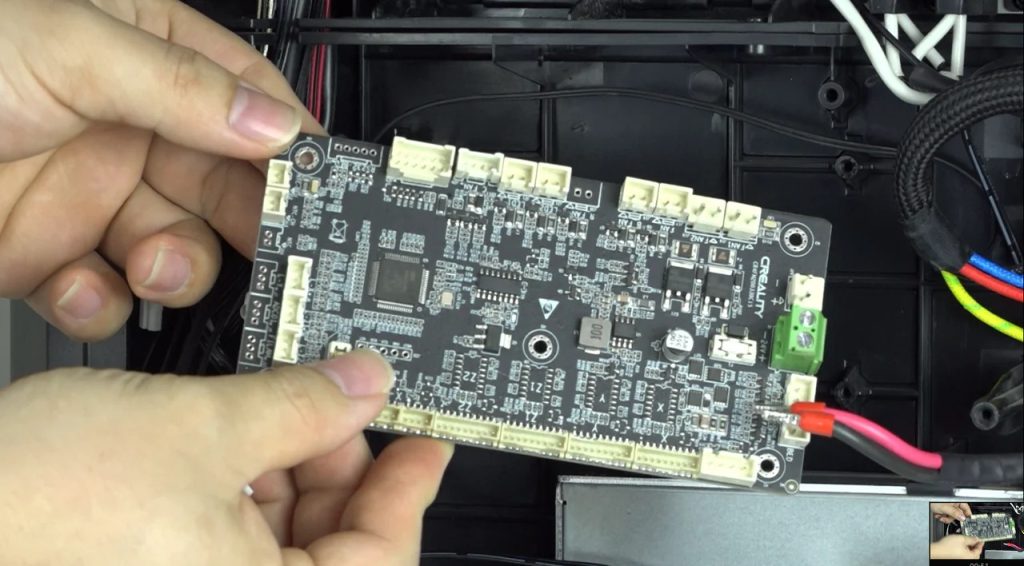
Install the New Mainboard
Align the new mainboard with the mounting holes and ensure the direction matches the original board.
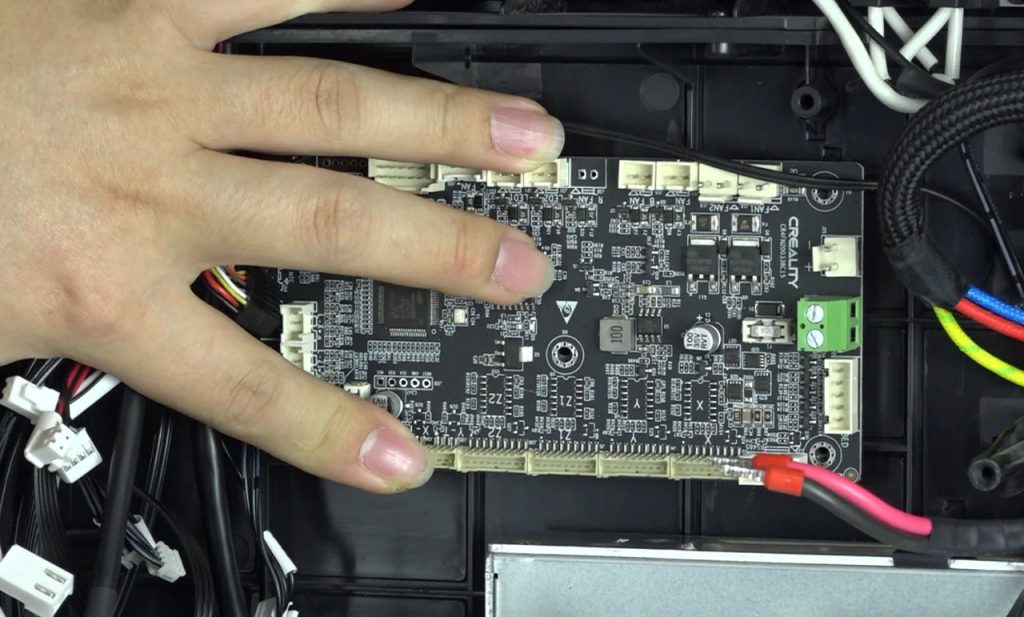
Use the H2.0 hex wrench to fasten the four M3 screws.
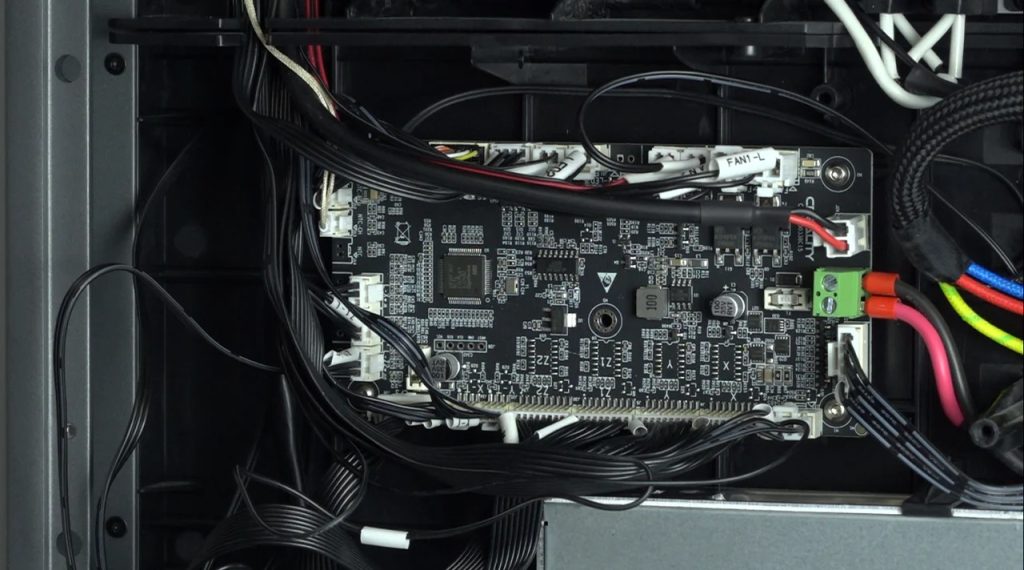
Reconnect the Wires
Refer to the official mainboard wiring diagram.
Plug each connector into the correct port on the new mainboard.
Important: Miswiring can cause secondary damage to the printer.
Function Test
1. Plug in the power cord and turn on the printer.
2. Touch the screen and test the machine’s key functions:
- Heating
- Axis movement
- Fan operation
3. Ensure everything works as expected.
4. Power off and unplug the printer after testing.
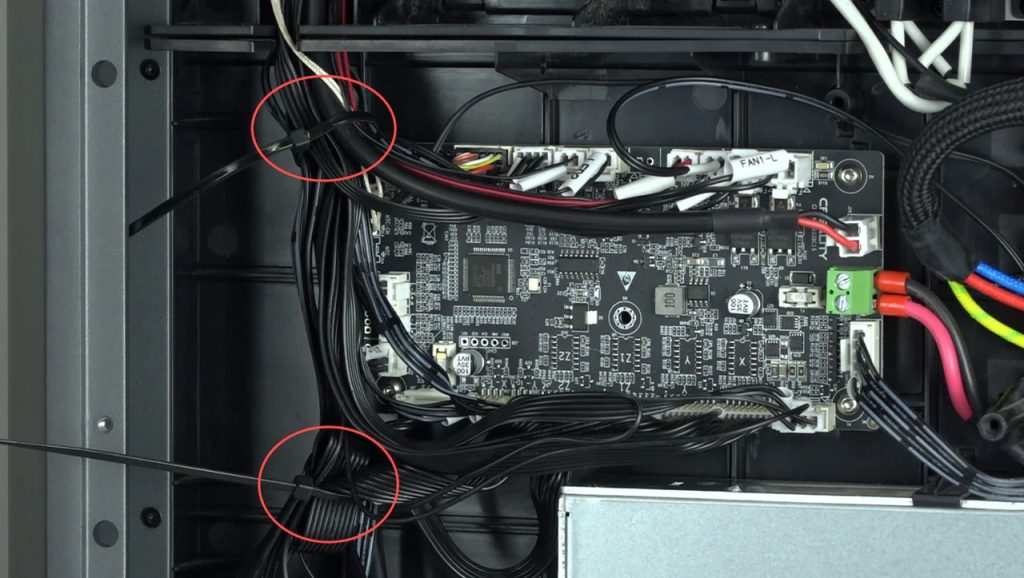
Final Assembly
Tidy up the internal wiring and secure loose cables using new cable ties.
Reinstall the back panel using your H2.0 and H2.5 wrenches to secure all screws.
Video Tutorial
For a visual walkthrough, check out our full K2 Plus Mainboard Replacement Video Tutorial.
This article was originally published by Creality
