K2プラス3Dプリンターのメインボードを交換することで、ハードウェアの問題を解決し、マシンの寿命を延長するのに役立ちます. このステップバイステップガイドに従って、新しいメインボードを安全に削除してインストールする.
CFSを備えたCreality K2 Plus Combo 3Dプリンター
必要なツール
- H2.0六角形
- H2.5六角形
- ペンチを切る
- ケーブルタイ
- 新しいメインボード
メインボードの場所
メインボードは下部にあります 後ろの左隅 プリンターの.
段階的な指示
マシンから電源を入れます
分解を開始する前に、プリンターをオフにして電源コードを抜きます.
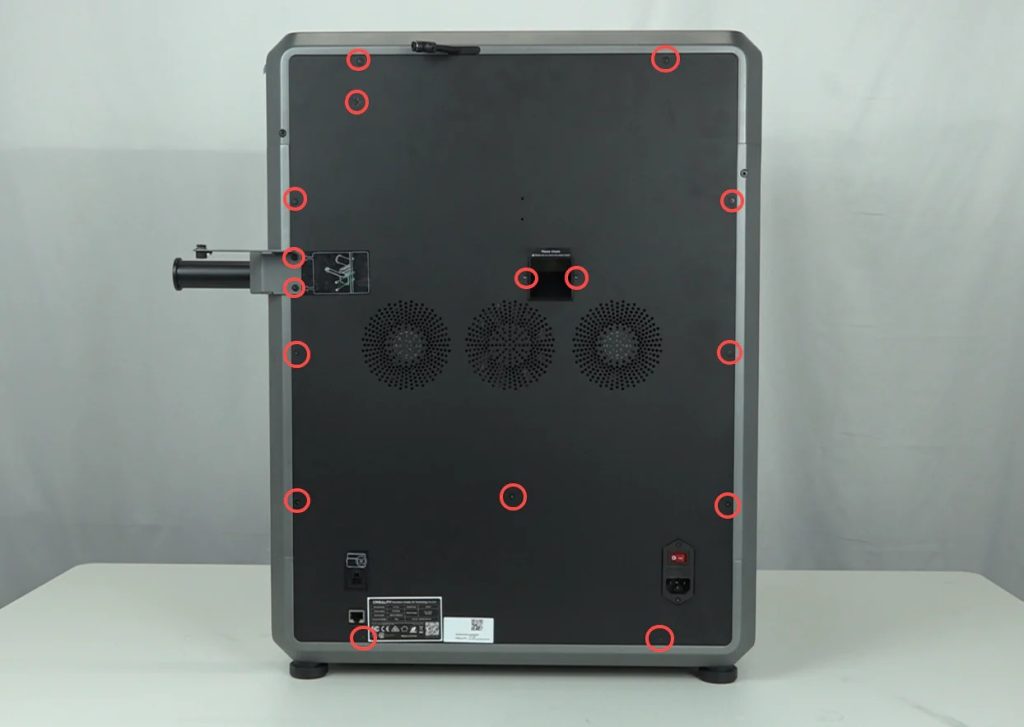
背面パネルを取り外します
使用 H2.0およびH2.5六角形 バックパネルを外します.
パネルを慎重に取り外して、内部配線とメインボードを公開します.
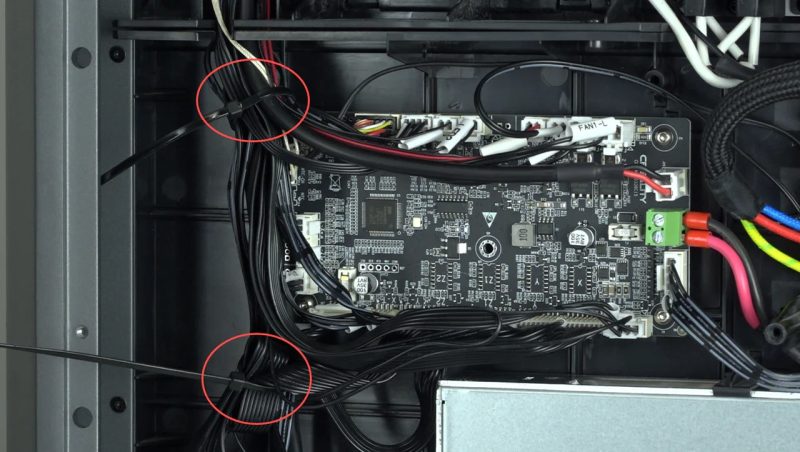
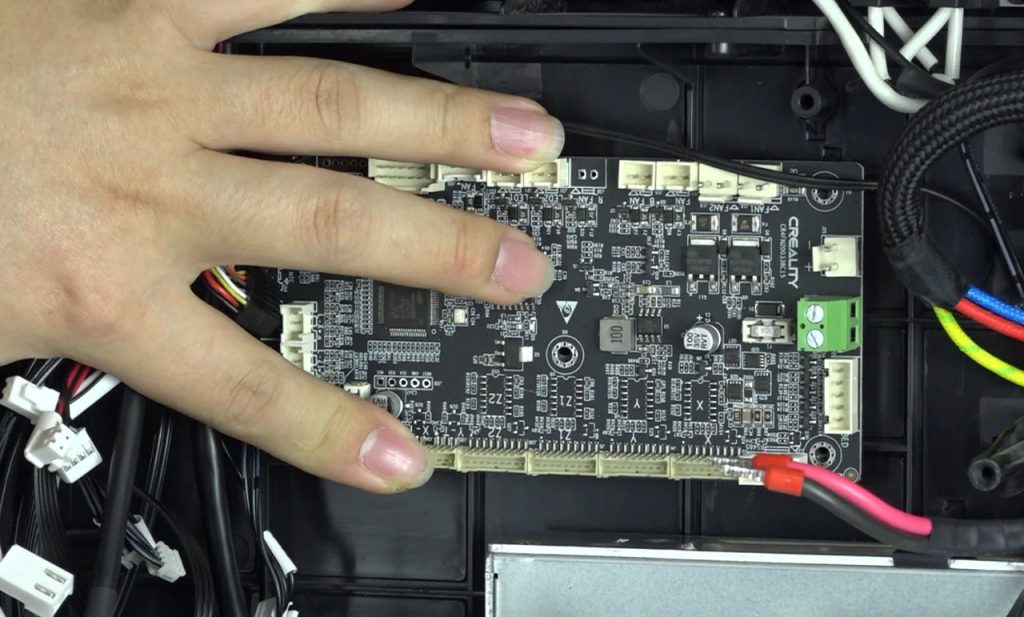
メインボードを取り外します
使用 ペンチを切る ワイヤーを固定するケーブルタイを取り外します.
ノート: リボンケーブルを切断しないように注意してください.
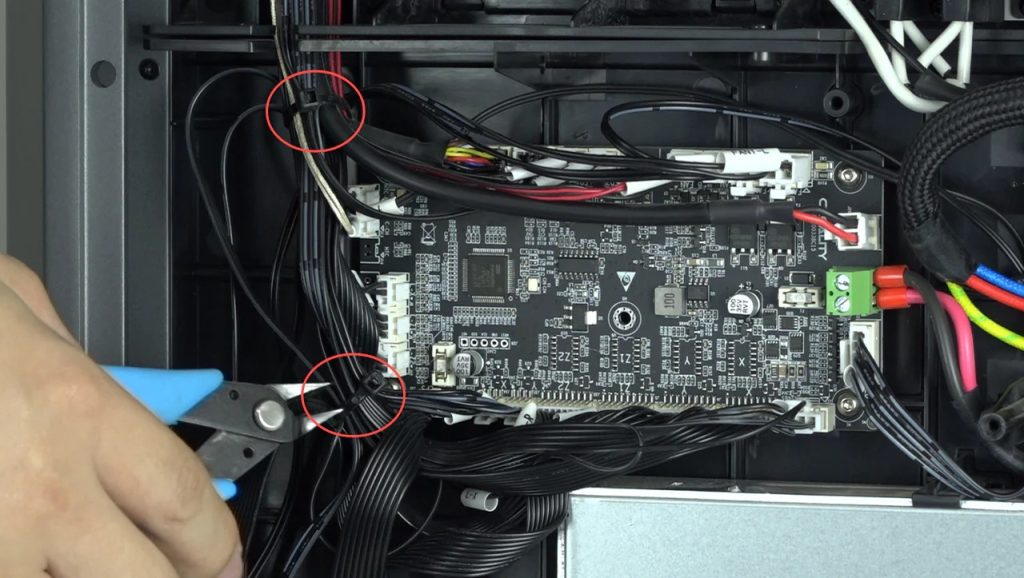
メインボードから接続されたすべてのワイヤーを取り外します.

と H2.0六角形, メインボードを所定の位置に固定する4つのM3ネジを取り外します.

損傷したメインボードまたは故障したメインボードを静かに持ち上げて取り外します.
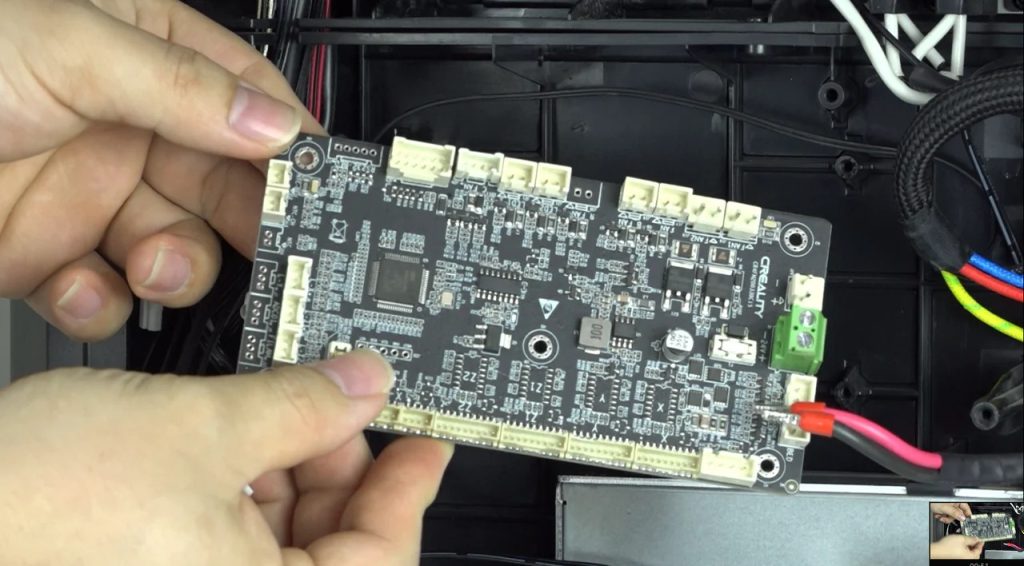
新しいメインボードをインストールします
新しいメインボードを取り付け穴に合わせて、方向が元のボードに一致することを確認します.
H2.0ヘックスレンチを使用して、4つのM3ネジを固定します.
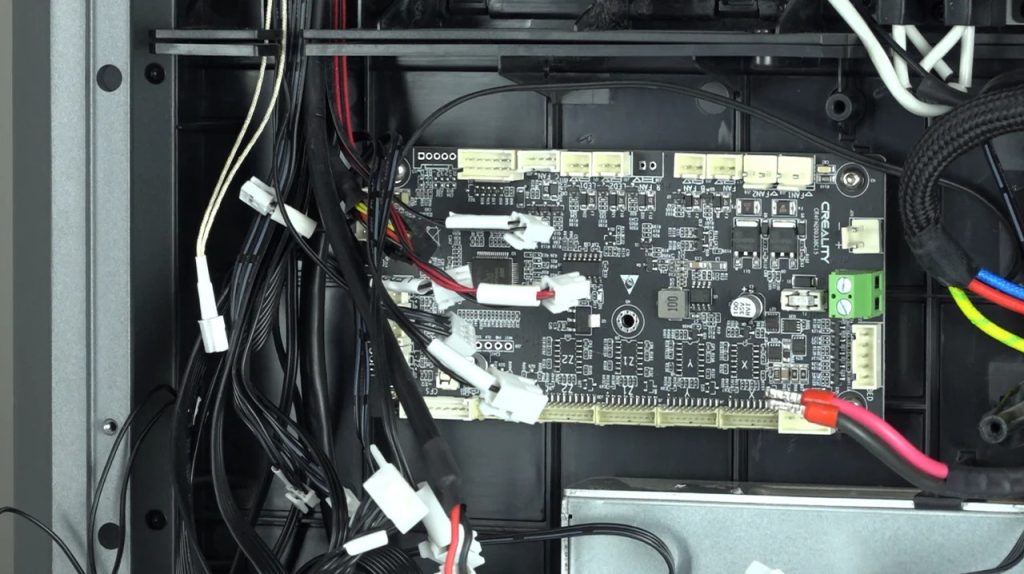
ワイヤーを再接続します
を参照してください 公式のメインボード配線図.
各コネクタを新しいメインボードの正しいポートに差し込みます.
重要: 配線は、プリンターに二次的な損傷を引き起こす可能性があります.
機能テスト
1. 電源コードを接続し、プリンターをオンにします.
2. 画面にタッチして、マシンのキー機能をテストします:
- 加熱
- 軸の動き
- ファン操作
3. すべてが期待どおりに機能することを確認してください.
4. テスト後に電源を切ってプリンターを抜きます.
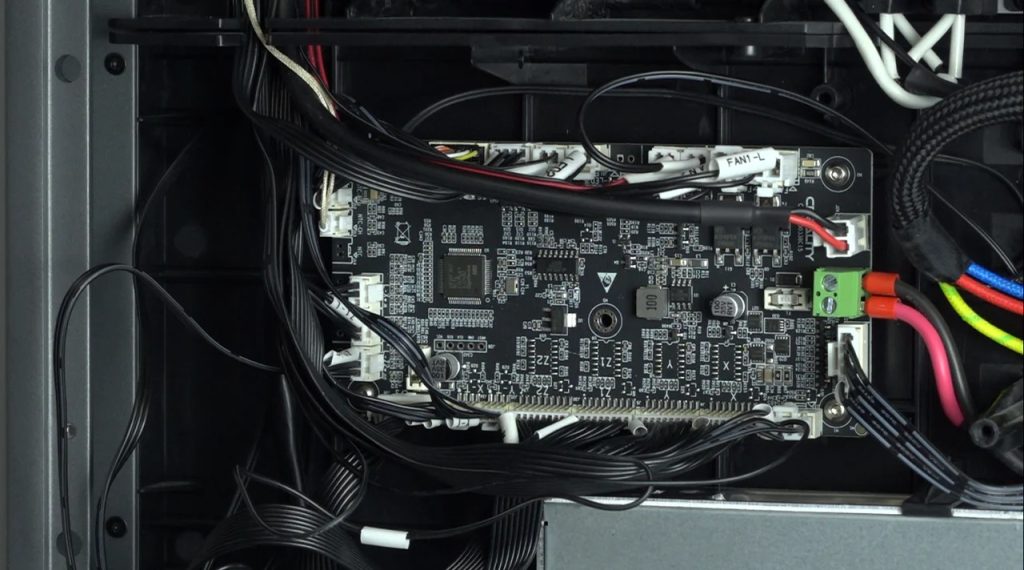
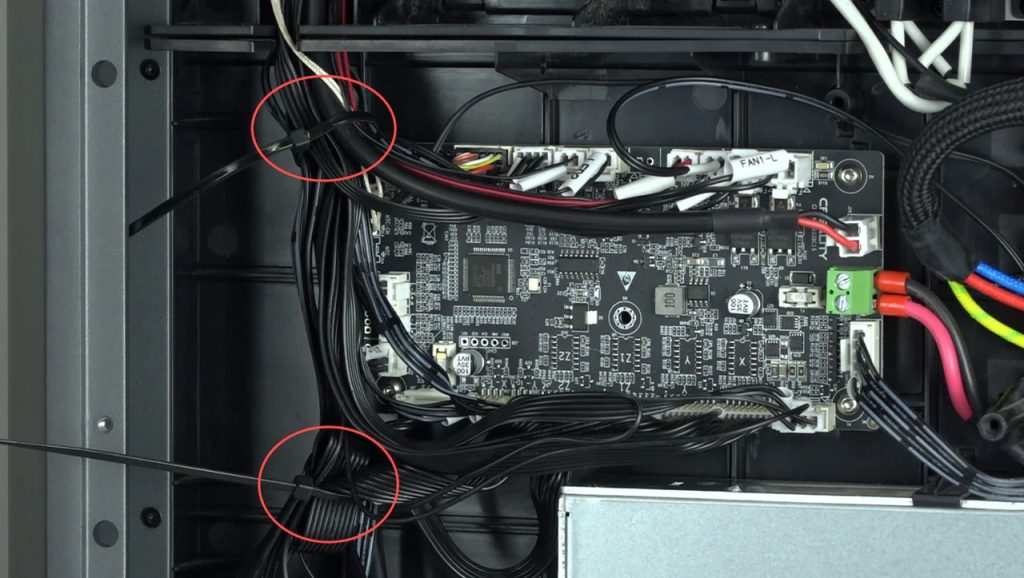
最終アセンブリ
内部配線を片付け、使用して緩いケーブルを安全にします 新しいケーブルタイ.
あなたを使用してバックパネルを再インストールします H2.0およびH2.5レンチ すべてのネジを固定するため.
ビデオチュートリアル
視覚的なウォークスルーのために, 私たちの完全をチェックしてください K2プラスメインボードの交換 ビデオチュートリアル.
この記事は元々発行されました 創造性
