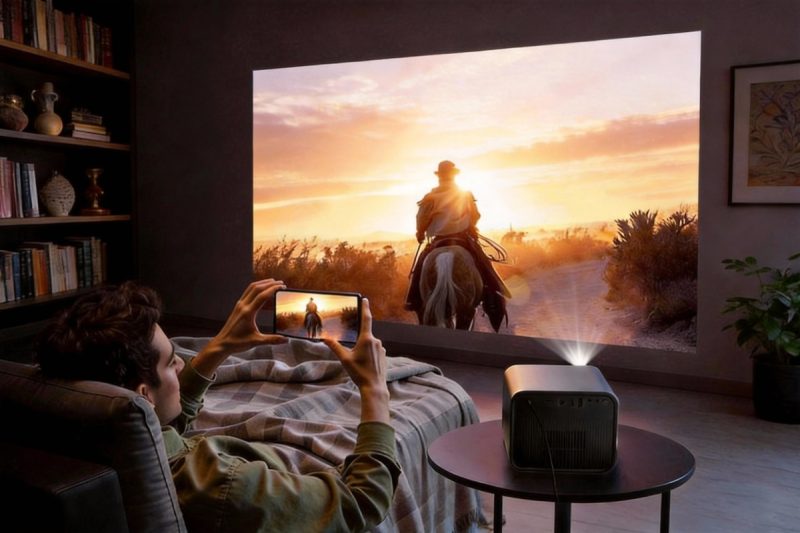
As the days get shorter and temperatures drop, the appeal of a crowded, expensive movie theater fades. Instead, the focus shifts to “hygge”—the art of creating a cozy, warm atmosphere at home. Building a budget home cinema is one of the highest-impact upgrades you can make for the winter season. It transforms passive TV watching into an immersive event, turning dark, gloomy afternoons into a cinematic advantage.
This guide moves beyond generic advice to help you build a setup that fits your specific space, wallet, and winter lifestyle.
The “Experience Economy” of Home Cinema
We often hesitate to buy tech gear because it feels like a splurge. However, in the context of the “experience economy,” a home cinema setup is a pragmatic investment for the winter months.
Why Winter is the Perfect Projector Season
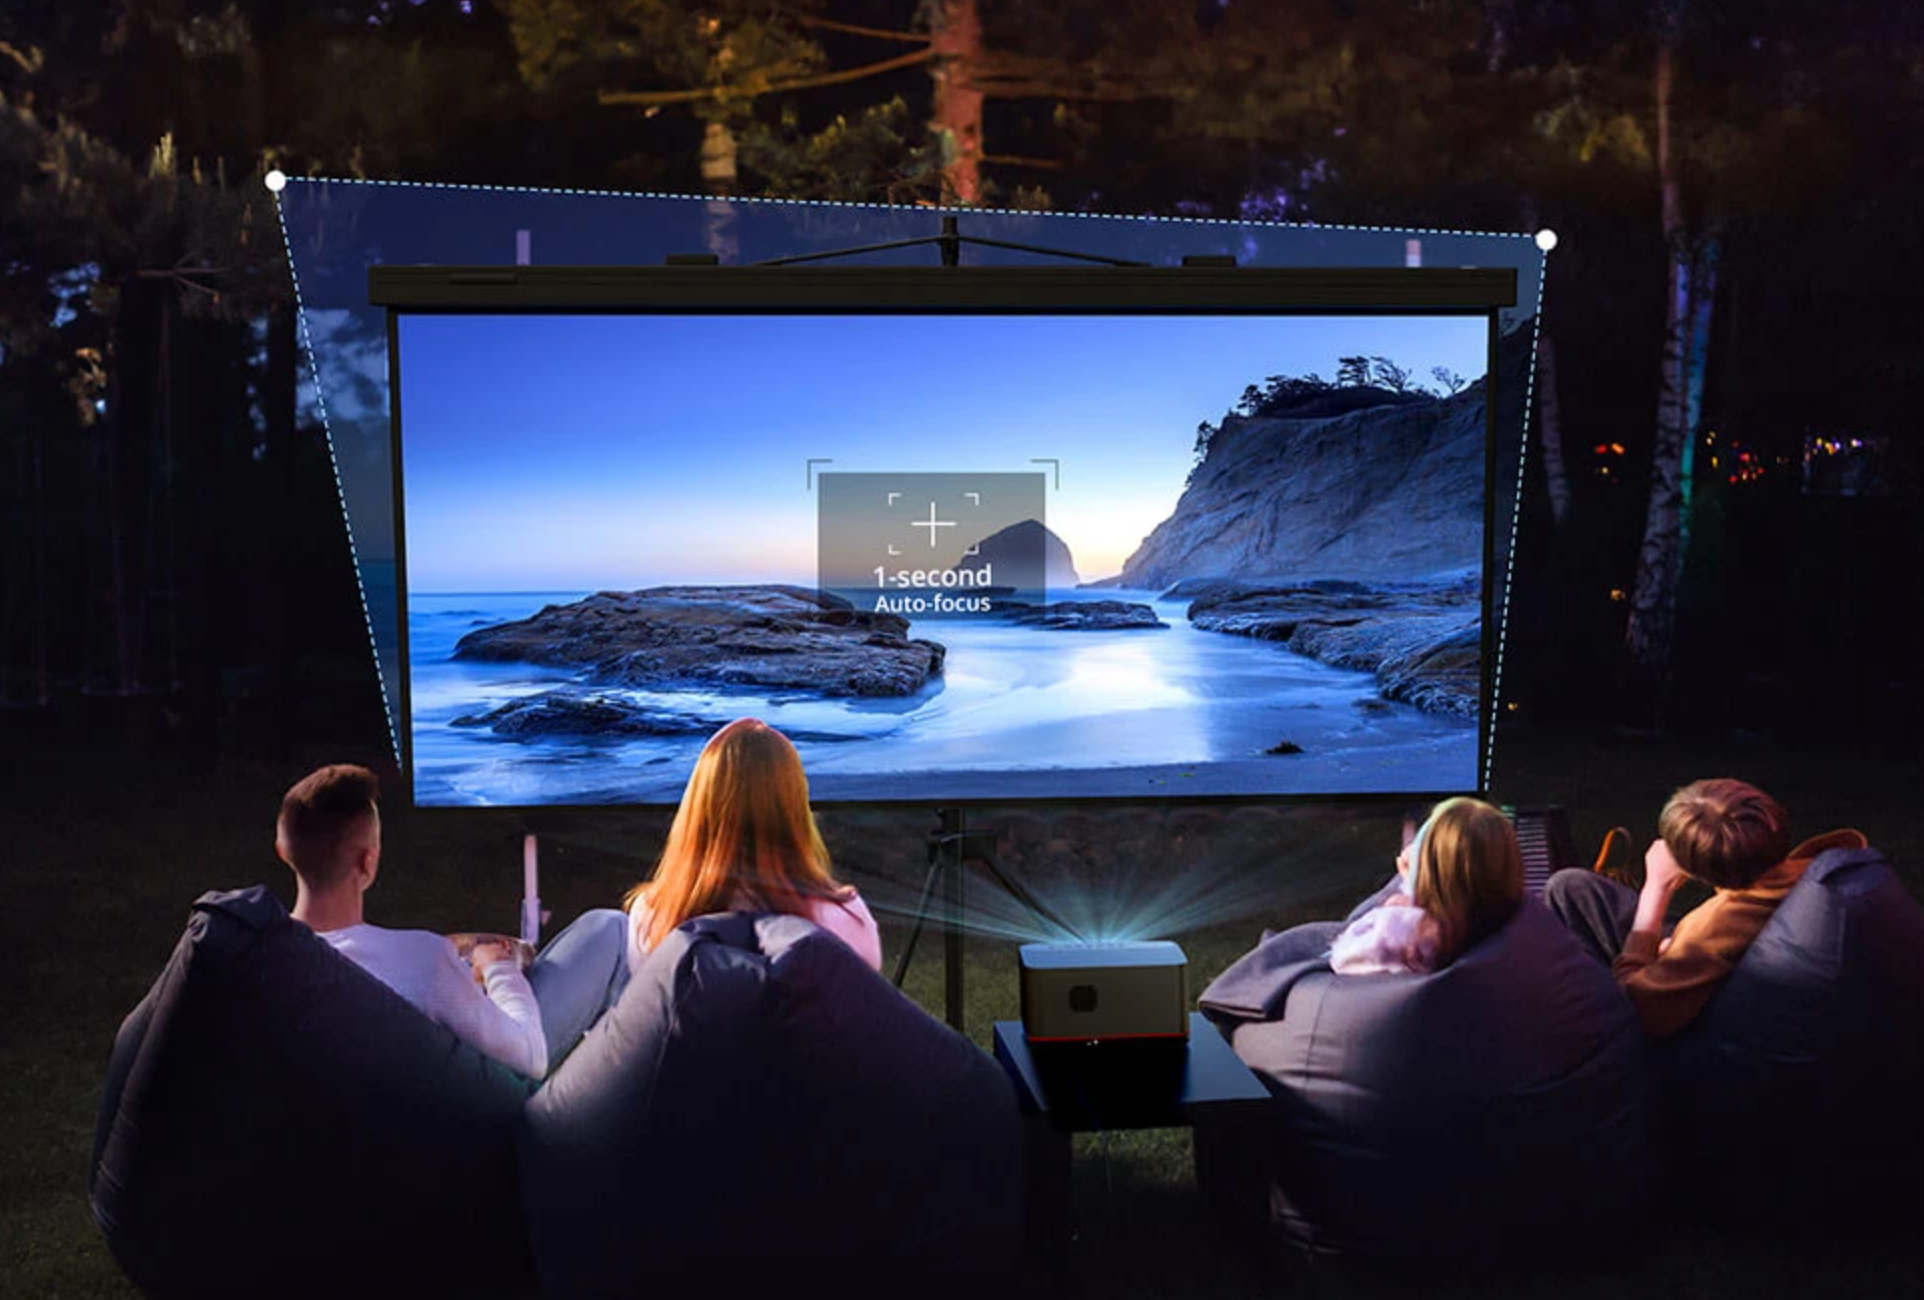
Projectors have a historical weakness: they struggle against sunlight. In summer, you might have to wait until 10 PM for a clear image. Winter changes the equation. With sunsets as early as 4 PM in many regions, you gain hours of prime viewing time in natural darkness. This allows you to use affordable projectors with lower brightness output that would otherwise look washed out in brighter seasons.
The “Cost-Per-Ticket” Calculation
Consider the math of entertainment. A family of four visiting a commercial theater, including tickets and snacks, can easily spend €60–€100 per outing. Streaming services and a dedicated home setup offer a fixed cost. If you build a solid budget home cinema for €400 and host a movie night every weekend from November to March (approx. 20 weekends), your cost-per-experience drops dramatically compared to commercial venues, while the equipment remains yours for years to come.
Real-World Visuals: Matching Gear to Your Reality
You do not need a dedicated darkroom to enjoy a big screen. You simply need to match your equipment to your actual living conditions.
Brightness Decoded for Dark Afternoons
Brightness is usually measured in ANSI Lumens. Marketing often inflates these numbers, but for a realistic winter setup, here is what you actually need:
- Dark Room (Night/Blackout Curtains): 300–500 ANSI Lumens is sufficient for a clear 100-inch image. This is the sweet spot for portable, budget-friendly LED projectors.
- Dim Ambient Light (Floor lamps/Streetlights): You need 800–1000+ ANSI Lumens.
- Daylight Viewing: Requires 2500+ ANSI Lumens. For a budget setup, simply wait for the sun to go down.
Space Constraints & Throw Ratios
Before buying, you must measure the distance from your lens to the wall. This is your “throw distance.”
- Standard Throw (1.2:1 ratio): Most common. To get a 100-inch image, the projector needs to be about 2.5–3 meters away. Ideal for living rooms where the projector sits on a shelf behind the sofa.
- Short Throw (0.8:1 or lower): Ideal for small apartments or dorms. The projector can sit on a coffee table just 1–1.5 meters from the wall and still produce a massive image.
Resolution vs. Distance
While a 4K projector home theater is the gold standard, it comes at a premium. For budget-conscious viewers, 1080p (Full HD) is the realistic target.
- When to stick to 1080p: If you sit further than 3 meters away or your screen size is under 100 inches, the difference between 1080p and 4K is negligible to the human eye.
- When to upgrade to 4K: If you sit closer than 2.5 meters to a 100+ inch screen, or if you plan to use the projector for next-gen gaming where pixel density matters.
The Projection Surface: A Decision Matrix
Does a budget setup require a professional screen? Not necessarily.
The White Wall Test
Most modern apartments have smooth, white walls that serve as excellent projection surfaces. To test yours: shine a flashlight along the wall surface. If the texture (bumps/stucco) casts distinct shadows, it will degrade image sharpness. If it is smooth matte paint, it will work perfectly for entry-level projection.
Portable & Retractable Screens
If you are renting and cannot mount a fixed frame:
- Floor-Rising / Pull-Up Screens: These sit in a casing on the floor and pull up like a banner. Zero installation required.
- Tripod Screens: The cheapest option, though they can be wobbly and take up floor space.
- Avoid “Bed Sheet” Solutions: Unless properly tensioned, a bed sheet will have wrinkles that distort panning shots, ruining immersion.
ALR (Ambient Light Rejecting) Reality Check
You will see screens advertised as ALR. These are designed to reject light coming from ceiling fixtures while reflecting projector light to the viewer. While effective, they often cost as much as a budget projector itself. For a winter-focused setup relying on natural darkness, an ALR screen is usually an unnecessary expense.
Audio in Shared Spaces: Immersion Without Eviction
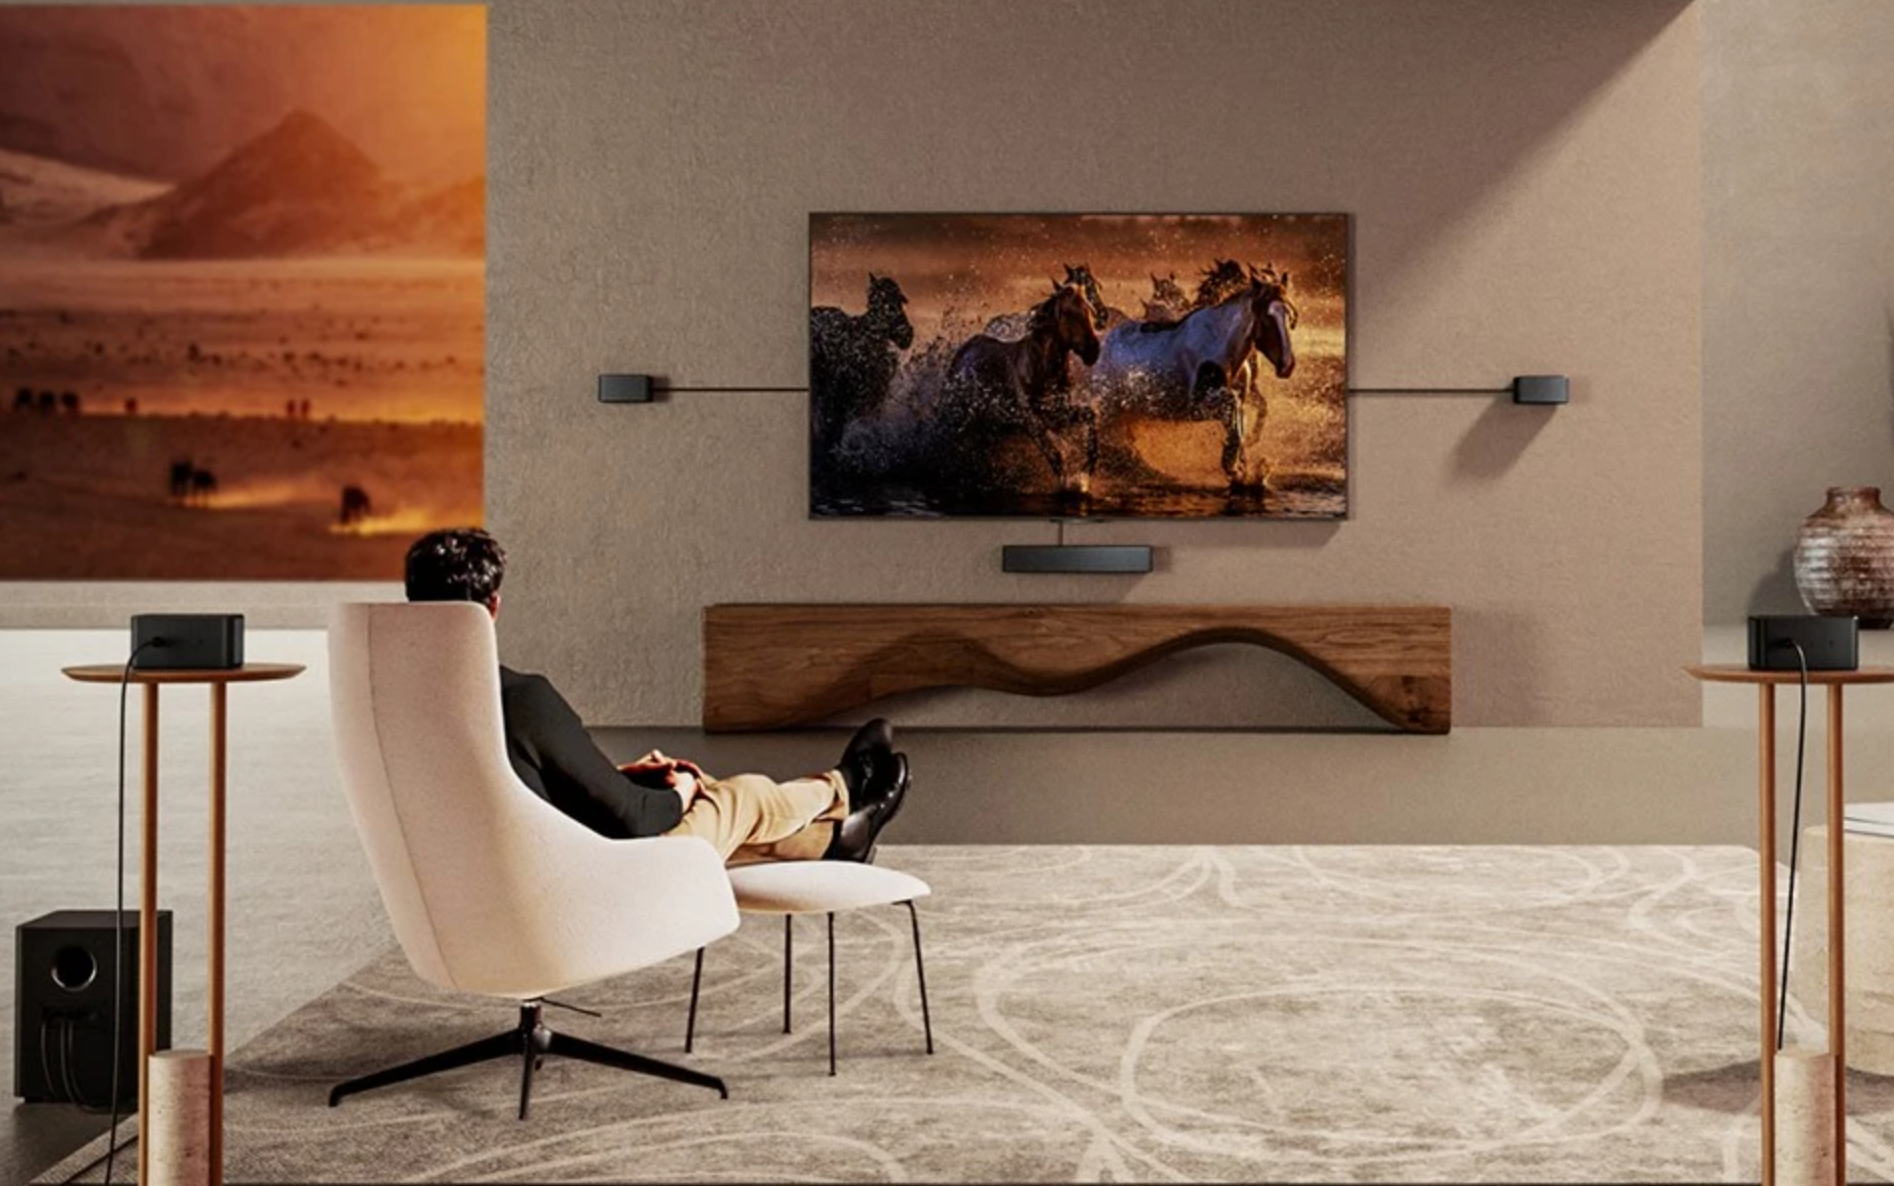
In apartments, bass travels through walls easier than dialogue. Your goal is clarity, not just volume.
The Soundbar Compromise
Built-in projector speakers are generally poor (5W–10W) and often face the wrong direction. A simple 2.0 or 2.1 channel soundbar placed under the screen image projects sound at you. It offers 80% of the cinematic feel of a surround system with 10% of the wiring hassle.
The “Silent Cinema” Option
For late-night viewing in shared flats or family homes, Bluetooth is your best friend. Many modern projectors support dual-Bluetooth output. This allows two people to wear high-quality noise-canceling headphones simultaneously. You get full, deep bass and crystal clear dialogue without waking the neighbors—a perfect solution for thin walls.
Setup Logistics for Renters & Small Spaces
The “Coffee Table” Configuration
Ceiling mounts are permanent; coffee tables are not. If you are projecting from a table, the lens will likely be lower than the screen center. Ensure your projector has Keystone Correction.
- Vertical Keystone: Fixes the trapezoid shape when the projector tilts up.
- 4-Point / Corner Correction: Essential if you have to place the projector slightly off-center (e.g., on a side table) rather than directly in front of the wall.
Heat & Ventilation
Projectors generate heat. In a small, closed room with the windows shut for winter, this can make the space stuffy. Ensure the projector’s exhaust vents are not blocked by books or cushions. A small room actually benefits from this “space heater” effect in winter, adding to the cozy factor!
Comparative Decision Tables
Table 1: Throw Distance Calculator (Approximate for Standard 1.2:1 Lens)
| Desired Screen Size (Diagonal) | Required Distance (Lens to Wall) | Ideal For |
|---|---|---|
| 60 Inches | ~1.6 Meters | Bedrooms / Dorms |
| 80 Inches | ~2.1 Meters | Small Living Rooms |
| 100 Inches | ~2.7 Meters | Standard Apartments |
| 120 Inches | ~3.2 Meters | Large Open Spaces |
Table 2: Budget Allocation Strategy
| Total Budget | Projector | Audio | Screen | Best For |
|---|---|---|---|---|
| €300 (Starter) | €250 (1080p Native) | €50 (BT Speaker) | White Wall | Kids / Casual |
| €600 (Balanced) | €400 (High Lumen 1080p) | €120 (Soundbar) | €80 (Pull-up) | Couples / Renters |
| €1200 (Premium) | €900 (Entry 4K) | €200 (Soundbar+Sub) | €100 (Fixed Frame) | Cinephiles |
Quick FAQ
Can I project onto a colored wall?
Pastel colors (light grey, cream) work fine but may slightly shift color tones. Darker colors will absorb light, making the image dull. Some projectors have “Wall Color Correction” settings to adjust for this.
How much data does 4K streaming use?
Streaming 4K content consumes significantly more bandwidth (approx. 7GB per hour) compared to HD (3GB per hour). Ensure your home Wi-Fi can handle this if you opt for a 4K projector.
Do LED projectors last longer than bulb projectors?
Yes. Traditional bulbs last 2,000–4,000 hours and dim over time. Modern LED light sources (common in budget projectors) often last 20,000+ hours, making them virtually maintenance-free for years.
