


Ship to:
United States
Select the desired shipping method
- Shipping Company Estimated Delivery Time Shipping Cost


Highlights
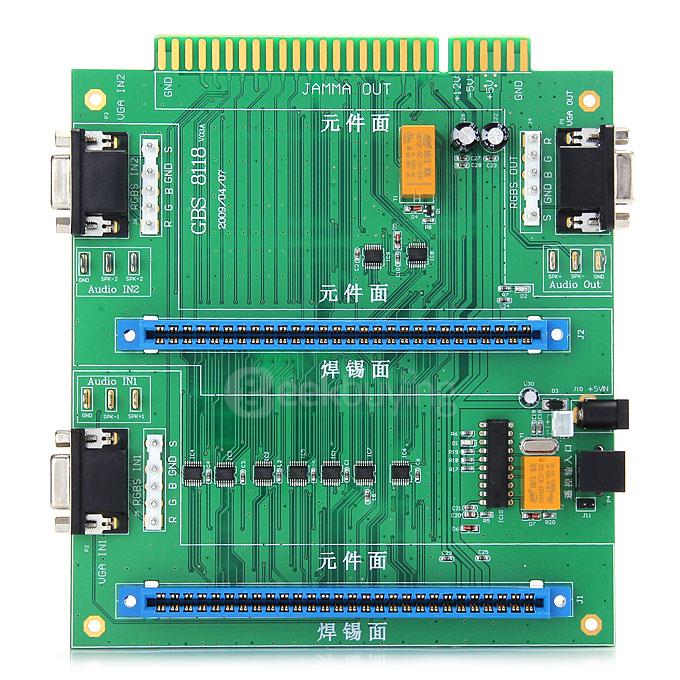
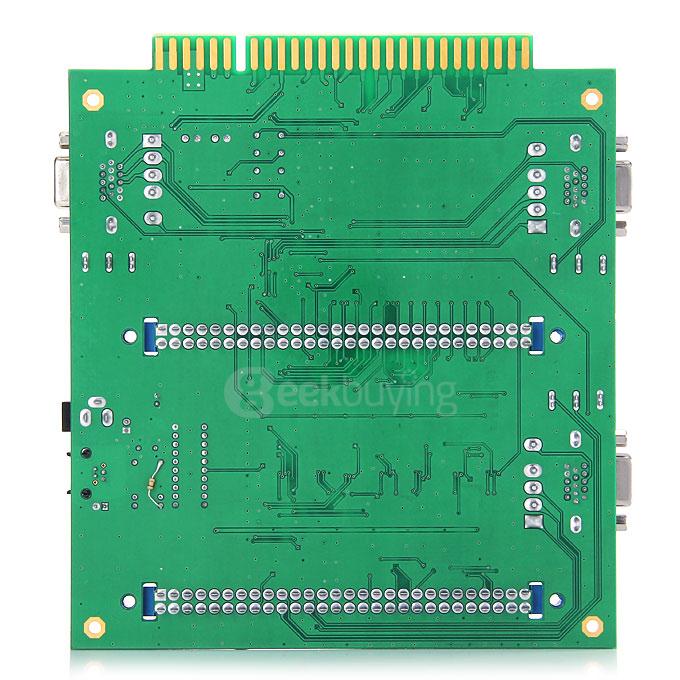
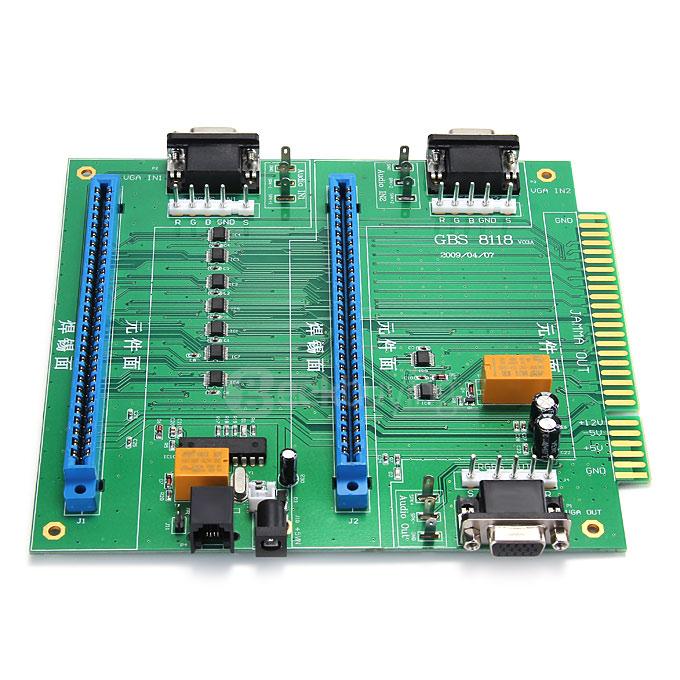
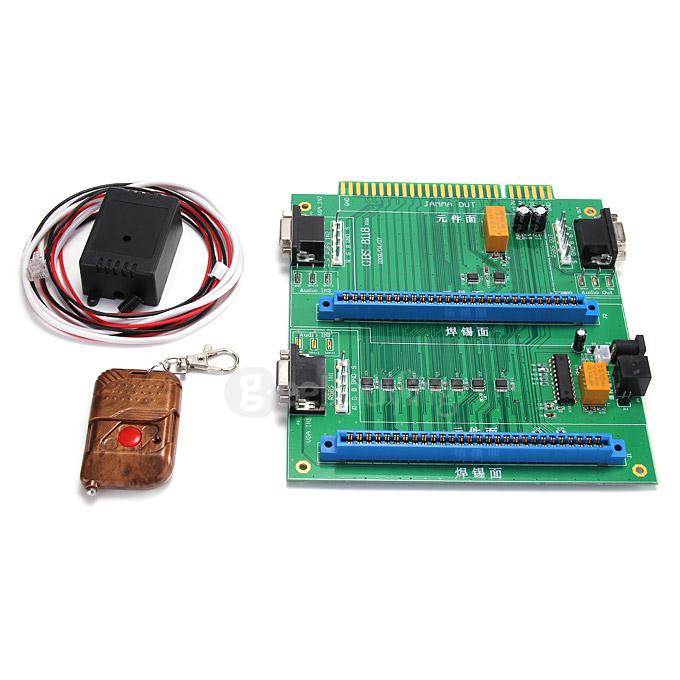
- Now, with this product, you can plug 2 different Jamma PCB into one cabinet and select the game you want to play with the press of a switch control. To install, just plug the PCB into your existing Jamma harness. It is easy to install and working perfectly.
- Install two different JAMMA (or non-JAMMA with the use of a JAMMA Adapter) PCBs into a single JAMMA cabinet with ease! This 2-in-1 MultiJAMMA switcher board is simple to install and works with just a quick press of the button. Included is a wired switch function.
- This 2-in-1 Multi JAMMA Switcher board operates differently from the larger 6-in-1 MultiJAMMA Switcher board. First, both slots (1 & 2) are simultaneously powered on together, unlike the 6-in-1 switch whcich will only power on a single slot at once. This provides seamless quick switching between the two installed boards. Also this is a must if installing in a public game room (so the customer does not have to wait for the second game board to power on and test itself if selected...the game would already be up and ready to go).
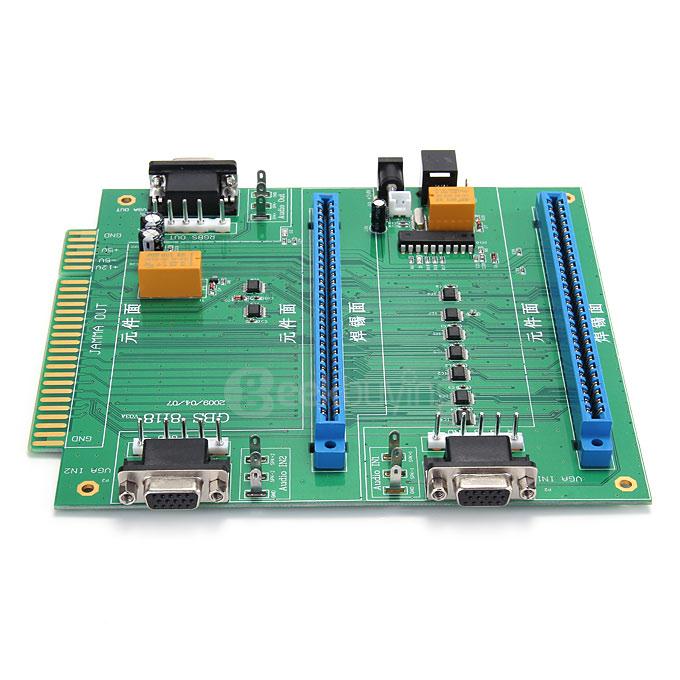
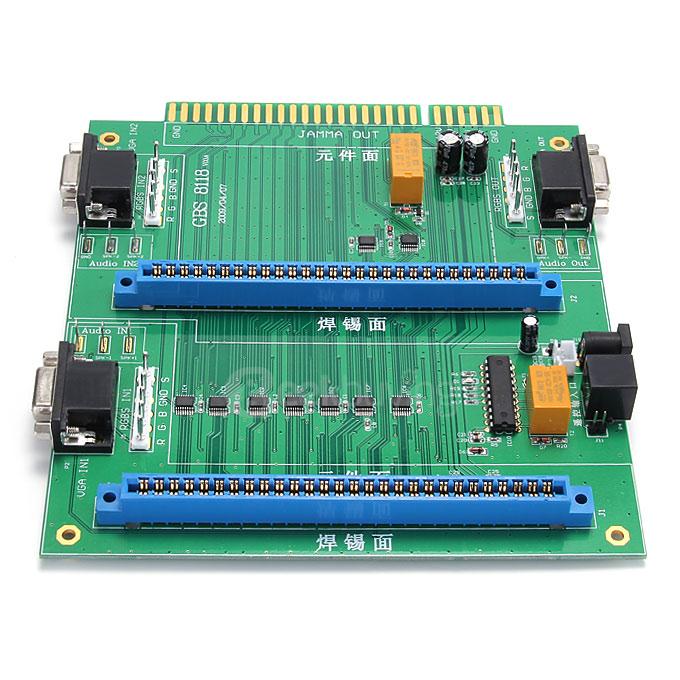
- Multiple input options (Inputs through JAMMA slots, VGA connections, RGB-S Connections, and L/R Audio inputs).
- On initial power up, slot 1 automatically is enabled and plays.
- Both slots power on together.
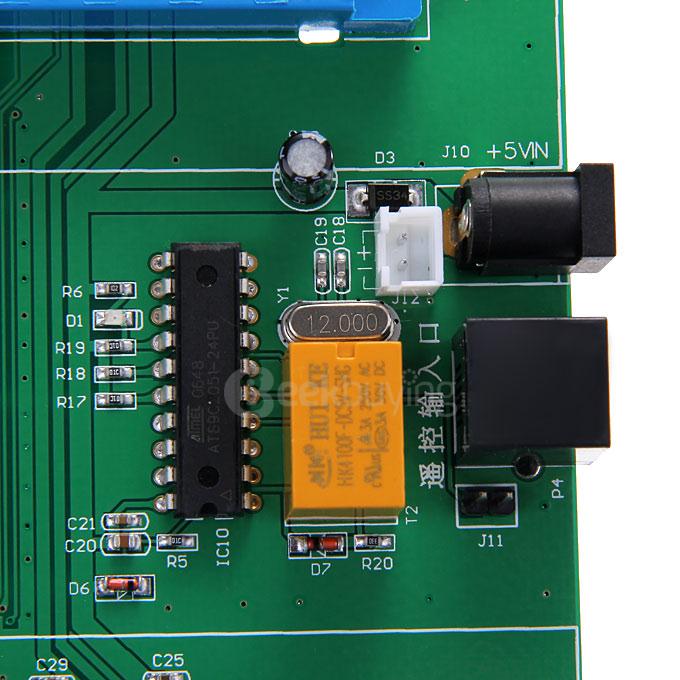
- Switcher routes +5VDC, +12VDC and -5VDC.
- Switcher routes SERVICE & TEST button functions, plus up to 4 shooter buttons per player
- Setup is quick and easy
Specification
| General | |
|---|---|
| Type | Multi JAMMA Switcher PCB |
| Model | GBS-8118 |
| Quantity | 1 Piece |
| Setup | 1. Install the 2-in-1 MultiJAMMA Switcher PCB into your JAMMA ready arcade cabinet (on cabinet floor is ideal if possible) 2. Connect the 2-in-1 MultiJAMMA Switcher PCB into your JAMMA cabinets connector 3. Install your other JAMMA PCB (or non-JAMMA PCB with the use of a JAMMA Adapter) into one of the open 2-in-1 Multi-JAMMA Switcher PCB slots (Slot farthest from the JAMMA connection is slot 1 / closest is slot 2). When plugging in the Jamma boards the front of the board (Front side with monitor port goes to the front of the switchm which has two VGA input ports) 4. Power on your cabinet and enjoy |
| Important Reminder |
Technical Notes: This switcher will not switch the video with the 400-in-1 Pandora V2 PCB board using VGA video. In order to work with this board , the VGA video need to be manually switched using a VGA switch box. Shots of the video needs to be switched on a separate switch, all other functions will switch properly. If you are using a CGA tube monitor, there is no issue Monitor: If you are using a CGA monitor then you simply wire the monitor off of the Jamma harness, If you are using a VGA monitor, you have to set your Jamma boards to VGA anf plug both of your Jamma boards VGA ports from the boards to the VGA input of the switch with a male to male VGA cord |
| Package Contents | |
| 1 x 2-in-1 Multi JAMMA Switcher PCB | |
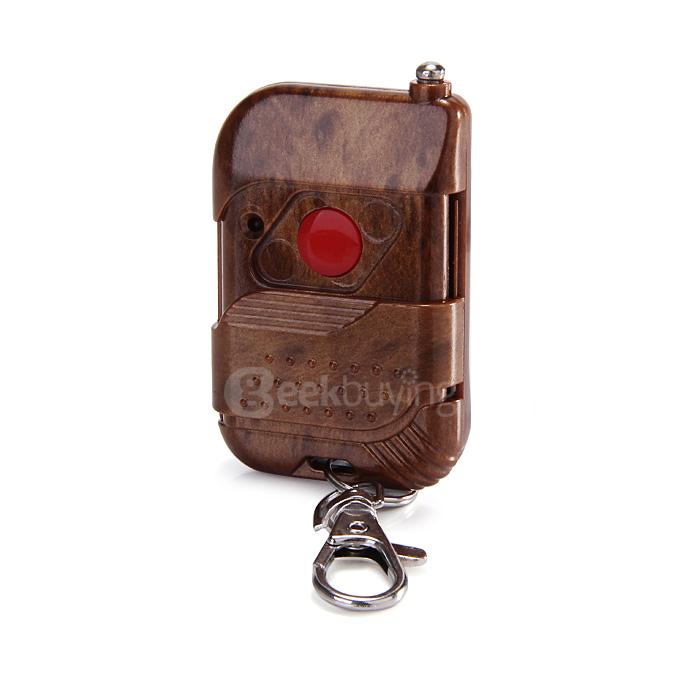
| 1 x Remote Control | |
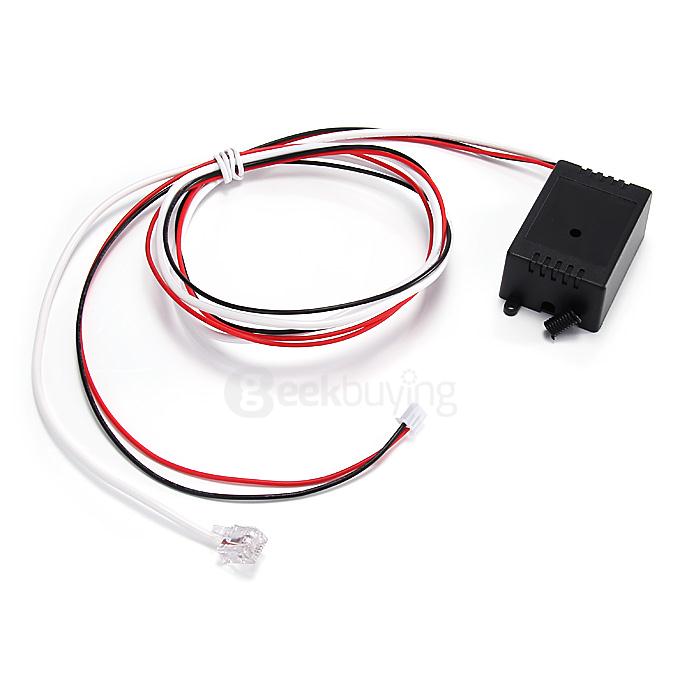
| 1 x Remote Receiver | |

Customer Photos
Customer Videos
Customer Reviews
Clear
View all
View all
Photos
Videos
All star
All star
5 star
4 star
3 star
2 star
1 star
Most relevant