- Shipping Company Estimated Delivery Time Shipping Cost

Highlights
Creality K1 3D Printer Main Features
Creality K1 3D printer prints at 600 mm/s, a strong competitor of the Banbu Lab P1P. Featuring a build volume of 300*300*300mm and a lightweight print head bolstering "innovative motion systems” and integrated“G-sensors", resonance, ringing, and ghosting commonly caused by high-speed printing are all alleviated.
- 600mm/s Max Speed
- Auto Leveling
- 32mm³/s Max Flow Hotend
- 20000mm/s² Acceleration
- Filament Runout Sensor
- Unibody Die-cast Frame
- Dual Cooling Fan
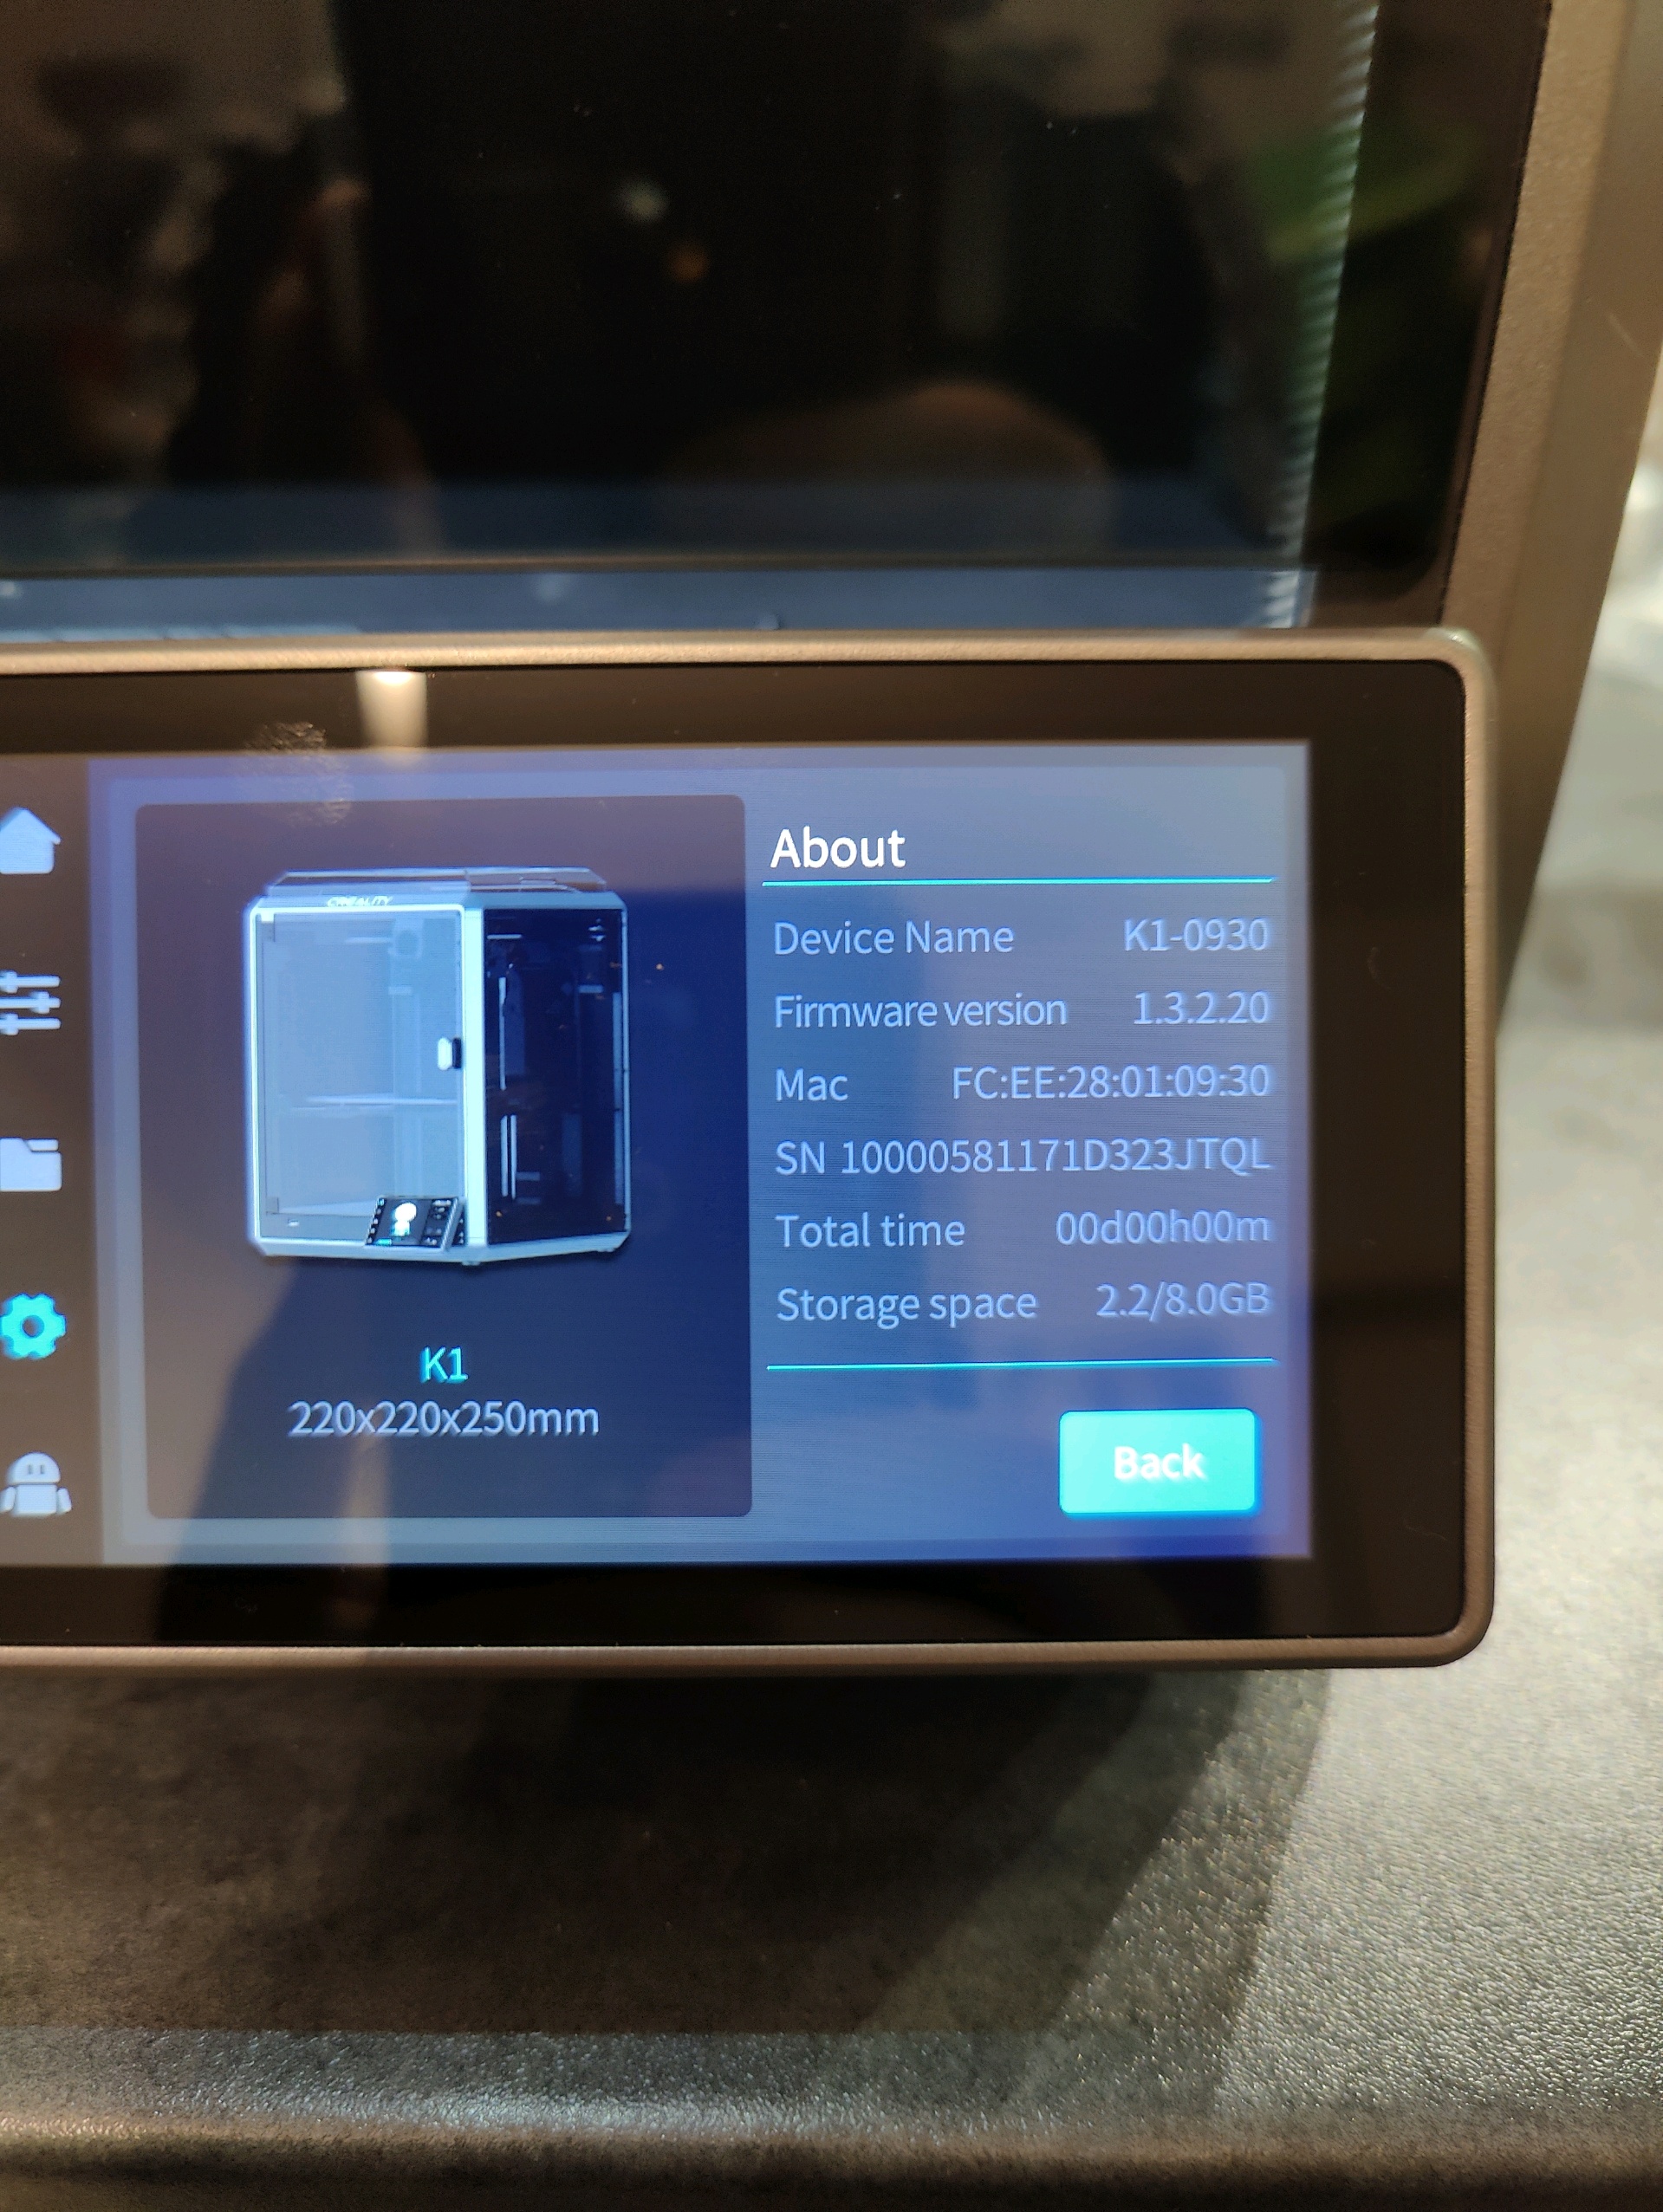
- 220*220*250mm
What Are the Upgrades of This Version?
- Upgraded extruder to avoid under-extrusion or jamming issues.
- Upgraded firmware to optimize auto-leveling function.
- Upgraded packaging to avoid any more damage to the printer door.
12X Faster and Improved Efficiency
Accelerating at 20000mm/s², Creality K1 3D printer ramps up to 600mm/s in only 0.03s. Delivering full speed in 90% of the printing time, it is literally 12 times faster than the other regular FDM 3D printers.
Nimble Setup for Speed
Creality K1 3D printer combines the nimble Core XY with a 190g lightweight printhead for less motion inertia and high printing efficiency.
32mm³/s Max Flow Hotend & Dual-gear Direct Extruder
Creality K1 3D printer adopts a new ceramic heater that encircles the entire hot end. It heats to 200 Celsius in 40 minutes and melts the filament instantly. Moreover, the dual-gear direct extruder delivers 50N strong extrusion force. Hotend is combined with a titanium alloy heat break and a copper alloy nozzle, working with flying colors in up to 300 Celsius
Model Cooling by Dual Fans
Creality K1 3D printer equips a large fan on the printhead with air ducts to cool the prints directly and an 18W auxiliary fan in the build chamber that enhances the cooling effect, resulting in improved cooling performance.
Auto Leveling
An array of strain sensors are embedded in the heated to generate an accurate leveling mesh. The whole process happens on its own after the printing starts. You don't need to level it manually.
Creality Print 4.3 with Speed Genes
The latest Creality Print 4.3 slicer includes rich presets and streamlines the slicing process into 3 simple stages. Besides, it bolsters high-speed printing with variable line width, arc path, and so on.
Creality OS and Hardware
Creality K1 3D printer adopts the smart Creality OS. It features a straightforward UI, and syncs data and commands with PC, phone, Cloud, and add-on modules. The dual-core 1.2GHz CPU powers high-speed printing with ease. The 8G ROM stores up to 400 model files and enables quick writing and reading.
Support WiFi Connection and Carefree Control
K1 can print via USB drive or WiFi. With a network connection, K1 can be controlled or monitored remotely from Creality Print or Creality Cloud APP/WEB. Cluster control is also allowed when many K1 printers are online. Once the printing is complete or abnormal, a notice will be sent to your phone or PC.
Unibody Die-cast Frame
The unibody die-cast aluminum alloy frame of K1 is CNC machined to be precise and rigid. It enables steady printing at high speed. And the print quality is excellent the whole time.
Solve Ringing and Z-banding
The upgraded Z-axis with more accurate positioning reduces Z-banding effectively. The texture has never been so subtle. A G-sensor in the printhead measures the resonance frequencies of high-speed printing, and auto-tune the printer to mitigate it. No more ghosting or ringing on the print.
Creality K1 - Speed Rules All
600mm/s Max Speed
20000mm/s² Acceleration
32mm³/s Max Flow Hotend
Hands-free Auto Leveling
Self-test with One Tap
Solve Ringing with G-sensor
Frame with Die-cast Parts
Auxiliary Cooling Fan in Chamber

Creality K1 prints at 600mm/s, 2 times faster than a regular FDM 3D printer. Now, sit tight for the thrill of breathtaking speed.
*The 600mm/s speed is achieved at Creality Lab in the Surface Mode with 0.1mm layer height.
*The typical speed of Creality K1 is 300mm/s. The travel speed is 800mm/s.
Creality K1, with its stunning speed, will kindle people's zeal for 3D printing. A fast speed cuts printing time and raises efficiency. It uses less energy for the same output, thus more eco-friendly. Most importantly, it focuses on the pure joy of creation.
Creality K1 Always Print at High Speed
With 20000mm/s² acceleration, Creality K1 ramps up to 600mm/s in only 0.03s, delivering full speed in 90% of the printing time.
Nimble Setup for Speed
Creality K1 combines the nimble Core XY with a 190g lightweight printhead for less motion inertia. Agile and swift.
32mm³/s Flow in Full Blast
Creality K1 equips a new ceramic heater, encircling the entire hot end. It heats to 200 Celsius in the 40s and melts the filament instantly. Dual-gear direct extruder, delivering 50N strong extrusion force. Hotend with a titanium alloy heat break and a copper alloy nozzle, working with flying colors in up to 300 celsius.
Get Cool Models On the Fly
Models Cooled by Dual Fans
Creality K1 sports a large fan on the printhead with air ducts to cool the model directly. An 18W auxiliary fan in the build chamber enhances the cooling effect, too.
The model hardens before any stringing and warping could happen. It allows support-free bridges and overhangs.
Creality Print 4.3 with Speed Genes
The latest self-developed slicer Creality Print 4.3 includes rich presets, and streamlines the slicing process into 3 simple stages. Even better, it bolsters high-speed printing with variable line width, arc path, and so on.
Speedy Creality OS and Hardware
Creality K1 runs on the smart Creality OS. It characterizes a straightforward UI, syncing data and commands with PC, phone, Cloud, and add-on modules. The snappy dual-core 1.2GHz CPU powers high-speed printing with ease. The 8G ROM stores up to 400 model files and enables quick writing and reading.
Print Right out of the Box
Creality K1 is pre-assembled and calibrated and offers a boot-up quick guide. Just start printing the moment your K1 arrives.
Minimum Operations, If Any
Hands-free Auto Leveling
Self-test with One Tap
Flexible Build Plate
Quick-heating Heatbed
Hands-free Auto Leveling
An array of strain sensors are embedded in the heatbed to generate an accurate leveling mesh. The whole process happens on its own after the printing starts. You don't need to lift a finger or pay any attention.
Self-test with One Tap
Give a tap, and Creality K1 will self-test the extruder, heatbed, camera (optional), fan, leveling, etc. Any abnormality detected will prompt on the display. So, users can proceed confidently without a hitch.
Flexible Build Plate
Sticky and heat-resistant, the Creality K1 works well with a wide range of filaments. The finely frosted surface makes the model bottom fine and smooth. Bendable for quick print removal.
Quick-heating Heatbed
The aluminum alloy heatbed spreads heat uniformly and quickly. It reaches 60℃ in only 180 seconds.
An Awesome Fit Everywhere
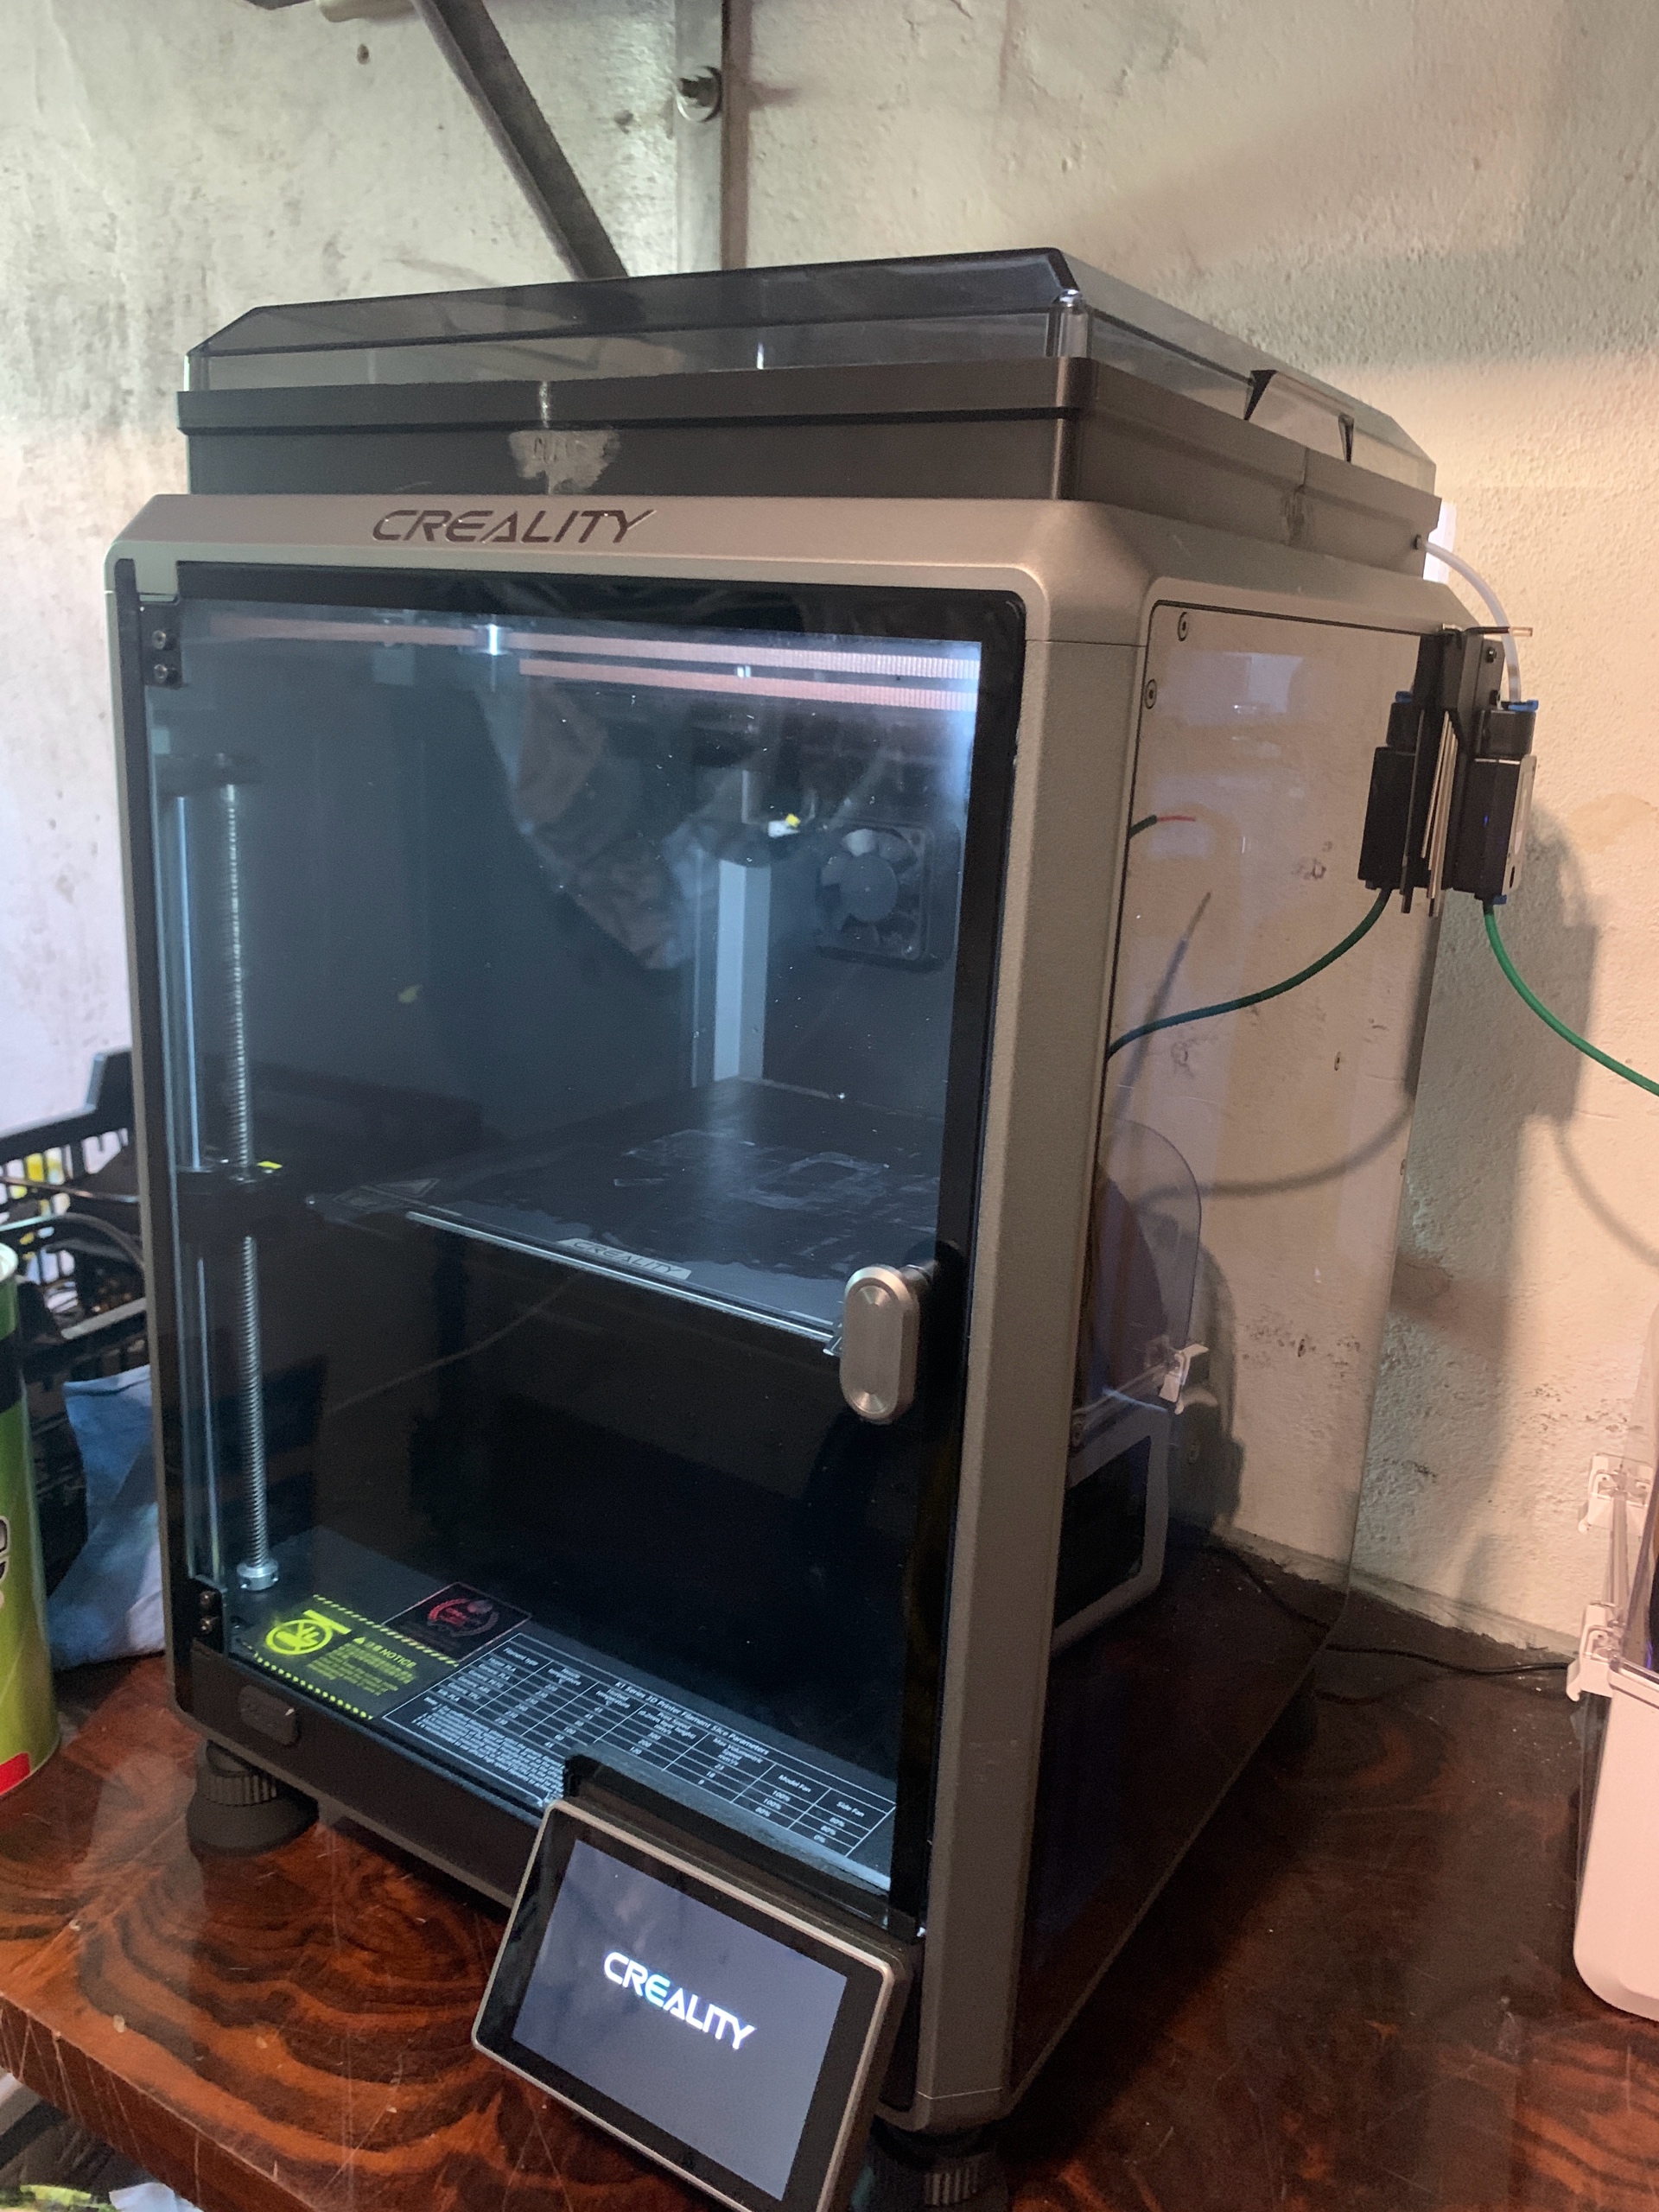
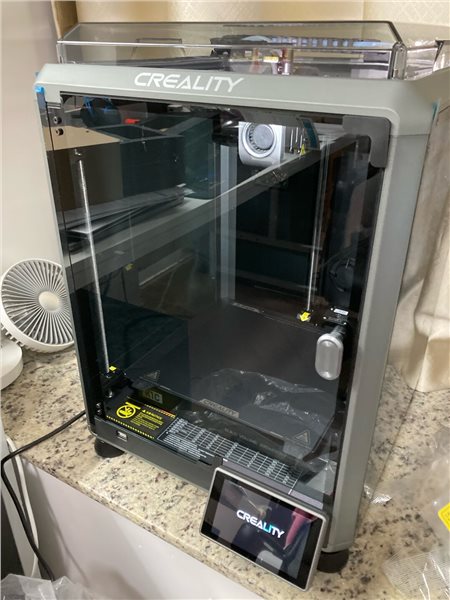
Looking cool and awesome, Creality K1 is the compactest among the FDM 3D printers of a similar build volume. It is an easy fit on your desk or workbench.
Connected and Carefree Control
Creality K1 prints via USB drive or WiFi. With a network connection, Creality K1 can be controlled or monitored remotely from Creality Print or Creality Cloud APP/WEB. Cluster control is also allowed when there are a couple of K1 printers online. Once the printing is complete or abnormal, a notice will be sent to your phone or PC.
Stand Firmly to the Speed Challenge
Creality K1 is housed with a rigid die-cast aluminum alloy frame. It enables steady printing at high speed. And the print quality is excellent the whole time.
No Ringing at High Speed
A G-sensor in the printhead measures the resonance frequencies of high-speed printing, and auto-tune the printer to mitigate it. No more ghosting or ringing on the print.
Delicate Texture without Z-banding
The upgraded Z-axis with more accurate positioning reduces Z-banding effectively. The texture has never been so subtle.
Specification
| General | Brand: Creality Type: 3D Printer Model: K1 Color: Black |
| Specification | Printing Technology: FDM Build Volume: 220*220*250mm Printing Speed: ≤600mm/s Acceleration: ≤20000mm/s2 Printing Accuracy: 100±0.1mm Layer Height: 0.1-0.35mm Extruder: Dual-gear direct drive extruder Filament Diameter: 1.75mm Nozzle Diameter: 0.4mm (compatible with 0.6/0.8mm) Nozzle Temperature: ≤300 Celsius Heatbed Temperature: ≤100 Celsius Build Surface: Flexible build plate Leveling Mode: auto-leveling File Transfer: USB drive, WiFi Display Screen: 4-3" color touchscreen Al Camera: Optional Al LiDAR: Optional Power Loss Recovery: Yes Filament Runout Sensor: Yes Input Shaping: Yes Lighting Kit: Yes Sleep Mode: Yes Rated Voltage: 200-240V, 50Hz Rated Power: 350W Supported Filaments: ABS, PLA, PETG, PET, TPU, PA, ABS, ASA, PC, PLA-CF, PA-CF, PET-CF Printable File Format: G-Code Slicing Software: Creality Print; compatible with Cura, Simplify3D, PrusaSlicer File Formats for Slicing: STL, OBJ, AMF UI Languages: English, Spanish, German, French, Russian, Portuguese, Italian, Turkish, Japanese, Chinese |
| Weight & Size | Product Weight: 12kg Package Weight: 15kg Product Size(L x W x H): 35.5*35.5*48cm Package Size(L x W x H): 41.5*41.5*55cm |
| Package Contents | 1 x 3D Printer 1 x Touch Screen 1 x Filament 1 x USB Flash Disk 1 x Power Cable 1 x Lubricating Grease 1 x Wrench and Screwdriver 1 x Blade 1 x Material Barrel 1 x Cutting Plier 1 x 1.2mm Nozzle Cleaner 1 x M6 Socket Spanner 1 x Glue Stick 1 x Quick Guide |
Videos
Customer Photos
Customer Videos
Customer Reviews
| 5 star | 219 | |
| 4 star | 10 | |
| 3 star | 3 | |
| 2 star | 0 | |
| 1 star | 0 |
- All (232)
- Images (55)
- Videos (2)
Questions & Answers
FAQ
Troubleshooting:
2507 Error Trouble Shooting:
Phenomenon description: For firmware versions below 1.3.1.x, "Error: E004, key: 2507, not heating as expected" pops up on the screen.
Versions 1.3.1.x and above version have decomposed this error code into 2564 and 2565 error codes
Solution: 1. Restart the machine, individually heat the hot end to 240°C and the hotbed to 90°C for ten minutes to determine whether it's the hot end or the hotbed that has a thermal runaway.
2. If there is an error when heating the hot end, troubleshoot and resolve it according to 2564 Error Trouble Shooting.
3. If there is an error when heating the hotbed, troubleshoot and resolve it according to 2565 Error Trouble Shooting.
2564 Error Trouble Shooting:
Phenomenon description: The screen displays "Error, key: 2564, nozzle did not heat up as expected".
Solution: 1. Open the nozzle cover, and then check whether the nozzle heating wire and thermal terminal block on the nozzle board are inserted in place, and also check whether the terminal is inserted in place
2. Remove the nozzle insulation sleeve and check for any other abnormal conditions, such as cracks on the ceramic heating ring.
3. The thermal on the nozzle is loose.
4. The serrated shape can only be solved by replacing the thermal or hot end.
3002 Error Trouble Shooting:
Phenomenon description: The screen displays "Error, key: 3002".
Solution: 1. Upgrade Firmware.
2. Re-insert the hot end wire terminals (main board terminal number: J51)
3. Re-insert the hotbed adapter wire terminal (main board terminal number: J11)
2001 Error Trouble Shooting:
Phenomenon description: The screen displays "Error, key: 2001, Unknown Exception".
Solution: 1. Restart the printer.
2. If it occurs during the startup process, please skip the self-inspection according to Skip Startup Self-Check Process
After checking the above steps, if the problem still cannot be solved, contact after-sales service.
2000 Error Trouble Shooting:
Phenomenon description: The screen displays "Error, key: 2000, Unknown Exception".
Solution: 1. Disassemble the hotend cover and re-plug the extruder connection cable. If the problem cannot be solved after plugging in and out, replace the hotend connection cable.
2. If it occurs during the startup process, please skip the self-inspection according to the Skip Startup Self-Check Process
After checking the above steps, if the problem still cannot be solved, please contact after-sales service.
Q: K1 showing 0 on both temperatures (Nozzle and Hotbed)
A: To address this issue, we kindly request that you perform the following steps while powered off.
1. Check the connection:
Please inspect the connections between the nozzle adapter board and the hotend sideboard. Ensure that the connection wires are securely plugged in and not loose or disconnected.
2. Reconnect the wires:
If you find any loose or disconnected wires, Or if it's plugged in but it persists, carefully reconnect them to their respective ports. Ensure a proper and secure connection.
Q: During high-speed printing, the edges of the 3D-printed model may become distorted
A: 1. Please kindly inspect the fastening condition of the screws on the machine platform, and tighten them if any looseness is found.
2. We suggest that you adjust the wiping nozzle parameters or disable the function in the slicing software when dealing with the model retraction.
Q: Incomplete model filling
A: 1. We suggest avoiding using high-speed mode when printing with ordinary consumables to prevent affecting print quality. If high-speed mode is necessary, consider replacing it with appropriate high-speed printing consumables.
2. We recommend checking the slicing parameter settings to ensure they match the printing consumables and printing models used. If problems persist, please contact our service team for further assistance.
Q: K1 Shows the device offline after connecting to the Creality cloud
A: 1. Please allow the printer to complete the self-check process. Once the self-check is complete, Please restart the printer.
This can help refresh the system and potentially resolve any minor issues that may be affecting its performance.
2. Check the firmware version installed on your printer. If your current firmware is not up to date, we advise updating it to the latest version. Please note that when upgrading to firmware version 1.2.9.12 for the first time, the printer will require a restart. However, subsequent firmware updates will not require this step.
Q: K1 update fail
A: 1. Verify that your printer is connected to the internet. If it is already connected, try disconnecting from the current Wi-Fi network.
2. After restarting the printer, reconnect to the network and attempt to update the firmware once again. This process can help ensure a stable internet connection for firmware updates.
3. If you are using an Android smartphone, try creating a hotspot from your device. Connect your printer to the hotspot and check if it can detect the latest firmware and perform the update successfully. Please note that when creating a hotspot using an iPhone, the default encryption method is WPA2.AES, which may not be compatible with the printer. Therefore, we recommend using an Android device for this step.
Q: K1 is Stuck at the starting screen
A: 1. Please try restarting your printer. Sometimes, a simple reboot can help resolve minor issues and restore normal functionality.
2. Verify that your firmware is up to date. It is important to ensure that you are using the latest firmware version, as updates often include bug fixes and improvements. Please check the official Creality website for the most recent firmware release compatible with your printer model.
3. Check the communication between the nozzle and the mainboard. Start by disconnecting and reconnecting the connection cable. Additionally, observe the blue indicator light on the nozzle's small board. It should remain illuminated constantly. If you have a multimeter available, you can set it to the buzzer mode and test for continuity between the terminals at both ends of the connection cable. If there is no continuity, it may be necessary to replace the connection cable. Once the cable issue has been ruled out, we may proceed with replacing either the nozzle's small board (2101020226) or the mainboard (4002020063).
